How we do our floodlights | PKProject
Introduction
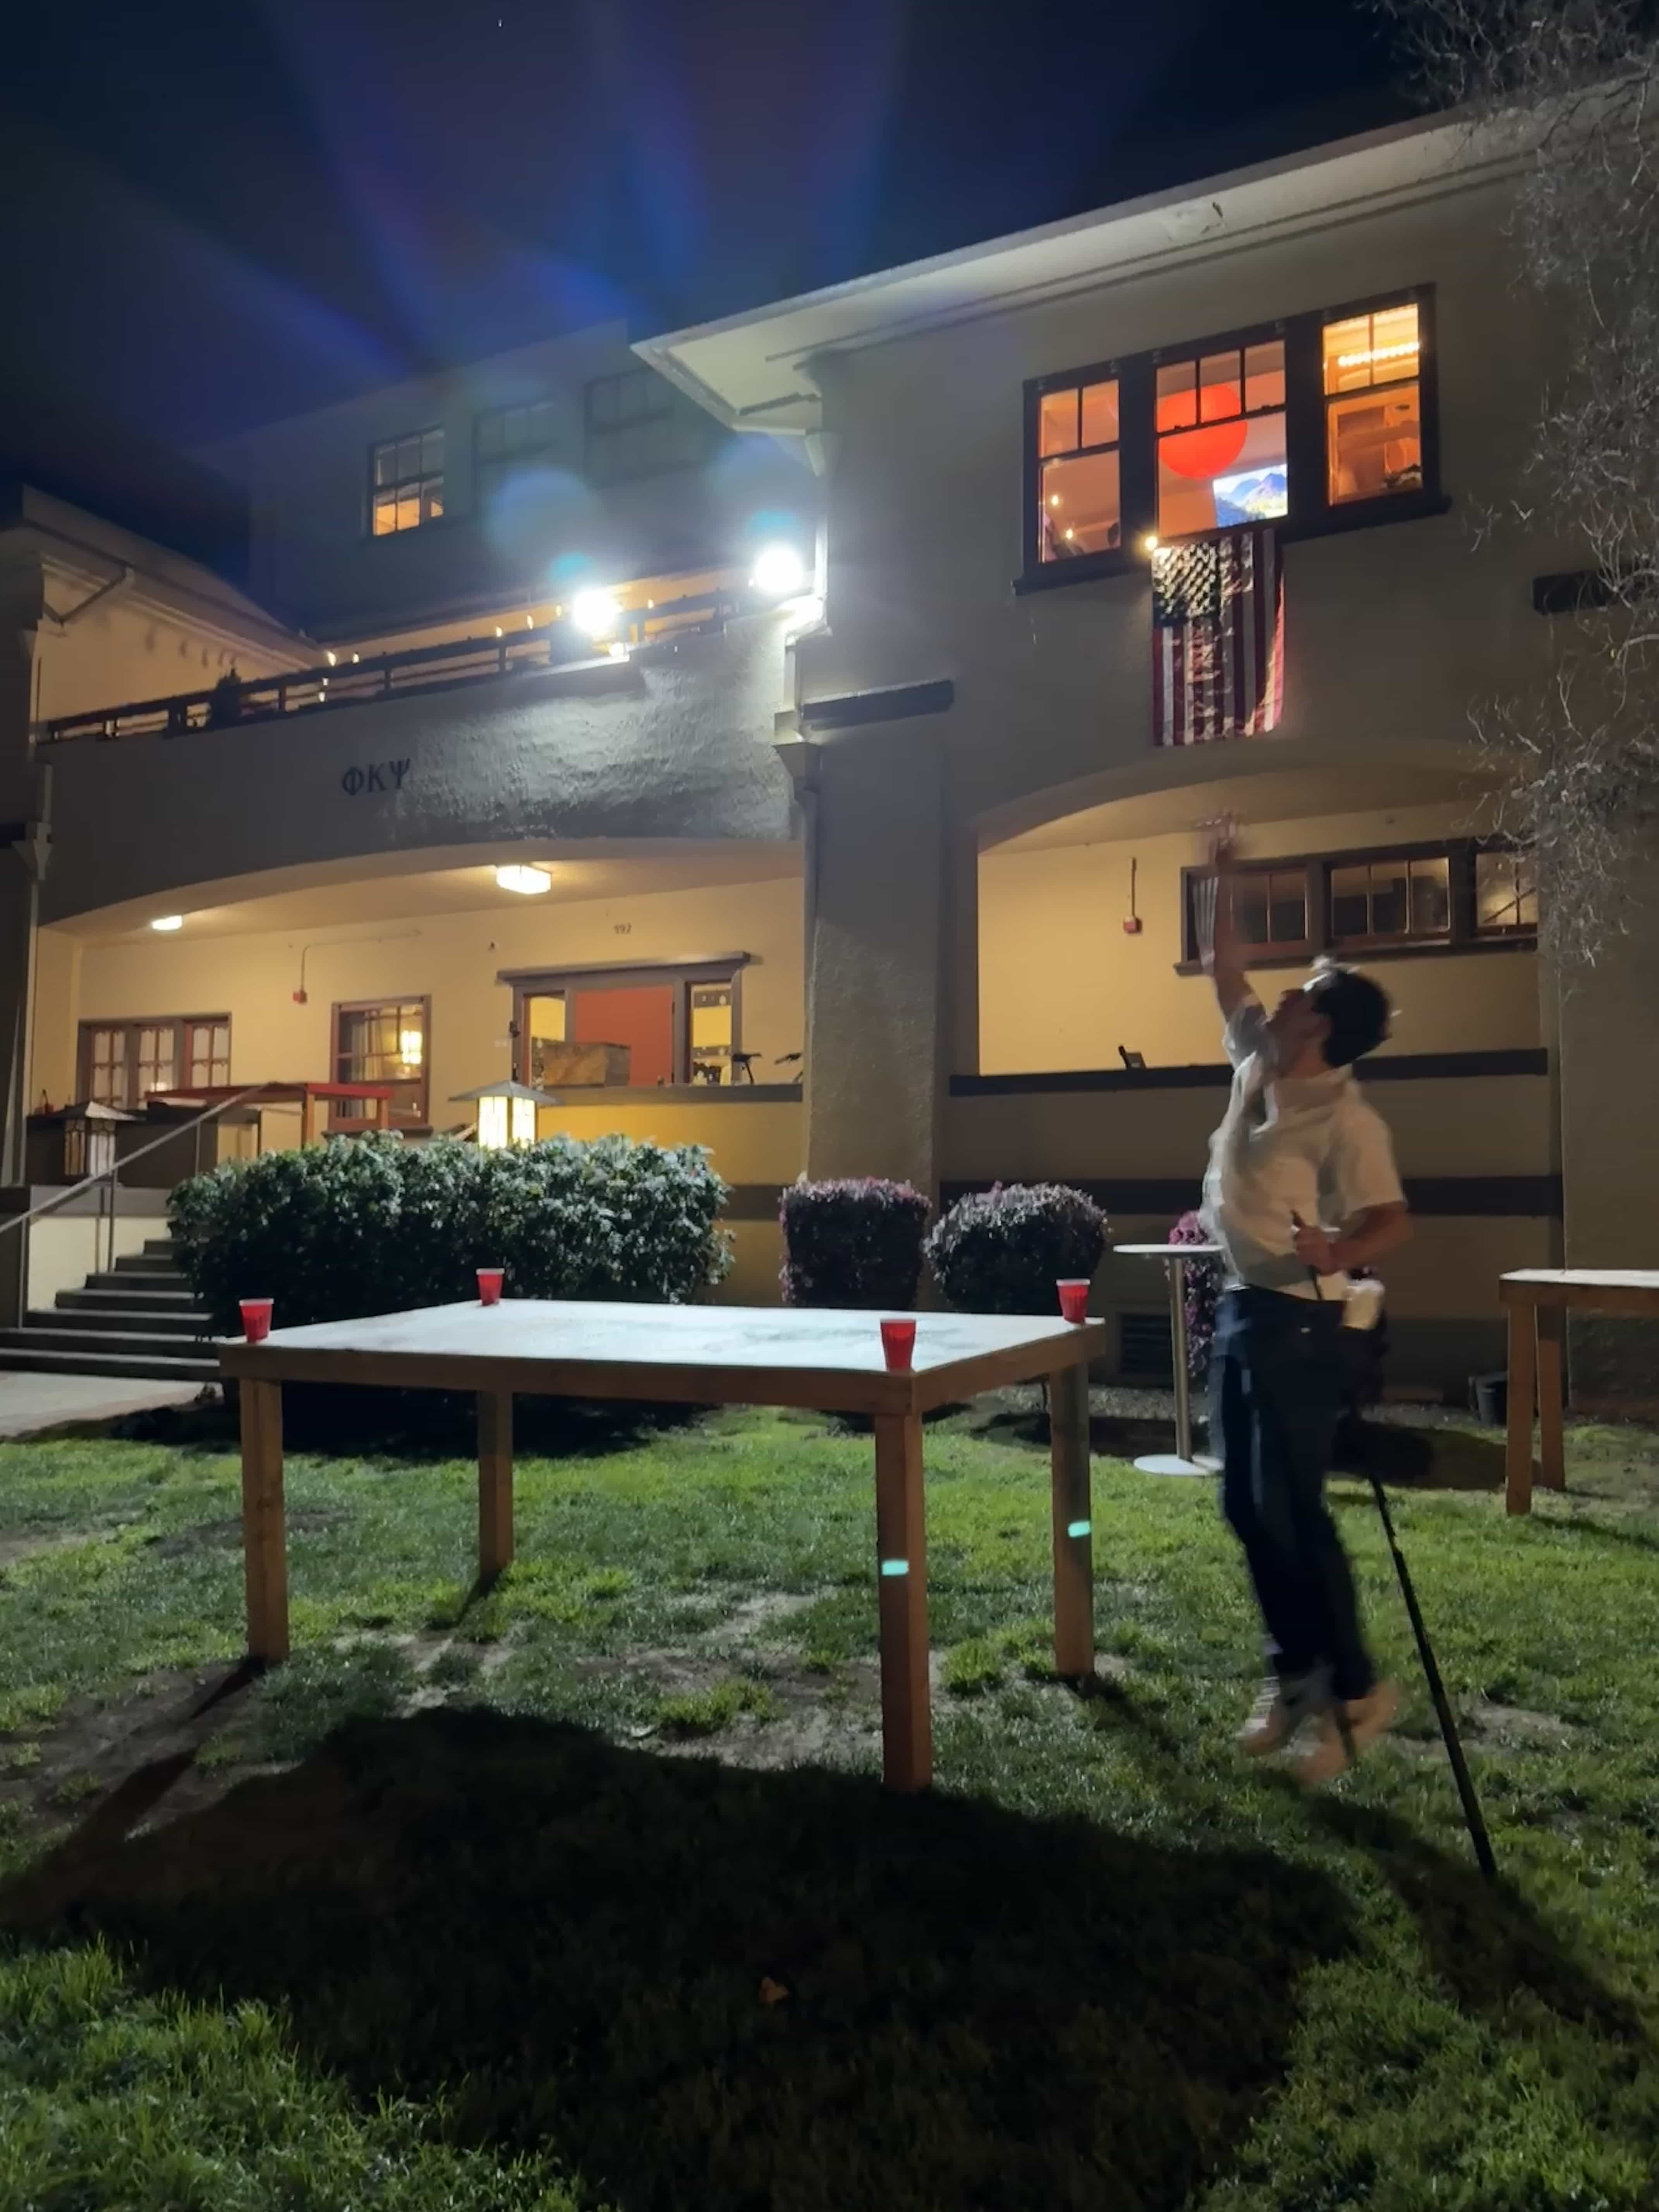
Most people that I know at Stanford are slightly nocturnal, including myself, despite my not-so-best efforts to correct my sleep schedule. But the issue with this is that when you have tons of energy at 1am to go outside and play die on the front lawn, there is no sun to do so. So I thought I’d remedy this and install flood lights.
The idea
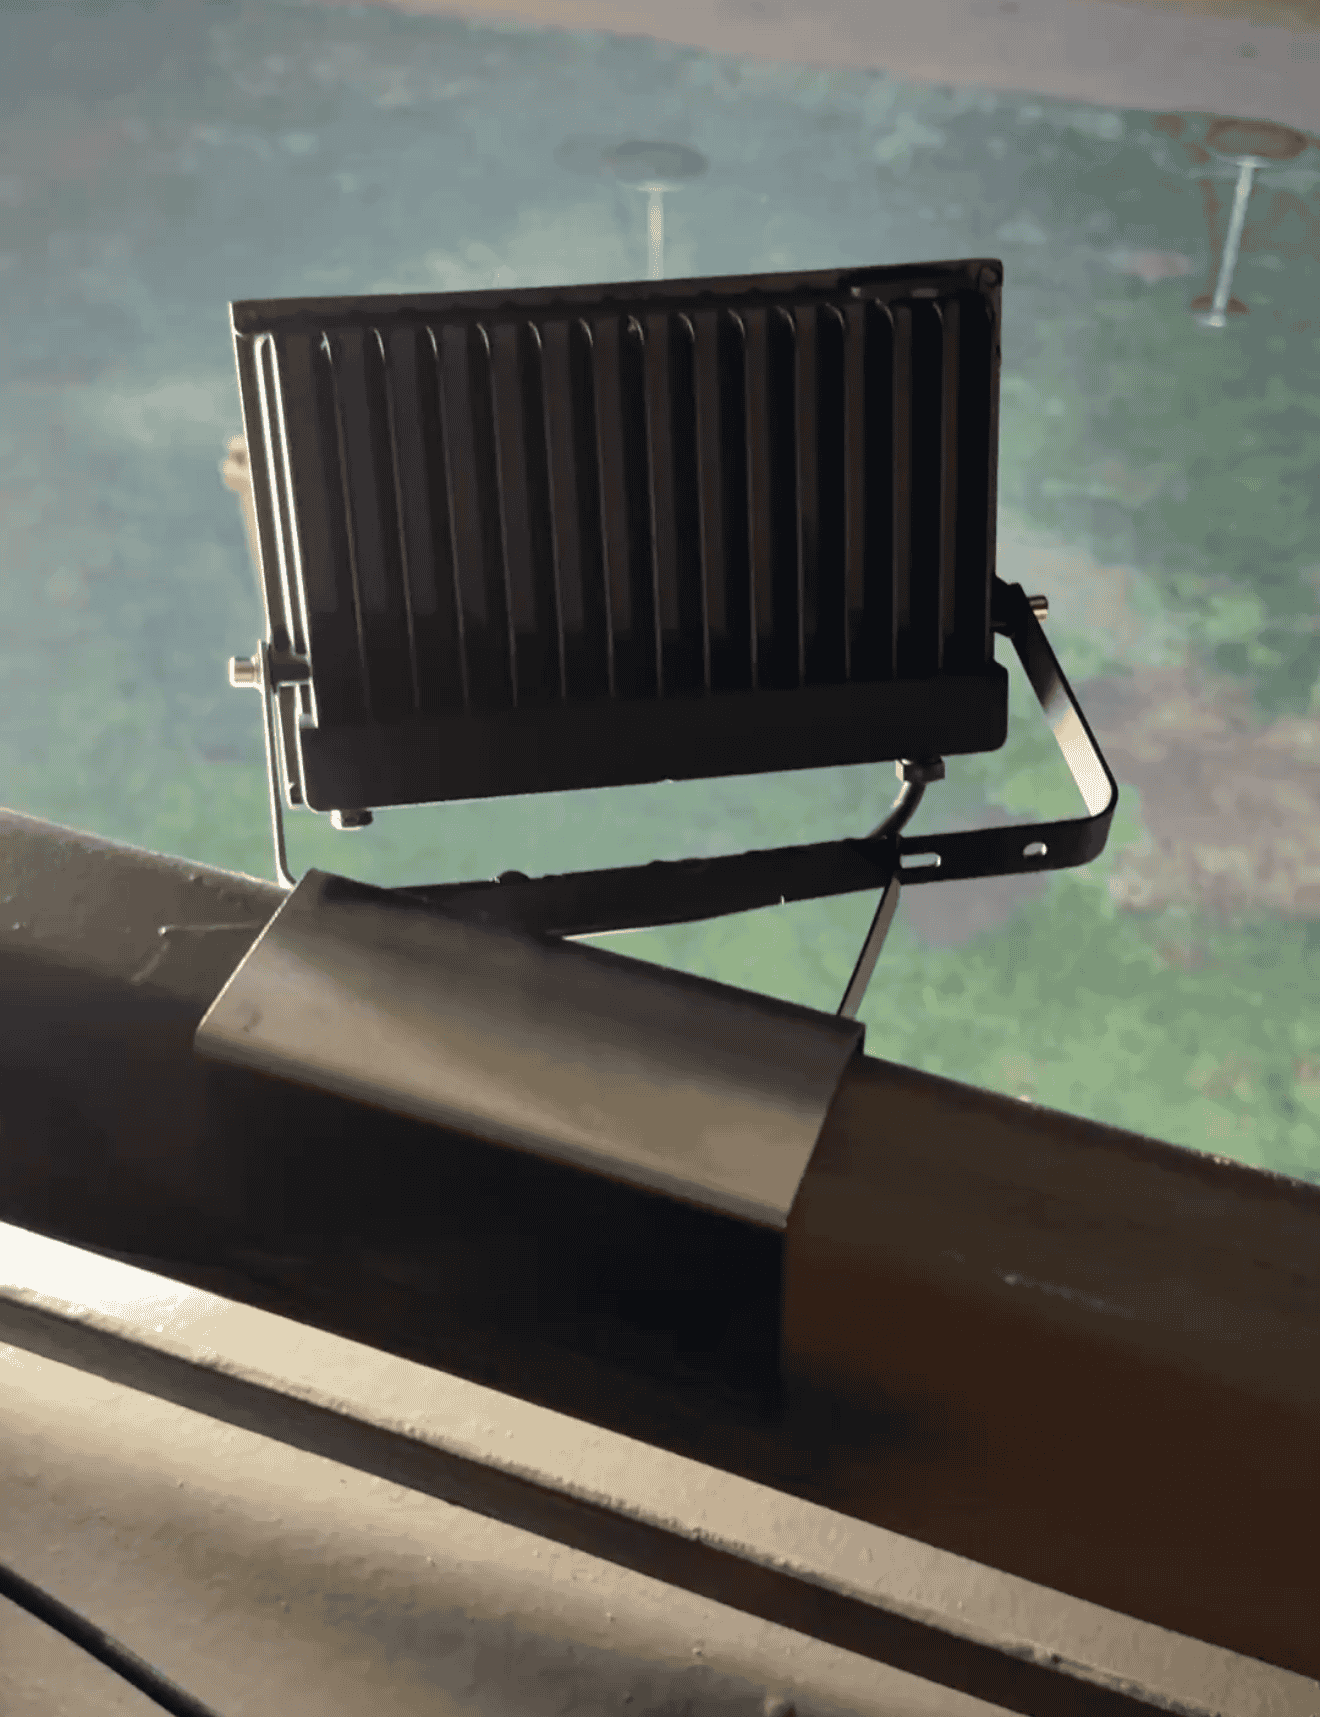
At Stanford, the school owns every house on campus, including the fraternity houses. Any building modification must be approved and done by the school, or you are bound to be met with a costly fine–or worse. So the setup had to be temporary. Luckily, we have a balcony overlooking our front yard, and luckily, that balcony has a sturdy railing. I decided to make a stainless steel sleeve of sorts that would slide over the railing, and mount the existing LED bracket to that sleeve.
The process
Overcomplicating things–or just being lazy?
After some quick measurements, I headed over to Lab64 to use their metal laser cutter. This thing is awesome, and I’ve used it countless times for projects just like this. I made a flat pattern using Fusion 360, essentially a rectangle with a few carefully placed bend guide lines (which would be engraved by the laser cutter). Yes, this is totally overkill for what I’m doing. However, I’m lazy, and having the laser cutter literally mark exactly where you need to bend the metal is kinda nice.
Forming and Welding
Now that I had two pieces of perfectly marked rectangles, I headed over to the PRL to finish the project. I used the metal brake to bend the rectangles at 90º, creating a final “U” shape. I actually bent slightly more than 90º on one side, so the fit would be snug against the railing. Then, I took the LED floodlight’s included metal bracket to the belt sander to remove all of the powder coating from the surface that I wanted to weld to. Once done, I welded the metal bracket to the sleeve. I figured I would try MIG welding, despite previous experience with TIG, and it worked well. The welds are quite ugly, but they’re strong enough for what I’m doing. On one of the lights, I wanted to have it angled to the side, so I grabbed some scrap stainless and quickly folded a few pieces to create a cantilevered mount of sorts. It worked alright.
The Smarts
Good in concept, poor in practice
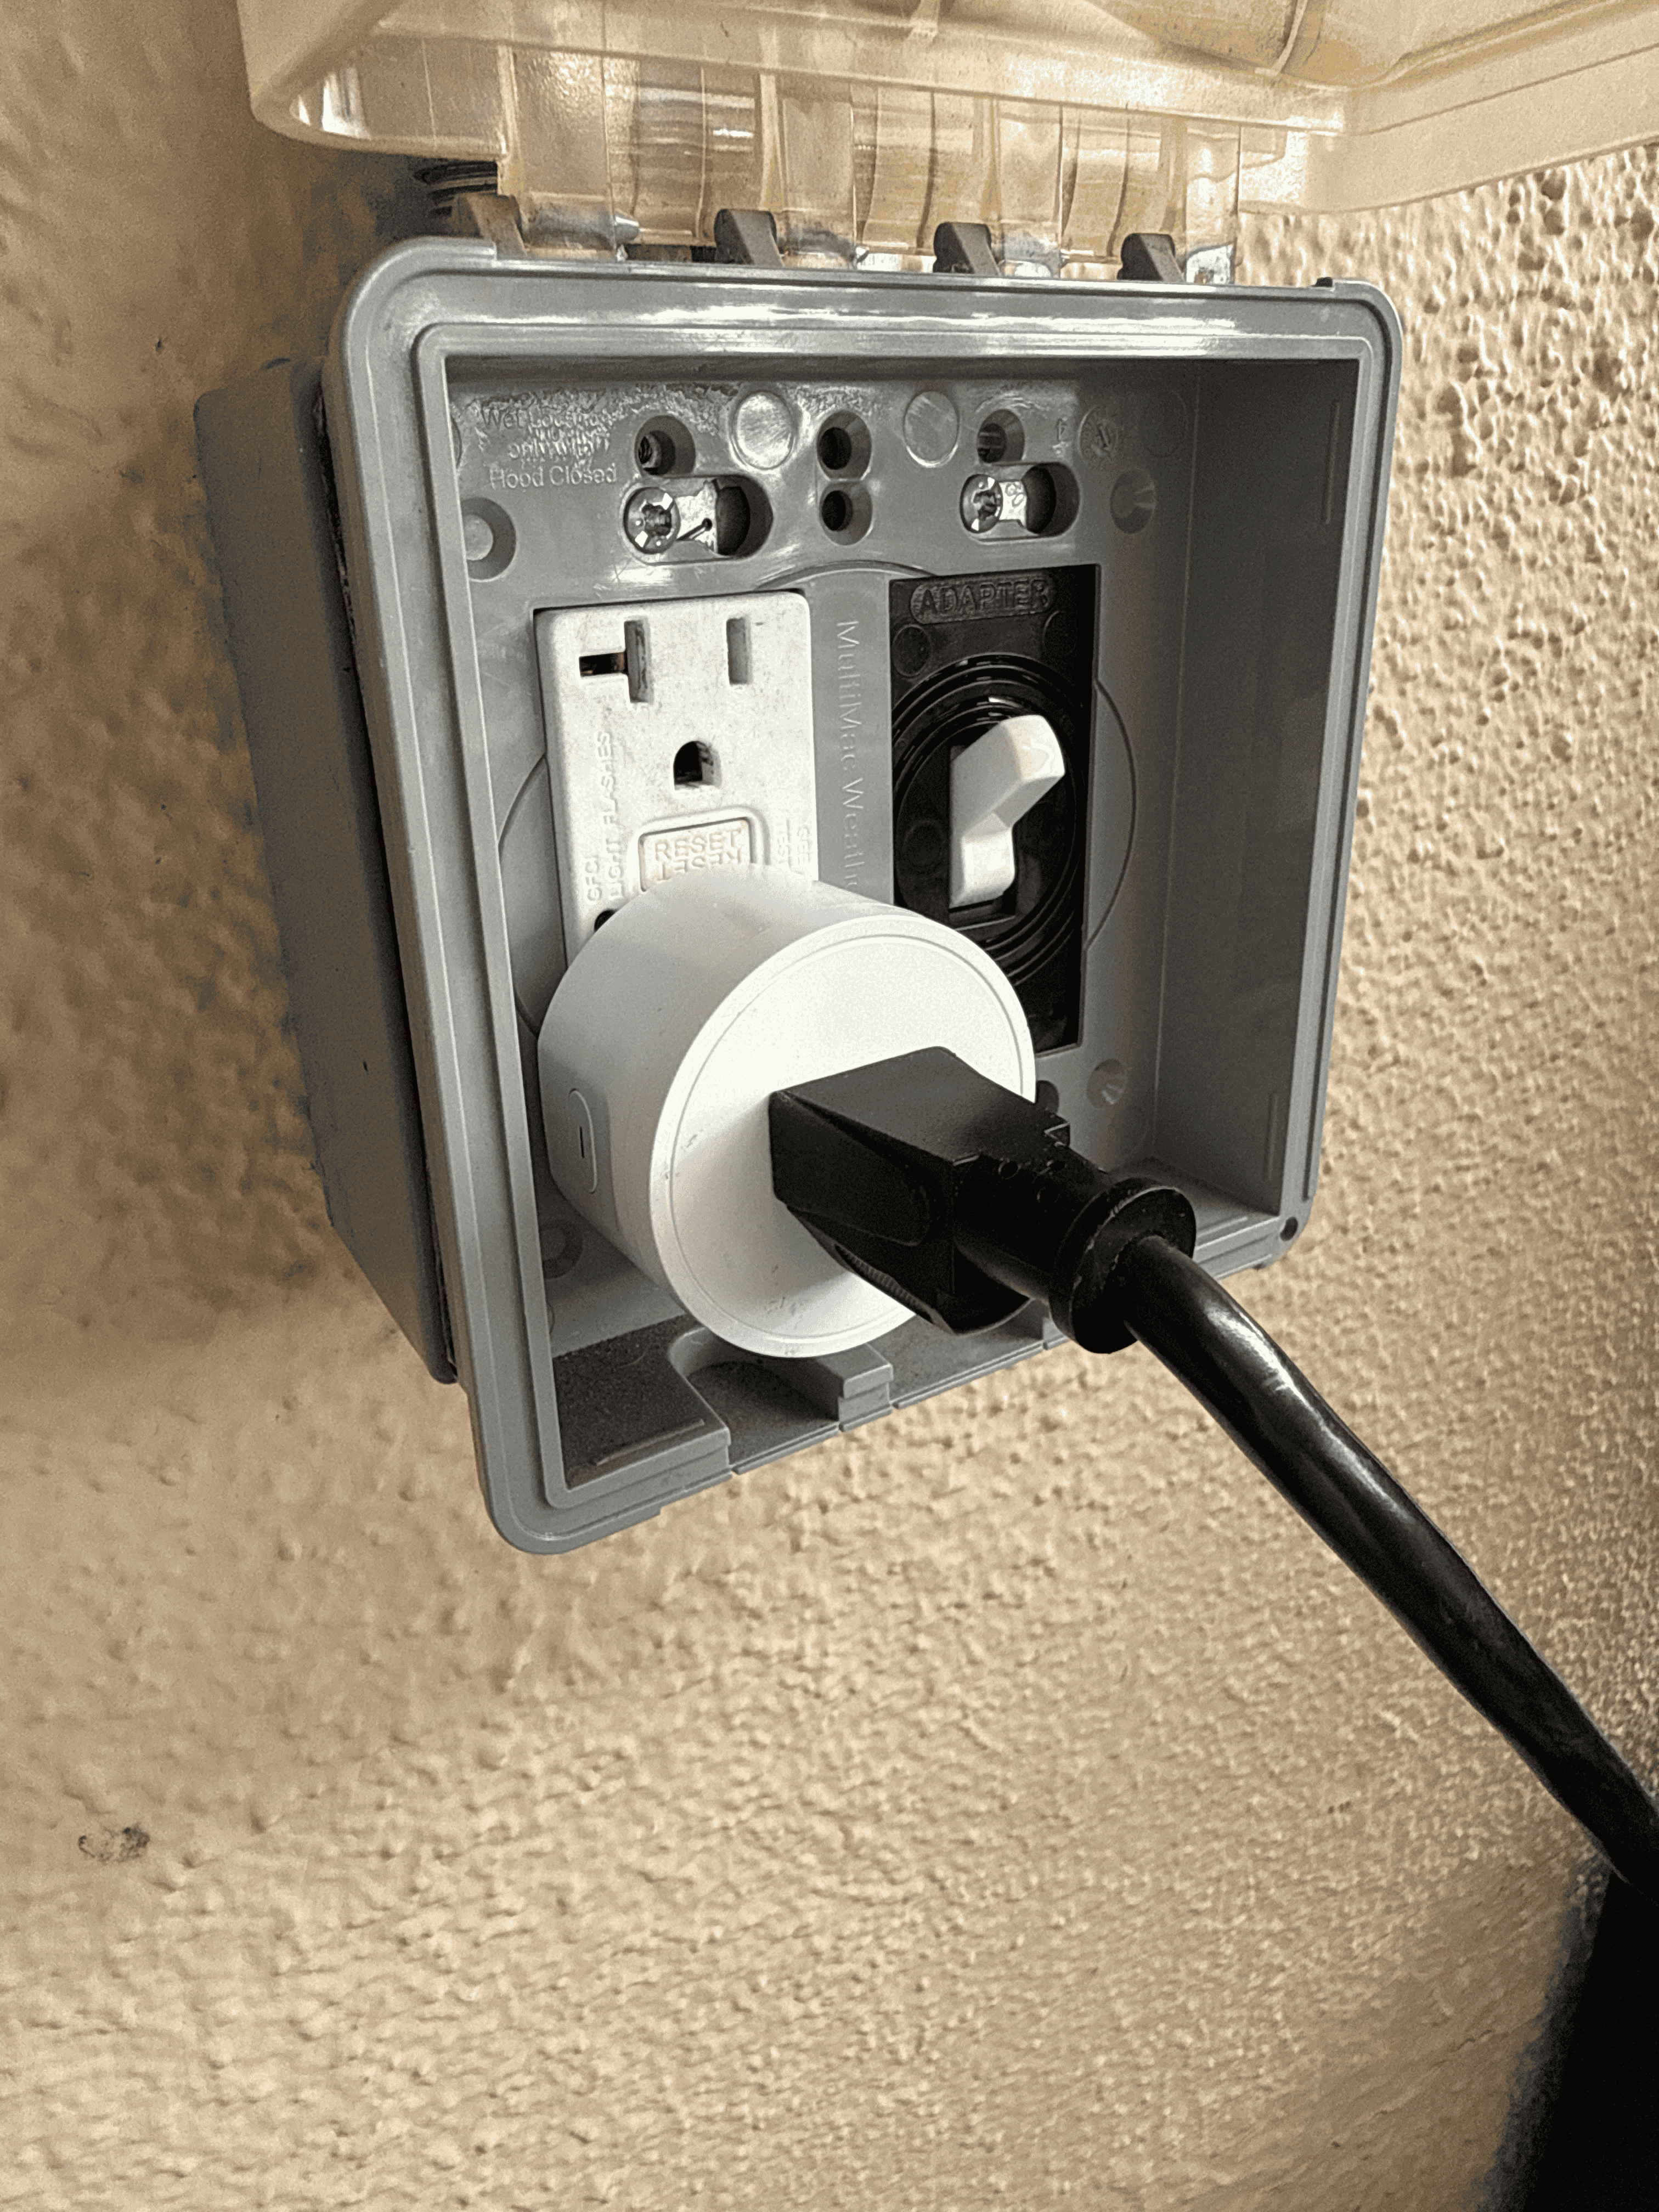
Ok great, now I had some flood lights and nice mounts for them. But this problem wasn’t completely solved. If you were trying to play die, you shouldn’t have to go upstairs to the balcony to plug in the floodlights manually. So I decided to hook them up with a smart plug and a basic home assistant integration, combined with a telegram bot. Now, when someone wants to turn on the lights, all they need to do is type a command to our telegram bot, and the floodlights will instantly turn on. Cool! Except… this solution didn’t last.
Making the lights tamper-proof
There were numerous mornings when I’d be biking to class in the morning and see the flood lights still on. I’d ping the telegram bot… and nothing would happen. Someone had removed the smart plug and plugged the lights directly into the outlet, much to my frustration. Evidently it was too hard to use the telegram bot, or even push the button on the smart plug. And now, the lights were on all night, shortening their lifespan. So I made them tamper proof. Essentially all this entailed was a junction box. Yes, the solution looks sketchy, but I promise it’s safe…
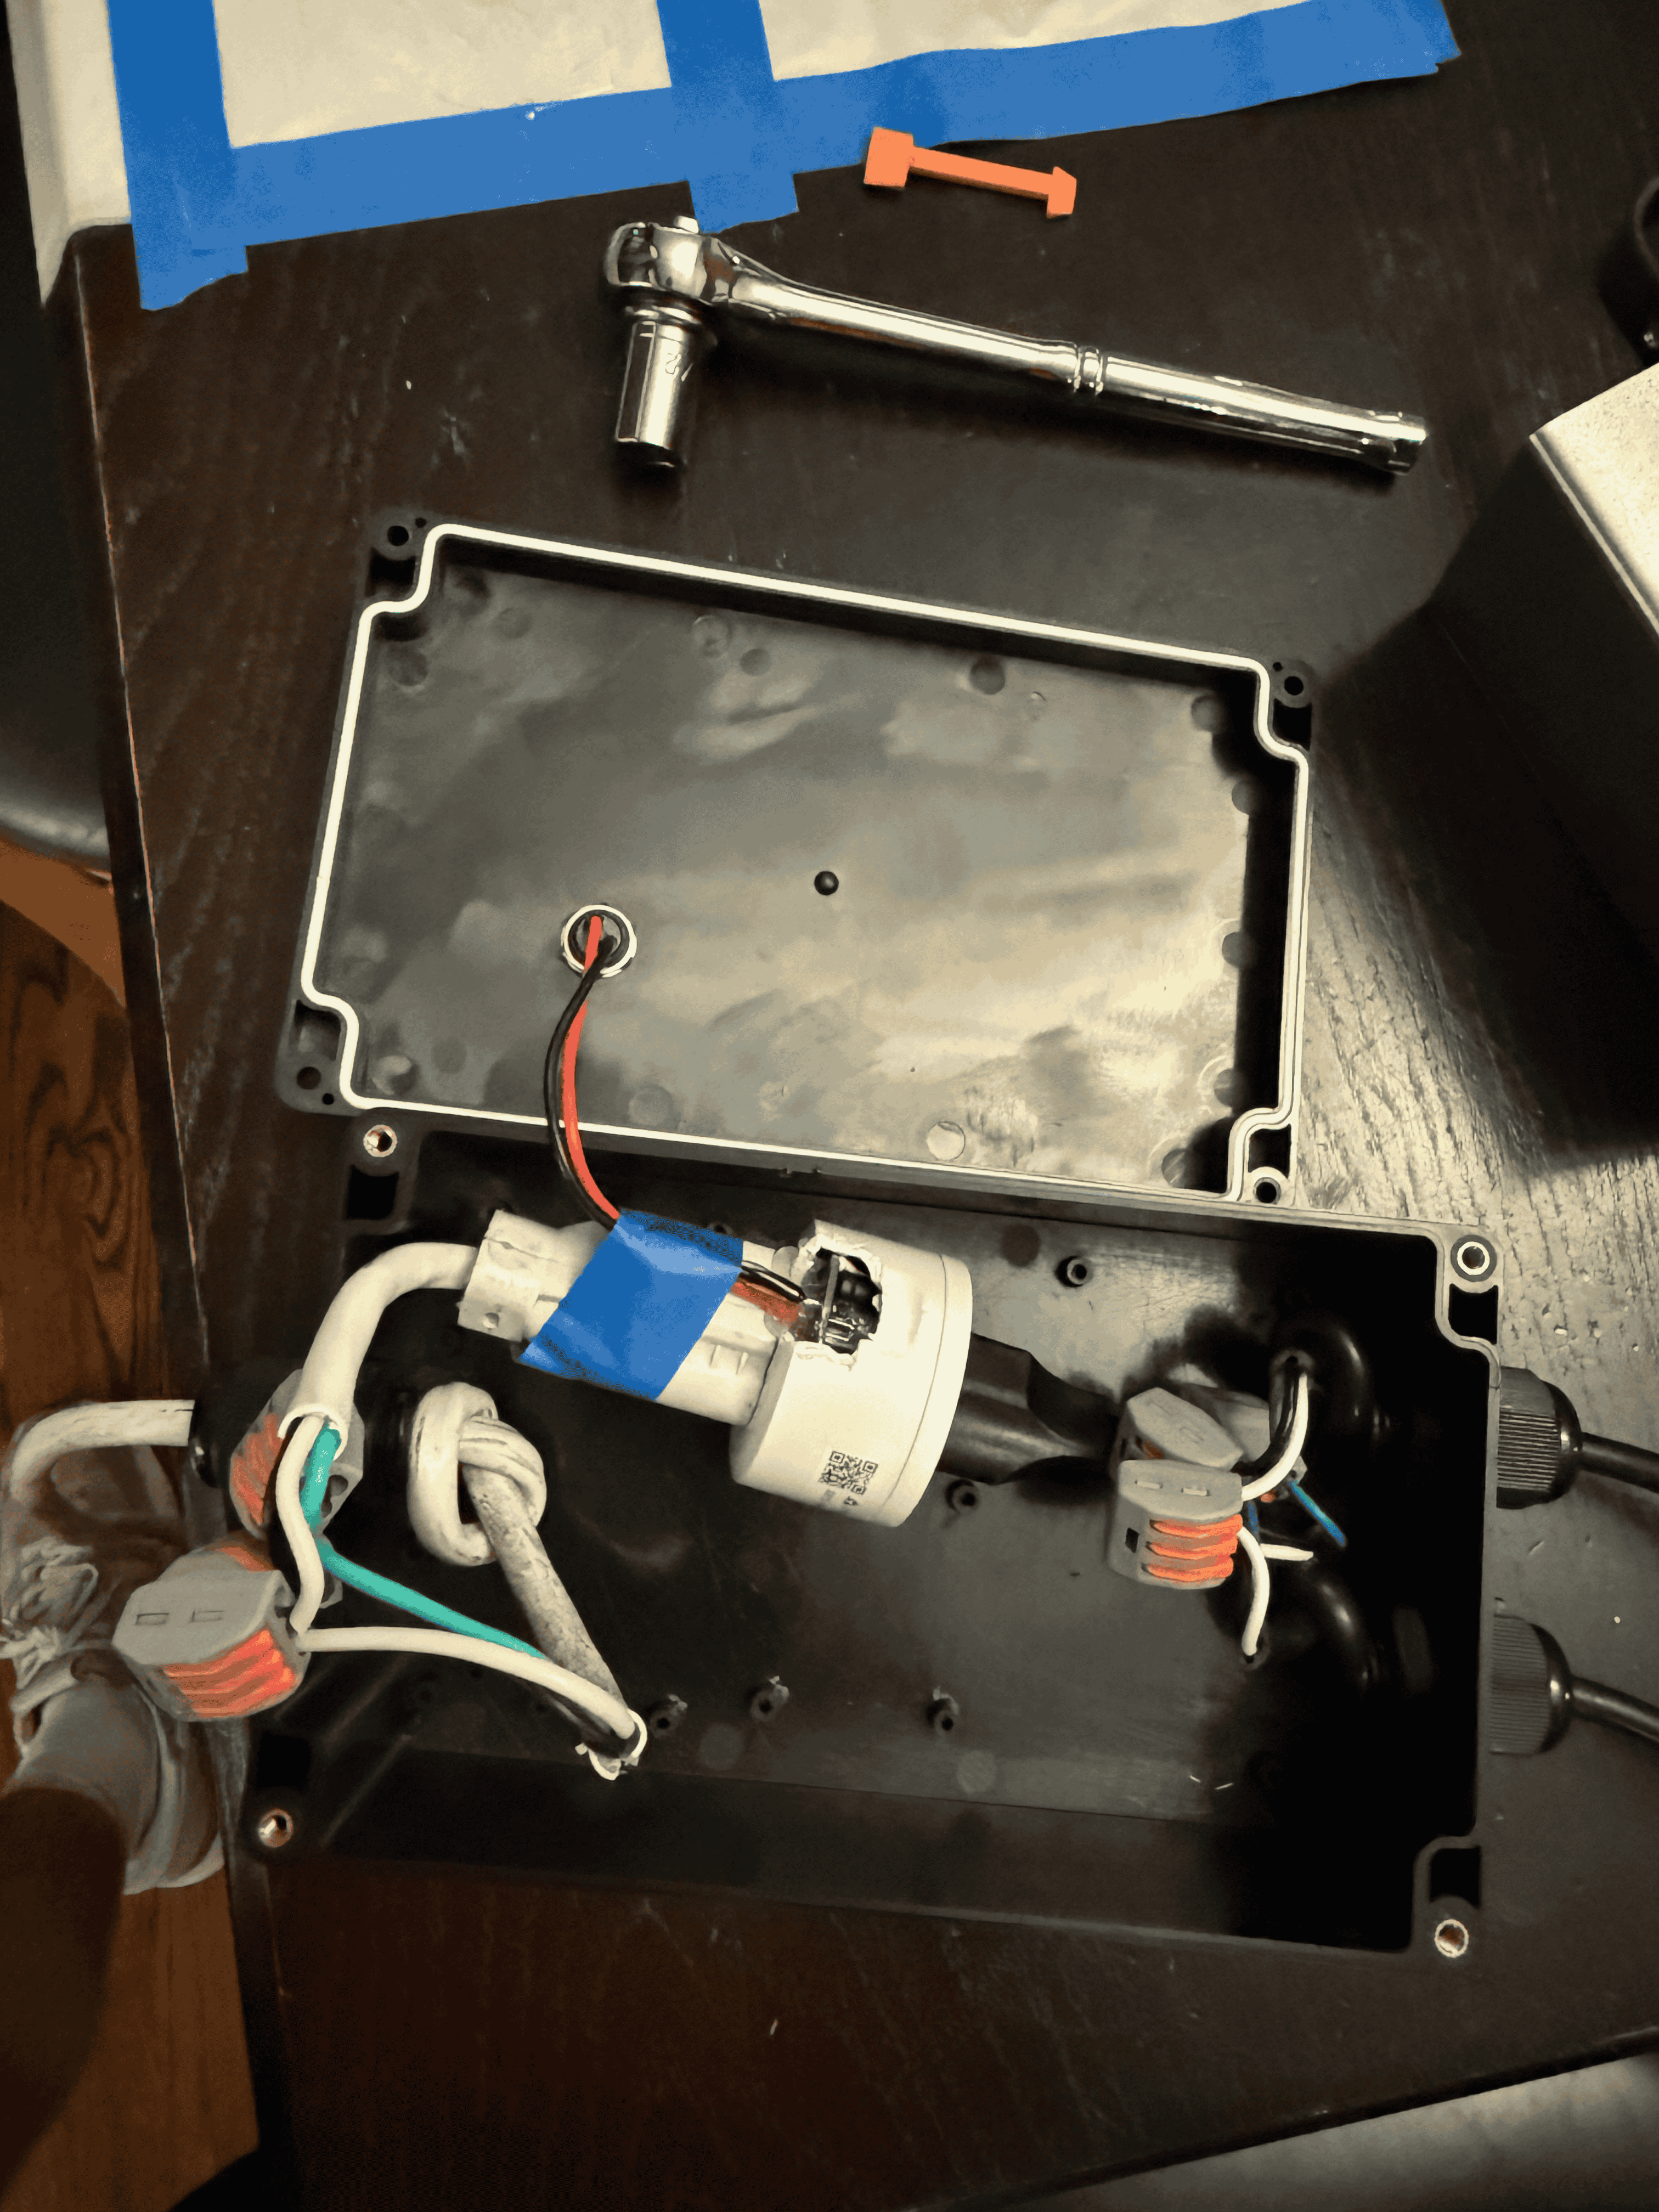
Now, it’s impossible to plug the lights into the wall without the smart plug. The power cable is permanently installed in the junction box, which goes into the smart plug, which the the lights are plugged into (and those are also permanently installed). A simple waterproof switch was installed on the outside of the box and then carefully soldered to the pads of the existing microswitch in the smart plug, to enable manual operation if needed.
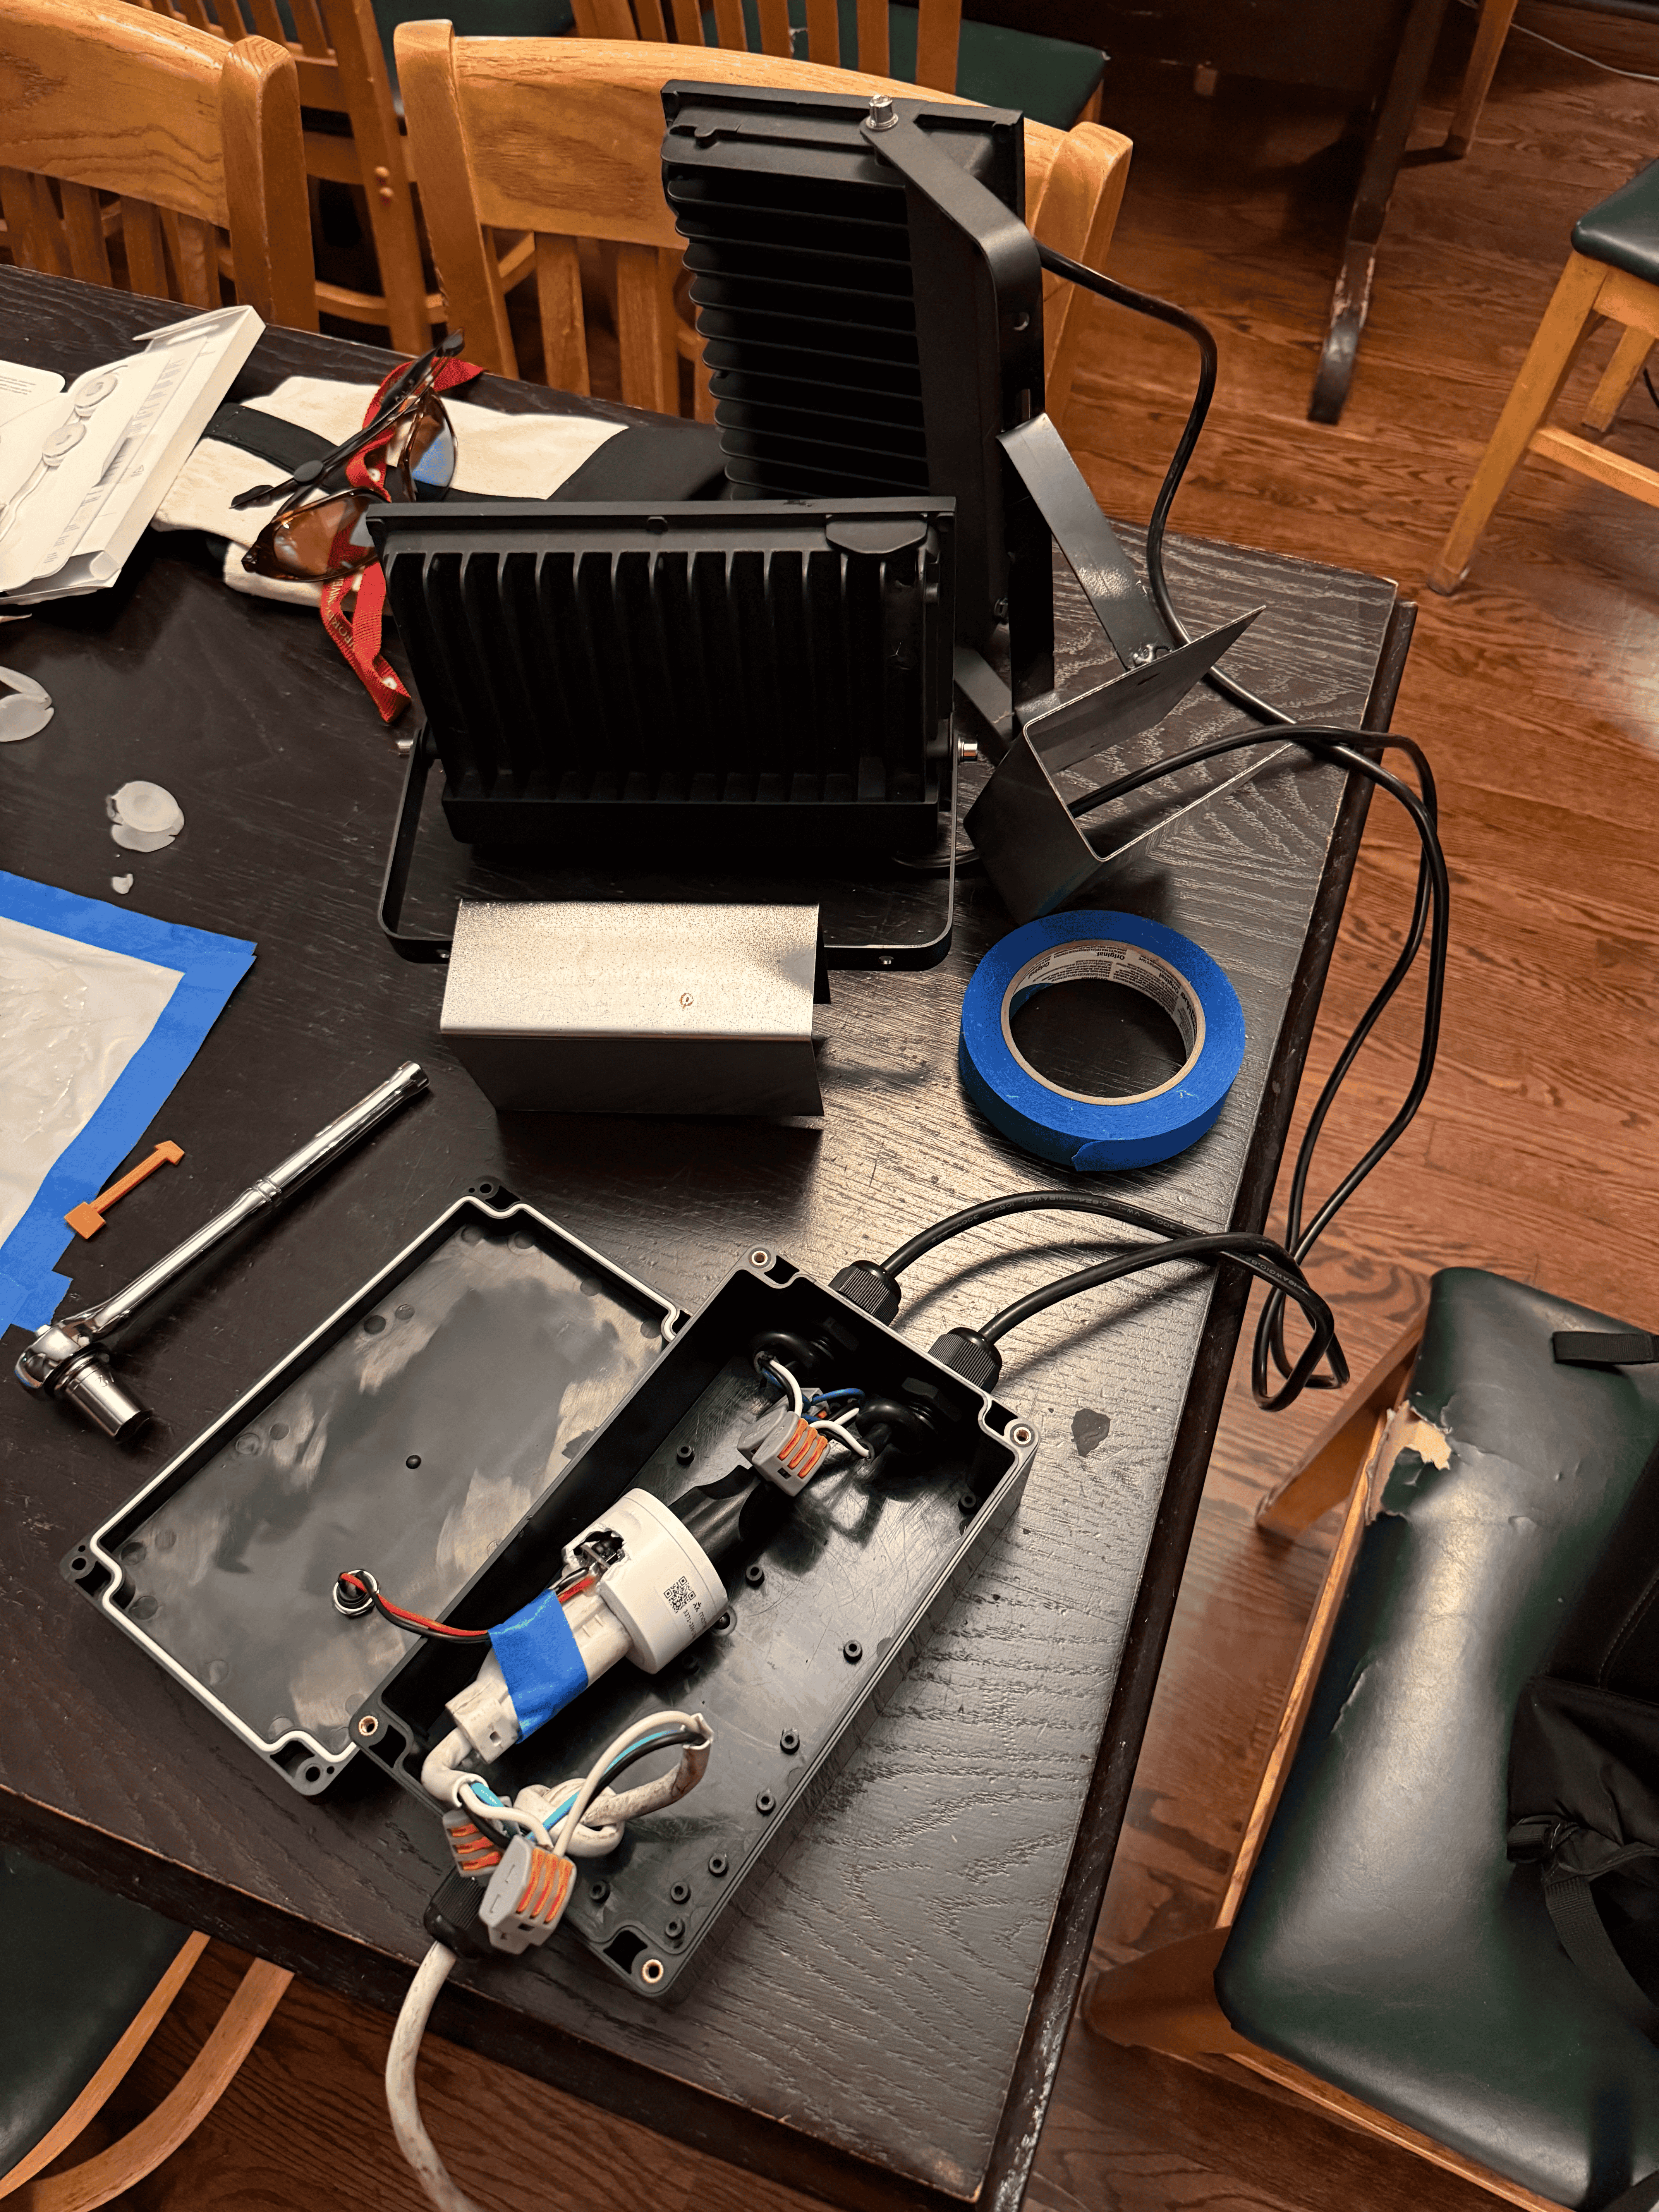
This solution has worked well for a month now, but I’ll update this post if that changes.
More lighting
I should add, I’ve basically done the same thing with our parking lot. Instead of using a balcony railing, I use our window screens. The sheet metal sleeve was made narrower, and it slides on to the wooden window screen frame. A hole is added to the bracket to allow for the existing screen clamp screw to go through. Since the lights were mounted in the windows of different rooms, each light got it’s own smart plug, and they were grouped together in home assistant before getting attached to a telegram bot command.