Making a light board mount for Thijs
Disclaimer
I’m writing this post a year after we actually built the light board mount (and 2 years since the first version!), but regardless, enjoy!
Introduction
One of the fixtures of our parties at Phi Psi is our light board. Thijs led its construction for Treehacks, and you can see his write up at his website here
After we joined phi psi, he had the idea to use the same light board for our parties, and that became one of the biggest builds we worked on during pledge.
The Build
The Idea
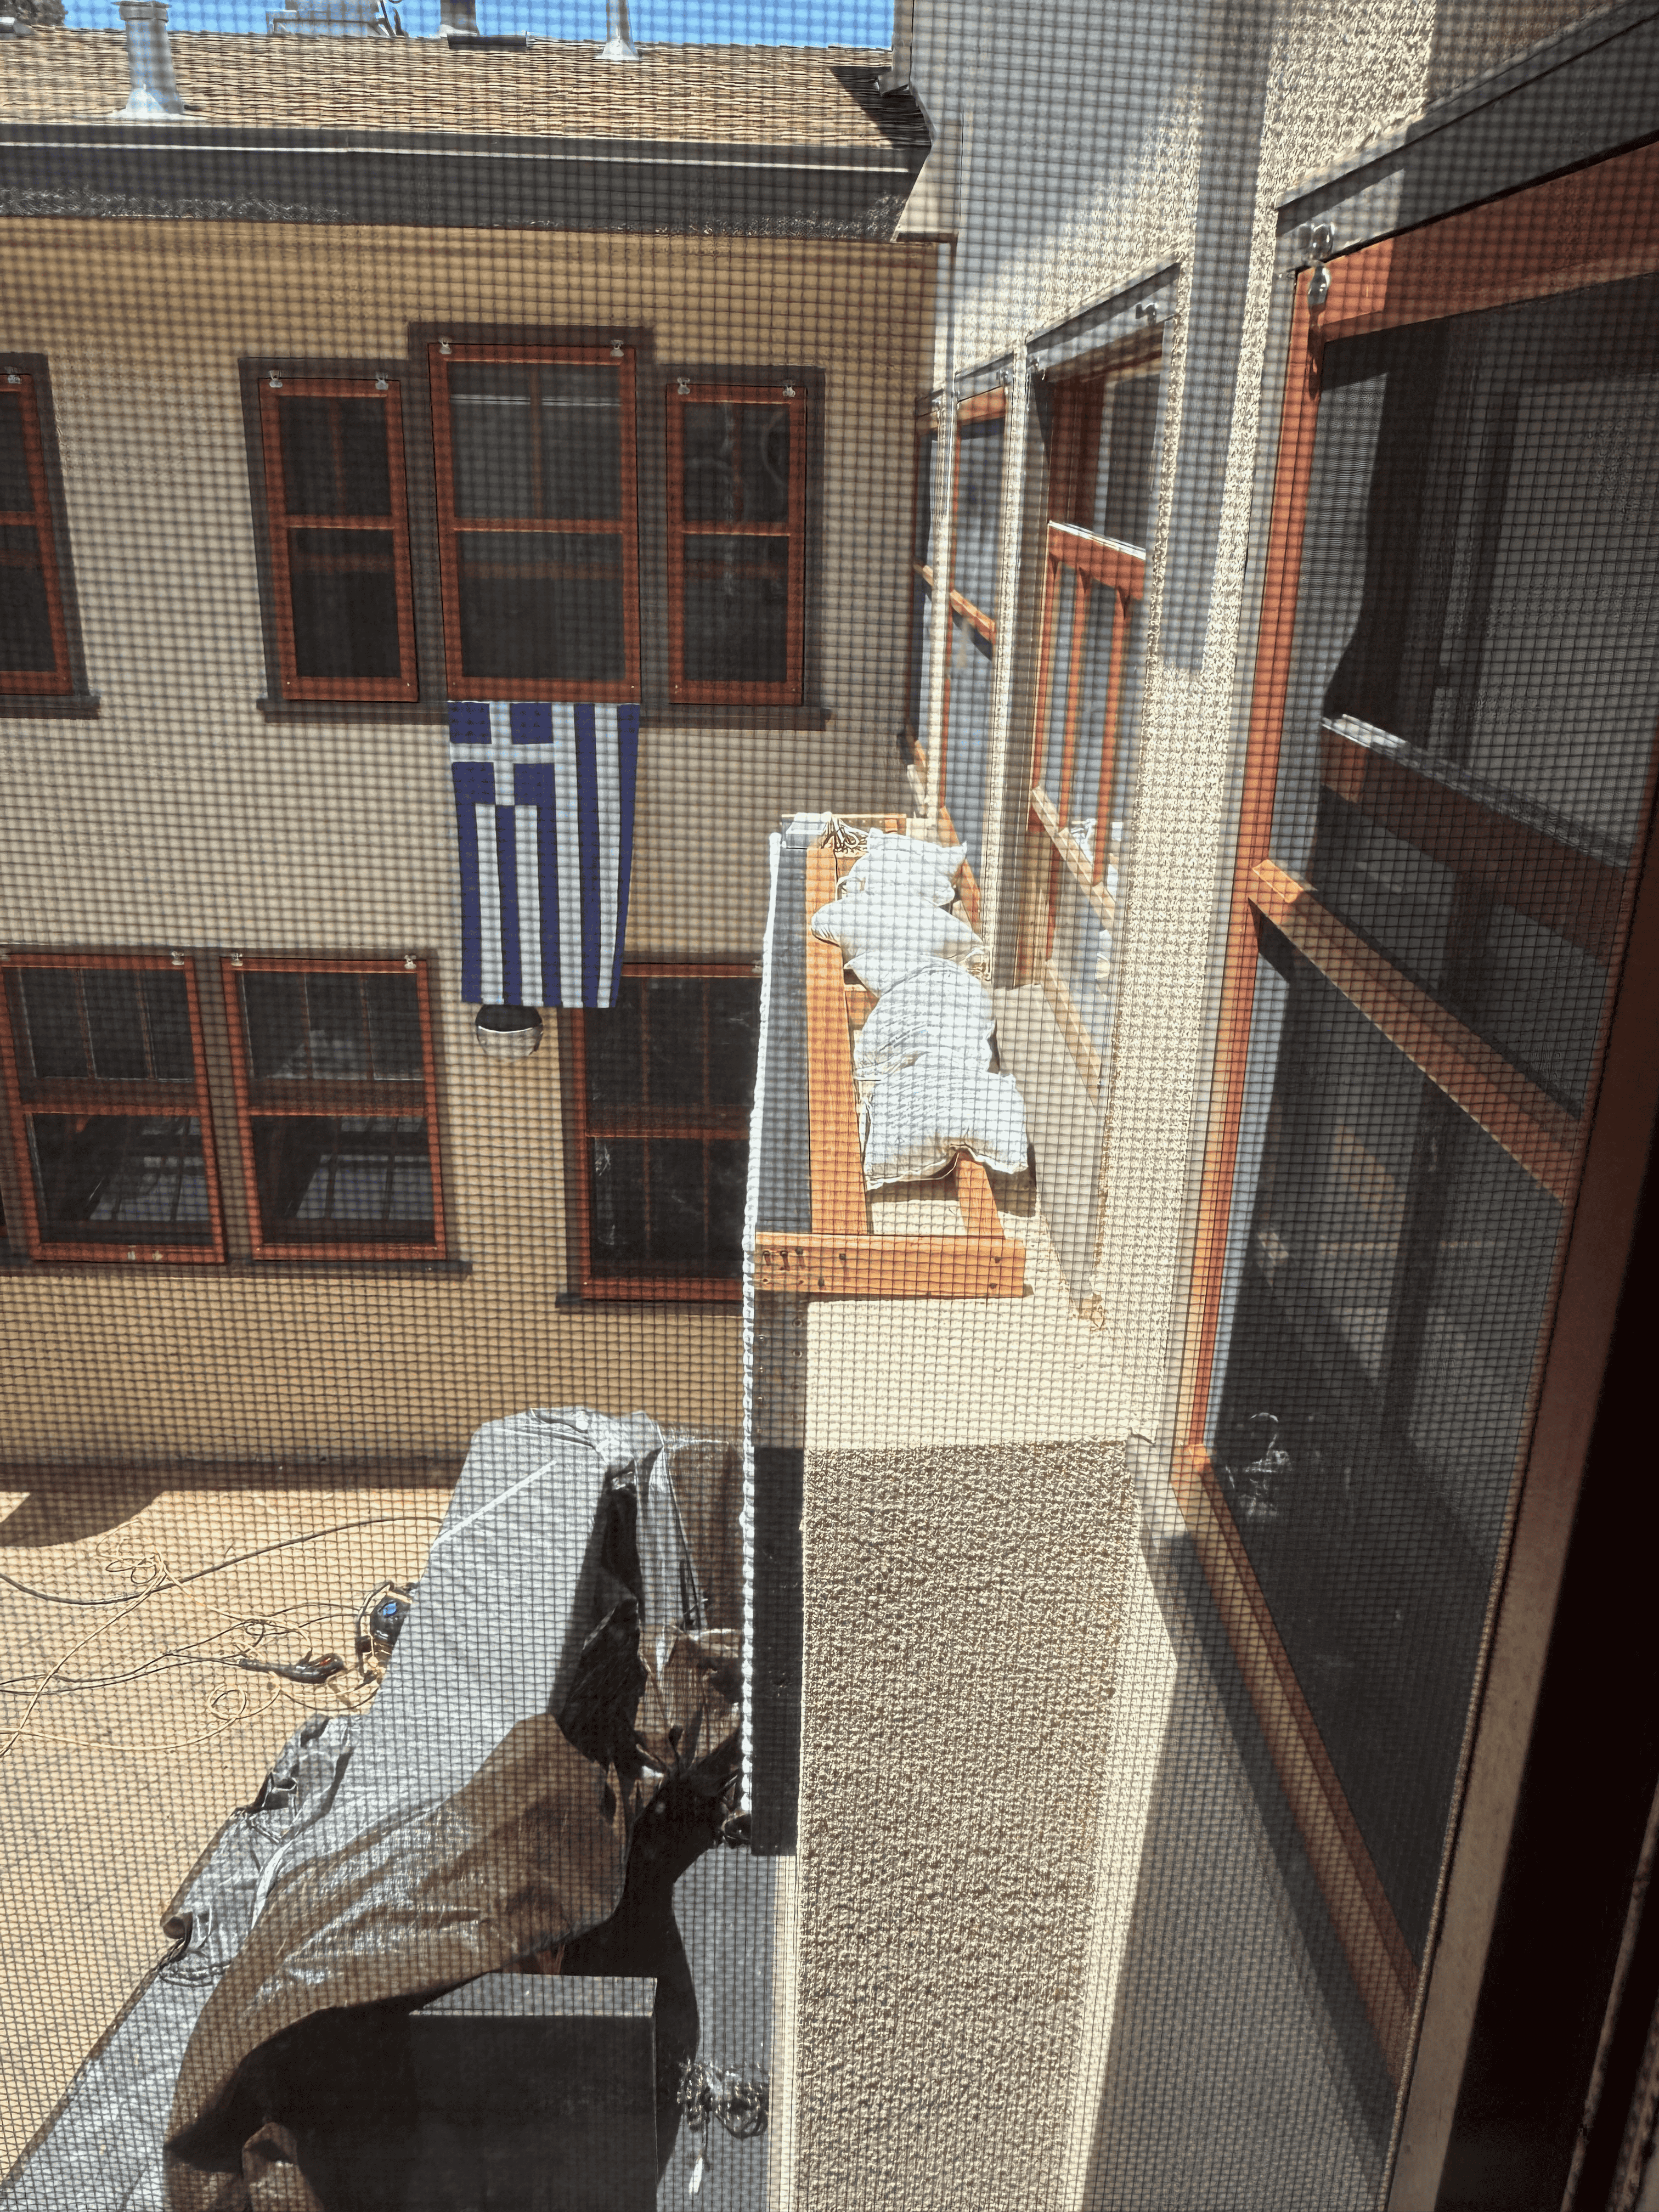
We needed to mount the board high up, and so we had the idea to use the ledge already in our courtyard. For some reason we have a ledge, and it works for this purpose perfectly. But given that our house is owned by Stanford, everything we did had to be temporary, and zero modification of our house (such as drilling holes in the wall) was allowed. So I started brainstorming, and eventually figured/hoped that a simple L shaped mount that rested on the ledge and relied on it’s own shape to keep it from sliding off the wall would work.
Pledge Build
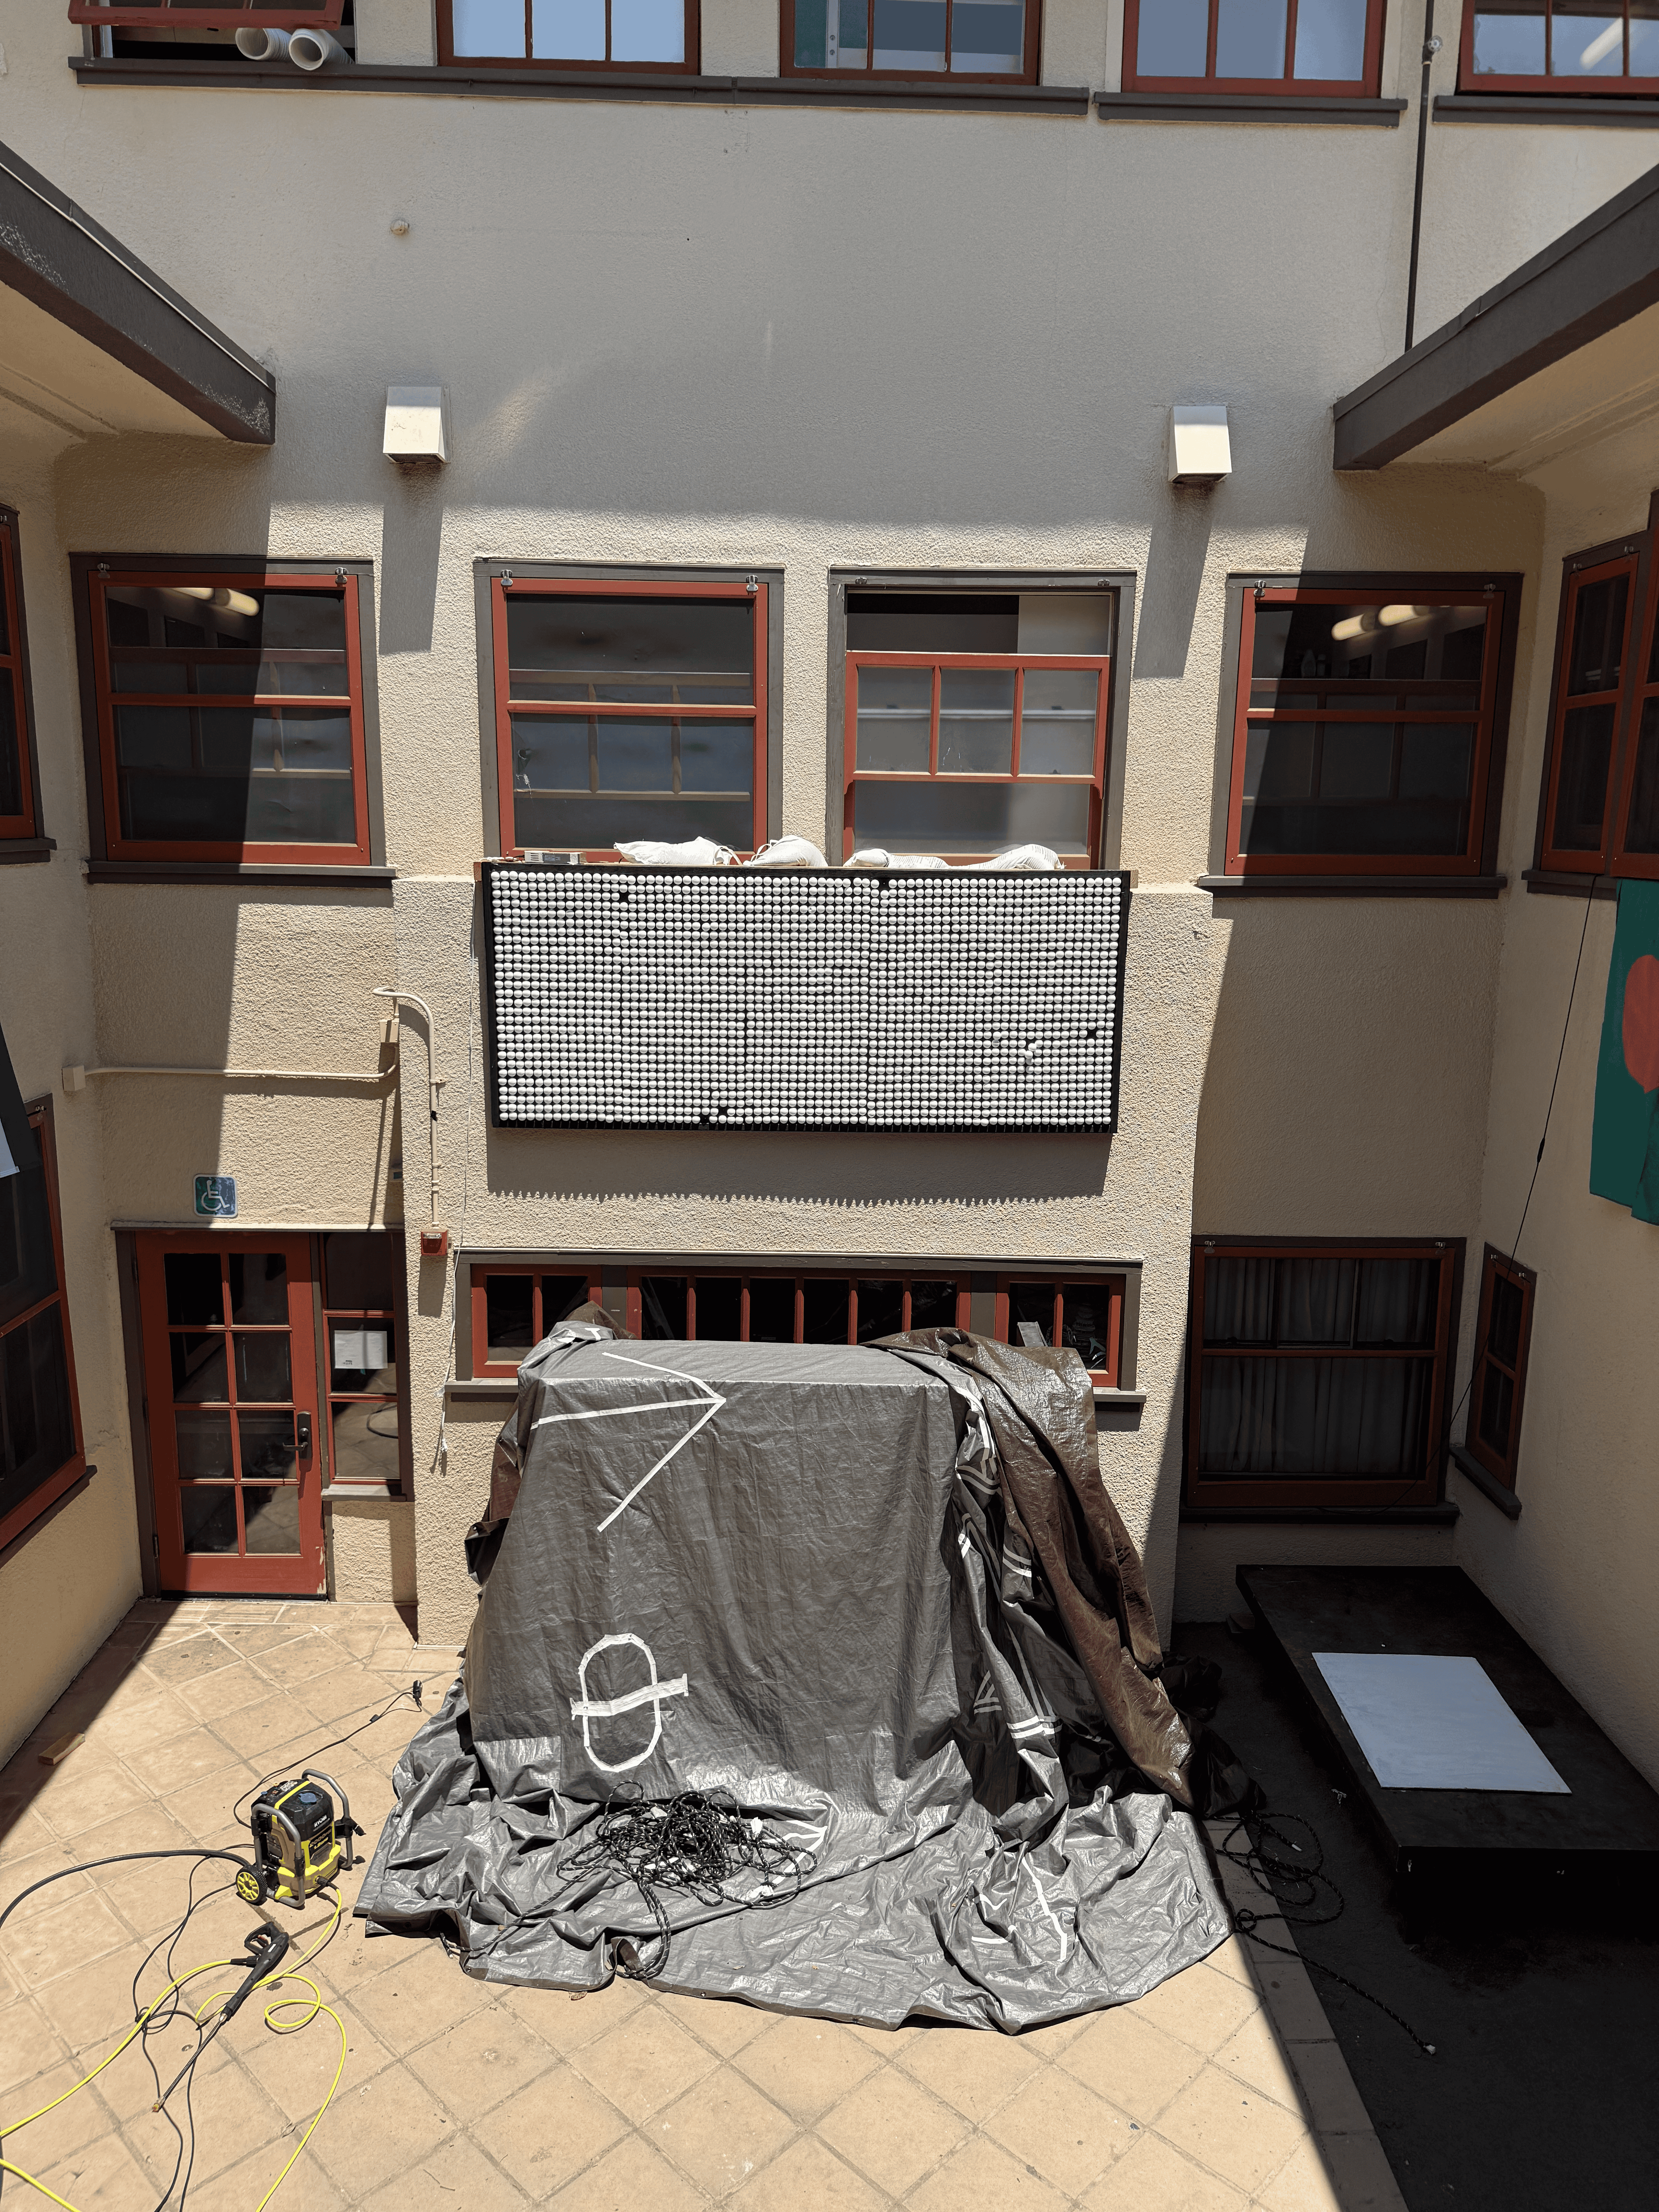
The eventual solution was far from perfect, but it worked. Keep in mind this was freshman spring, and I’m writing this in my junior fall (wow, time flies!). It was essentially a 10 foot wide 2x4 frame that kept all the panels together, with the tail of the “L” shape extending backwards from the top. This tail would rest on the ledge, and the bottom of the actual panel would rest against the wall, preventing the entire contraption from levering off the wall.
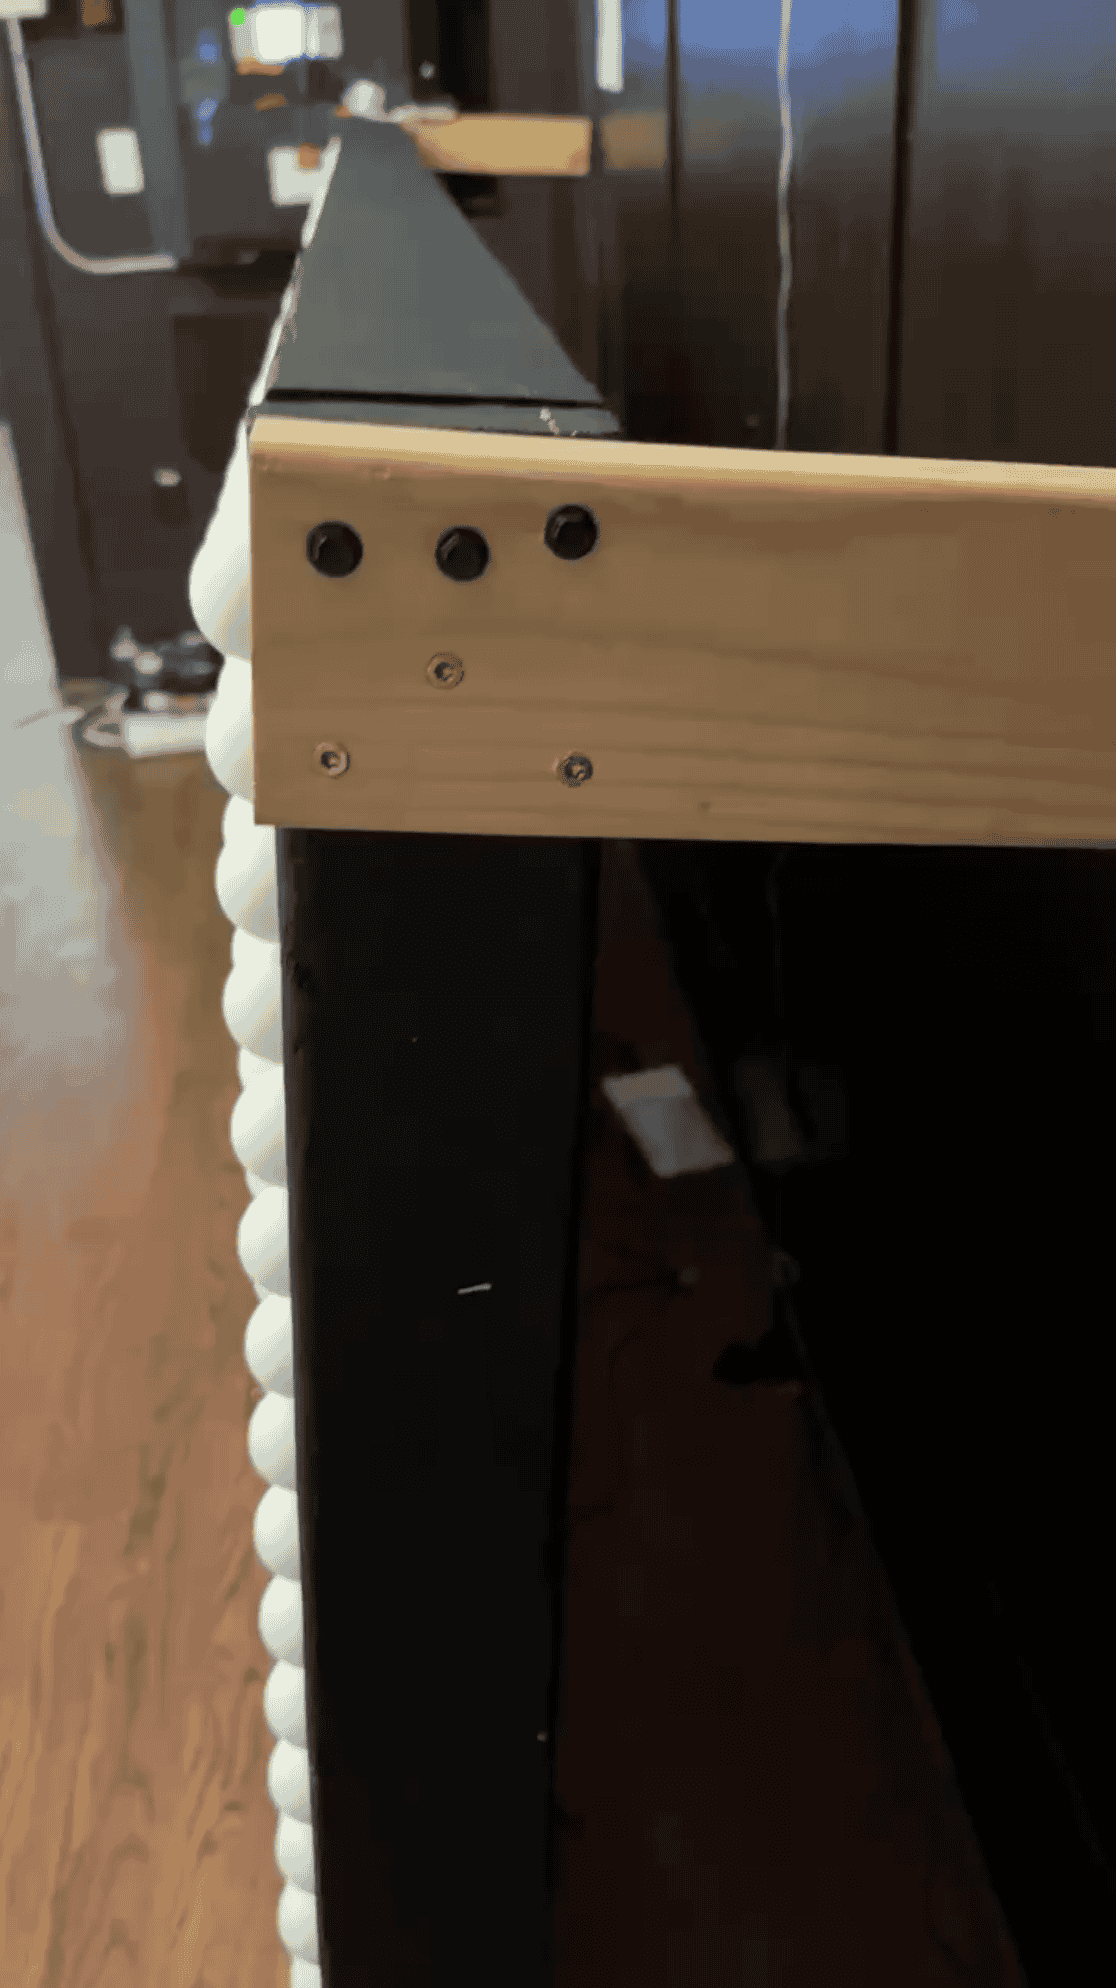
Here is a picture from the build process. As you can see, only the frame had been built. I attached two 2x4s to be the “tail” of the L shape, and then realized/inferred that they would not be nearly strong enough, even with 3 structural screws. So I had the idea to create L shaped steel brackets, which would attach to the panel portion of the frame as well as the tail portion. Thijs went to lab64 and got these L brackets cut out, which worked perfectly.
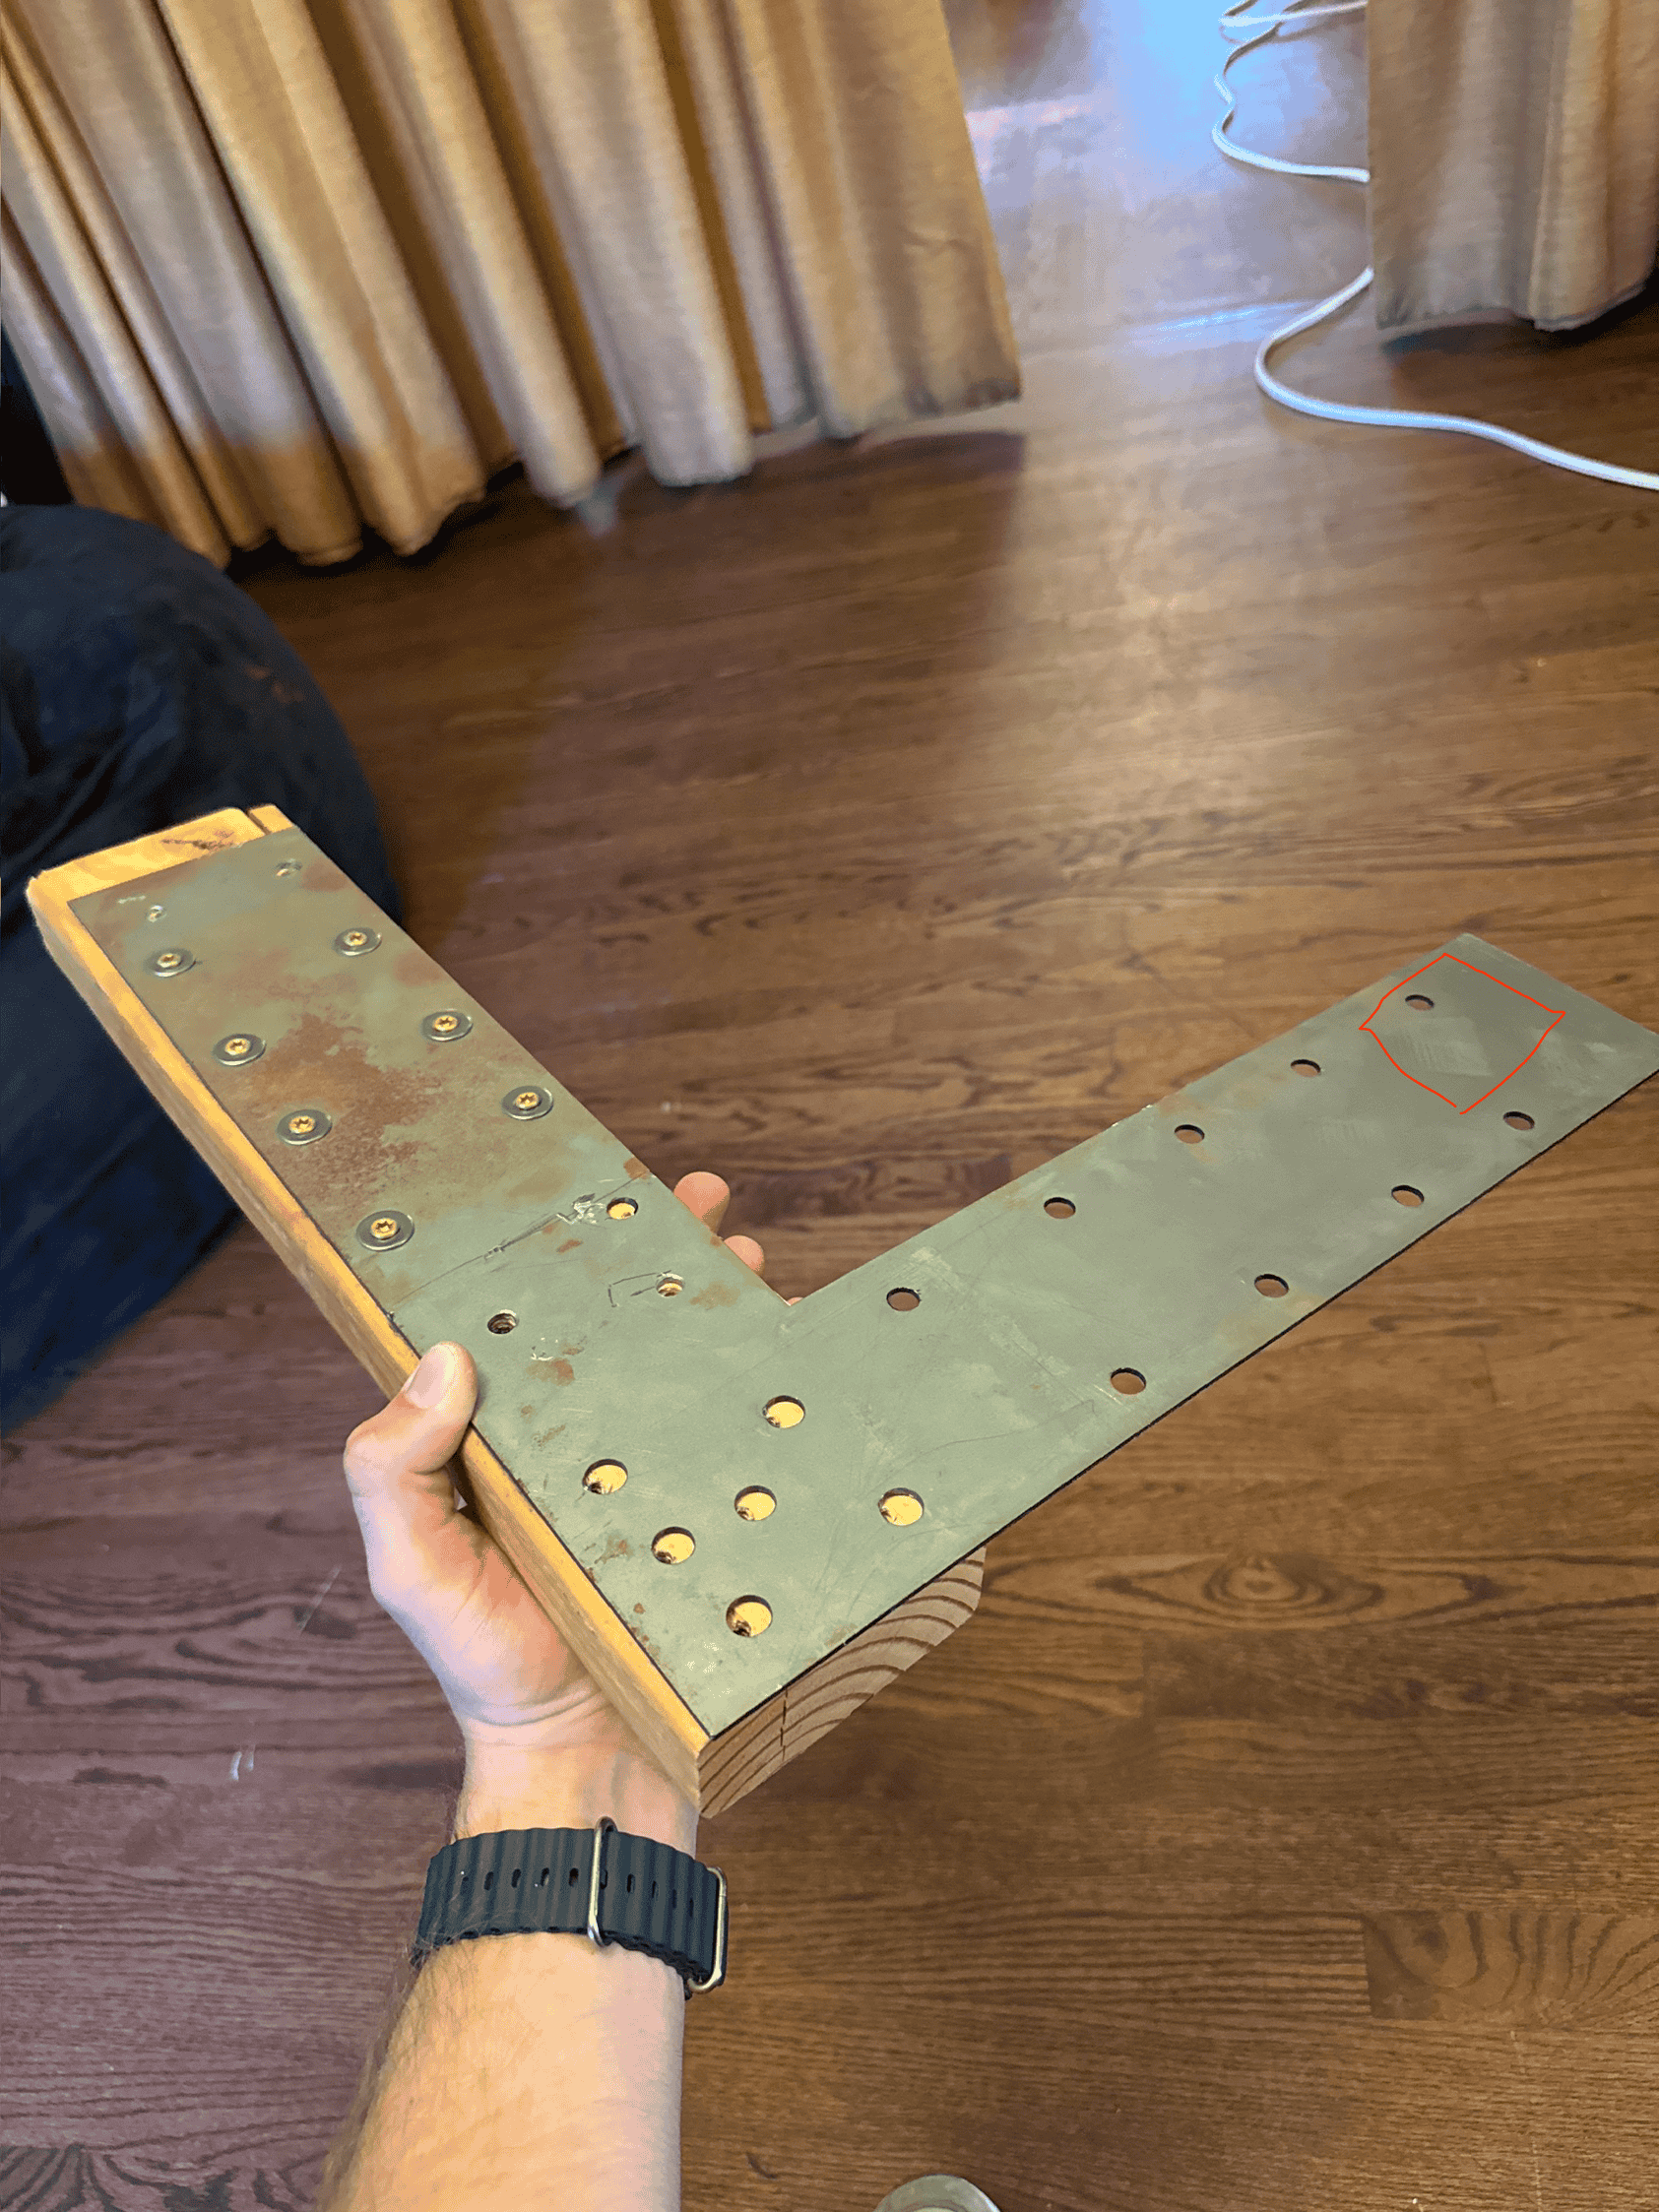
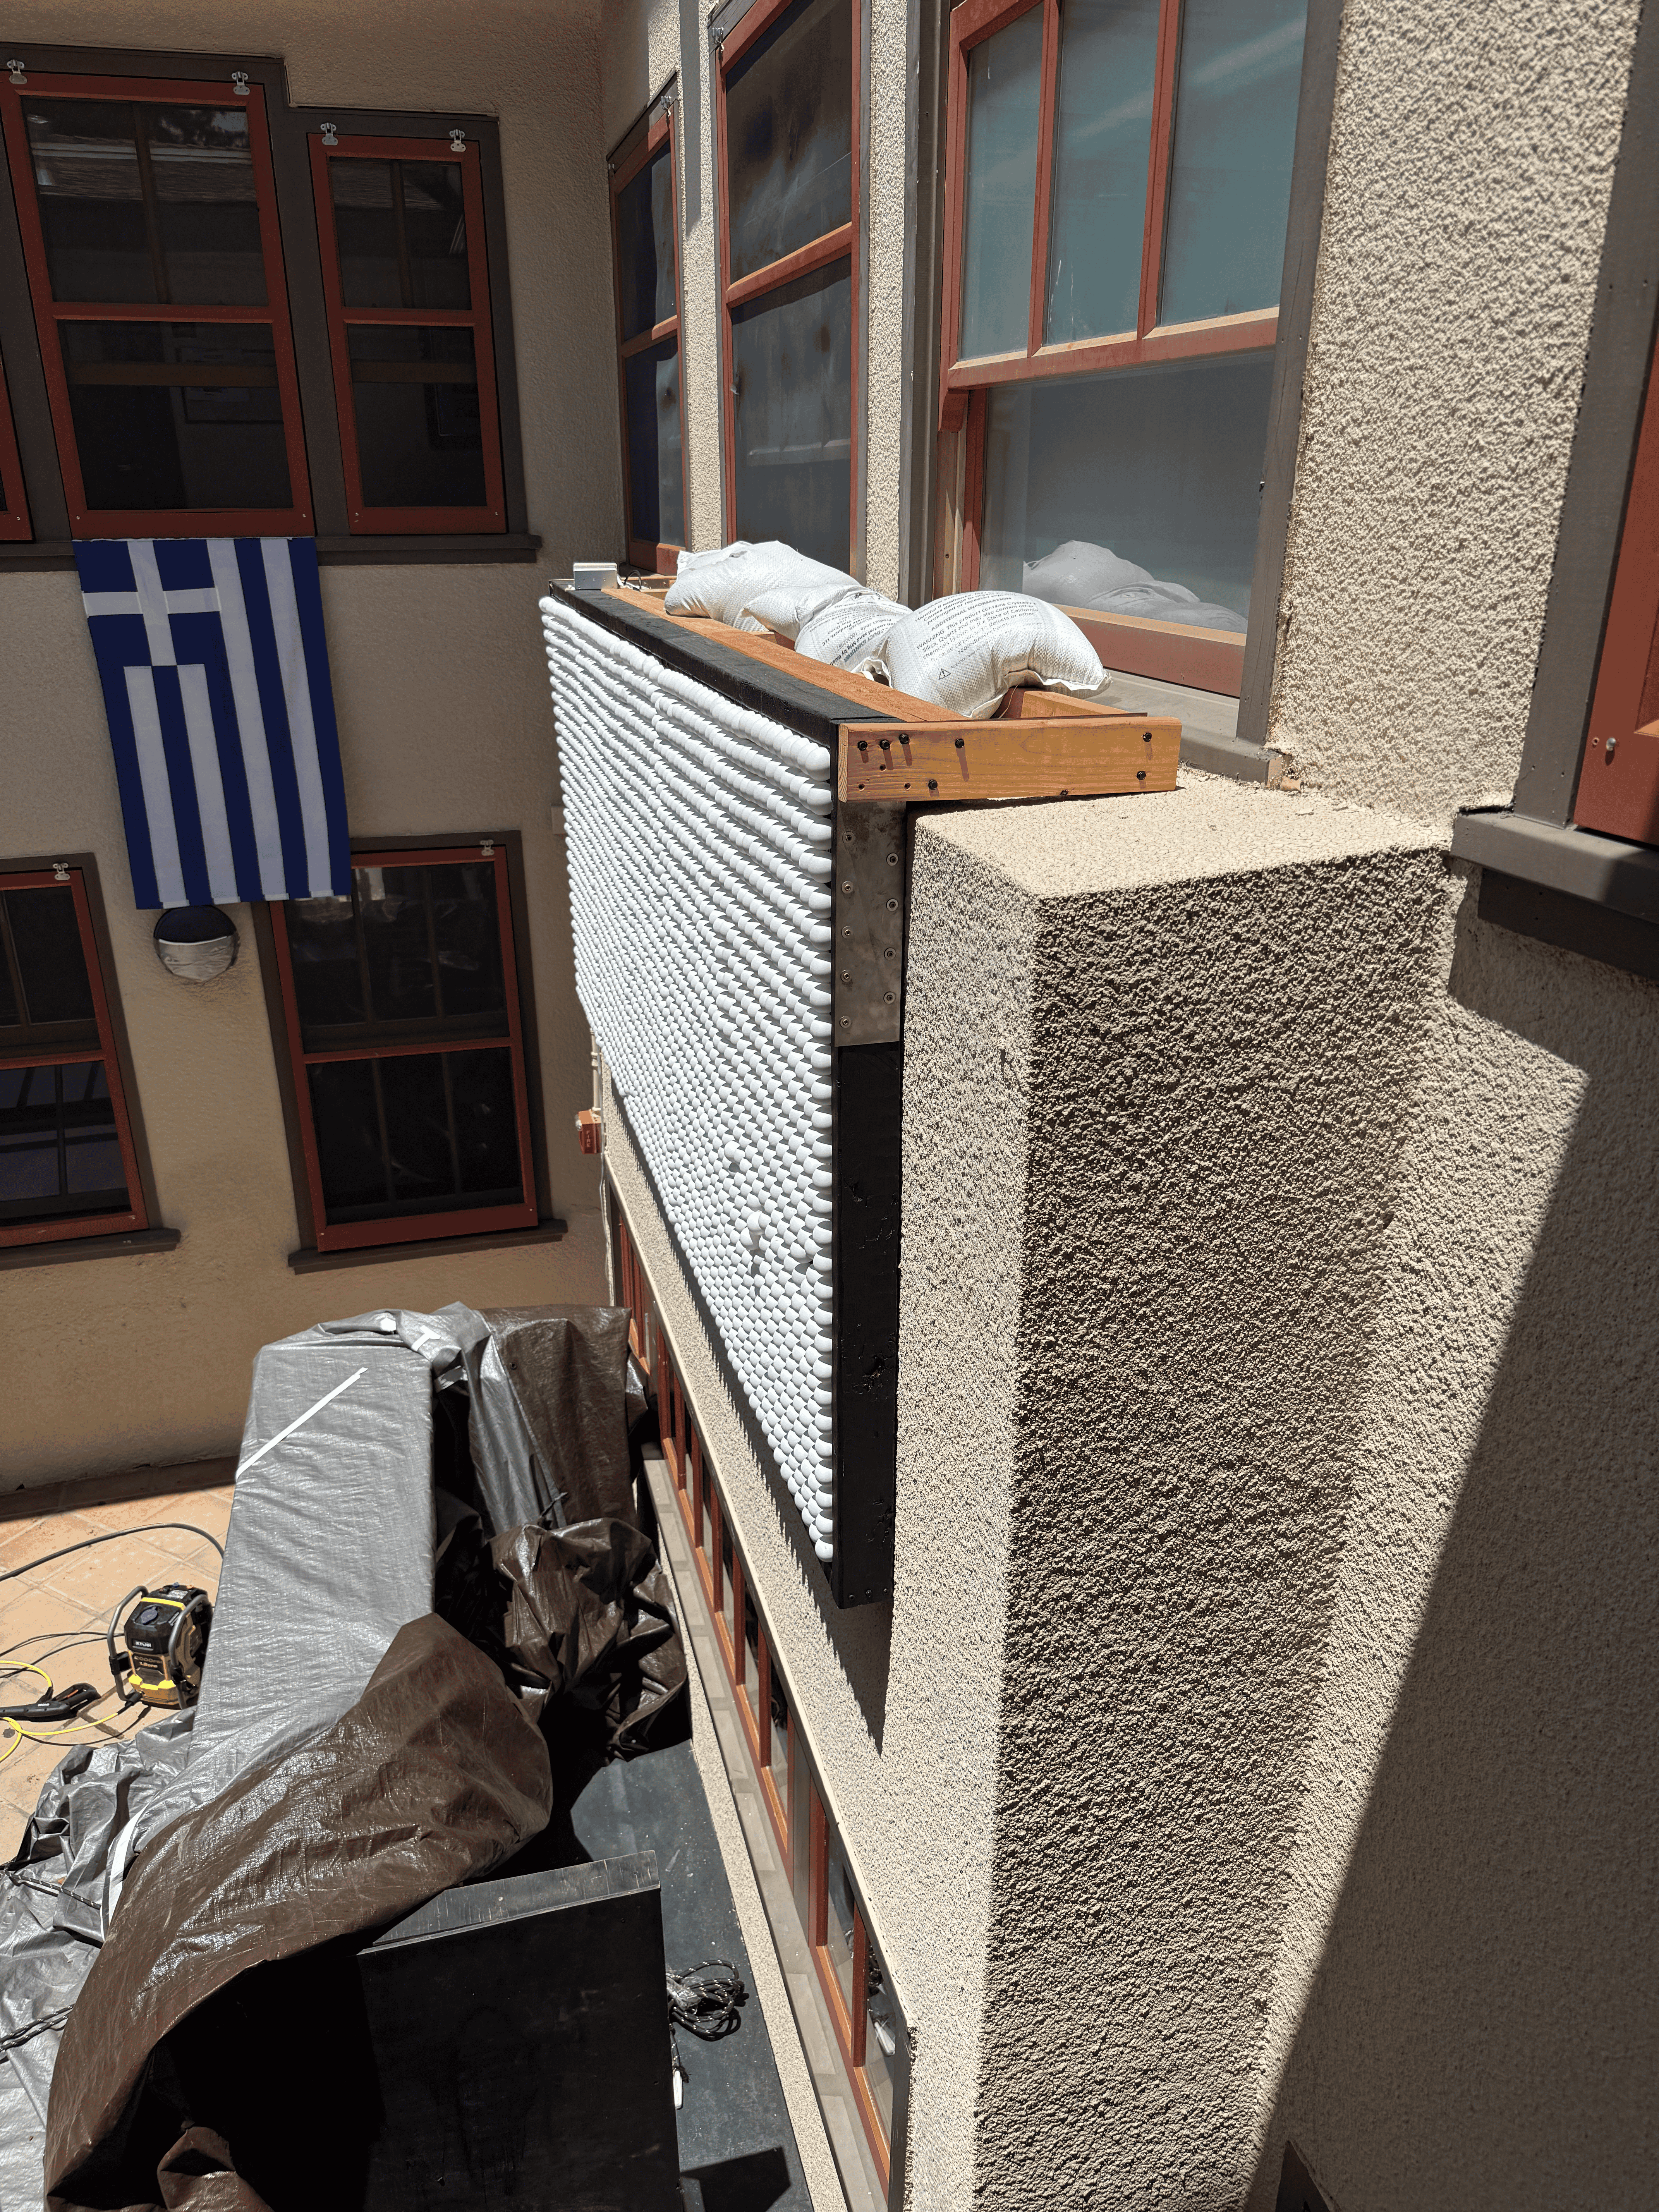
I then added a 4x4 to the tail section, as well as a 2x4 and some blocking, to provide a point for sand bags to rest on. The idea with the sand bags was to prevent the whole mount from sliding off. The frictional force would probably be sufficient, but better safe than sorry.
Initial Success
It functioned well during spring, but it was heavy and inconvenient to install. The whole mount was probably well over 200lbs and required five men to hoist up and install on the ledge. So when the school threw the mount out during the summer time (yes, this is a big pain in the ass), we decided to rebuild it even better.
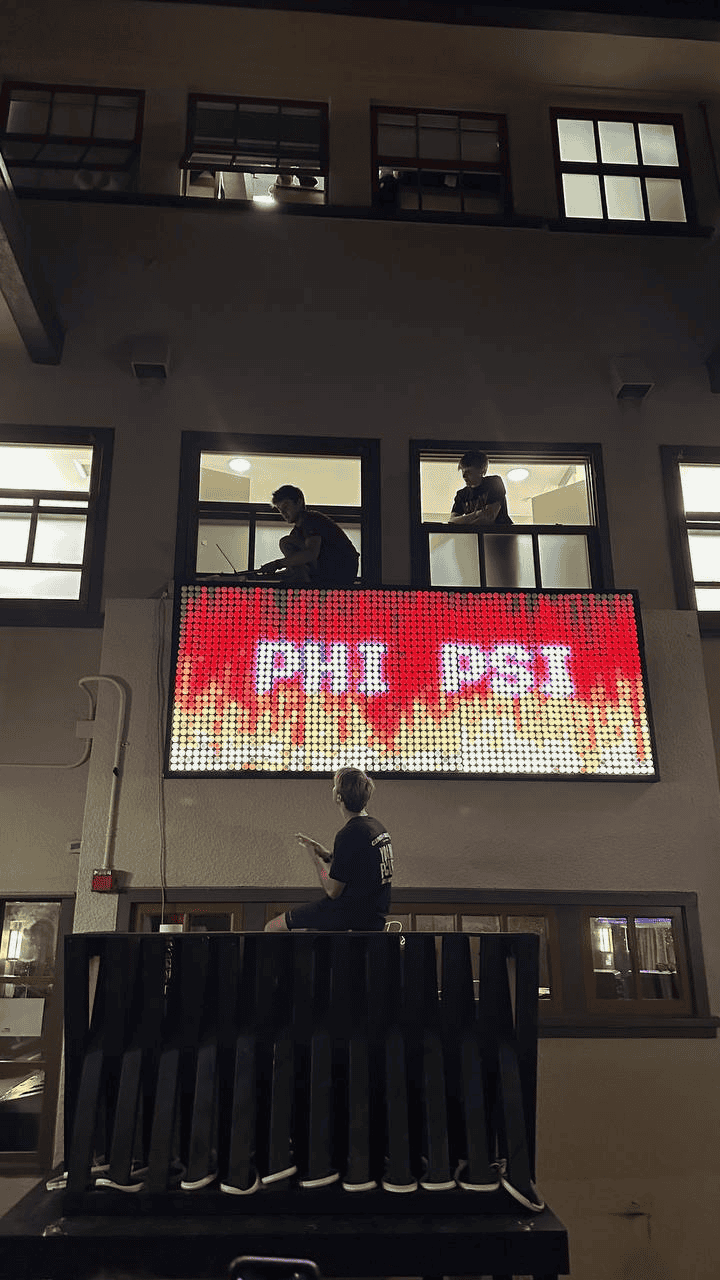
This was from the night we got the board installed. I’m on the ledge, Thijs is leaning out the window giving me instructions, and Griffin is watching from below making sure I don’t fall off the ledge. Those were the days.
Rebuild Opportunity
Thankfully, Thijs had rescued the most important parts of the mount, which were the L shaped steel brackets.
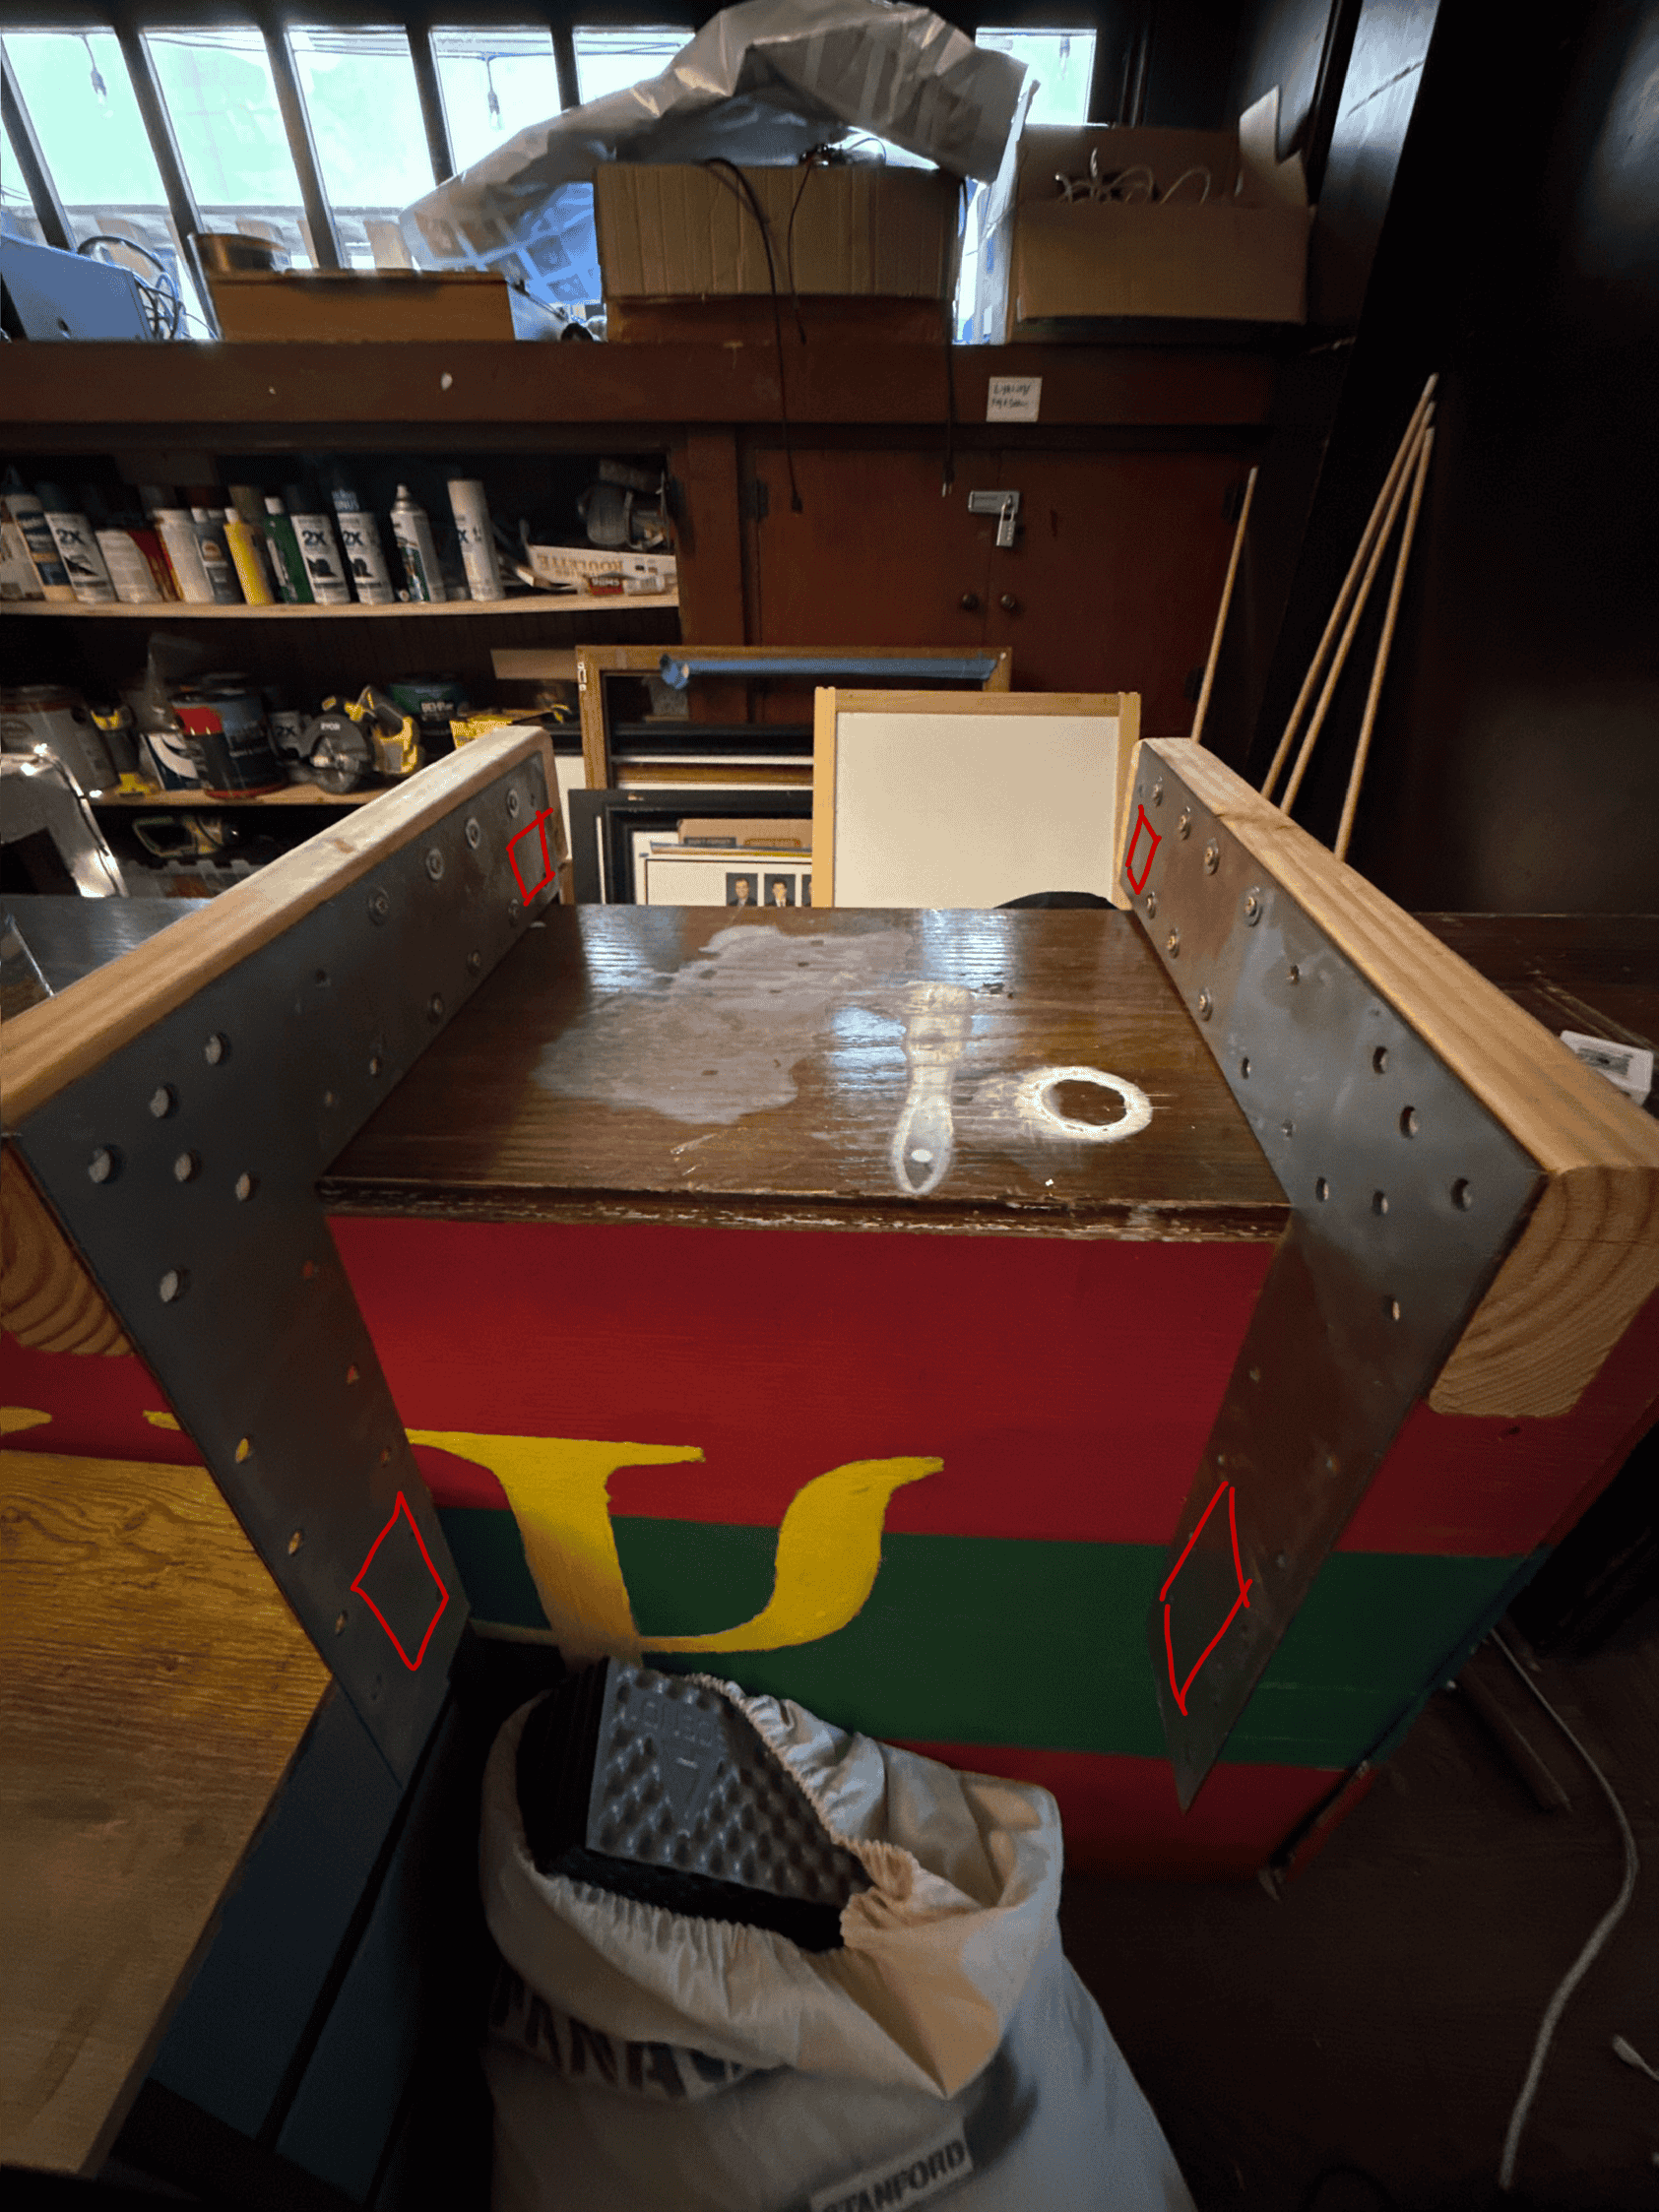
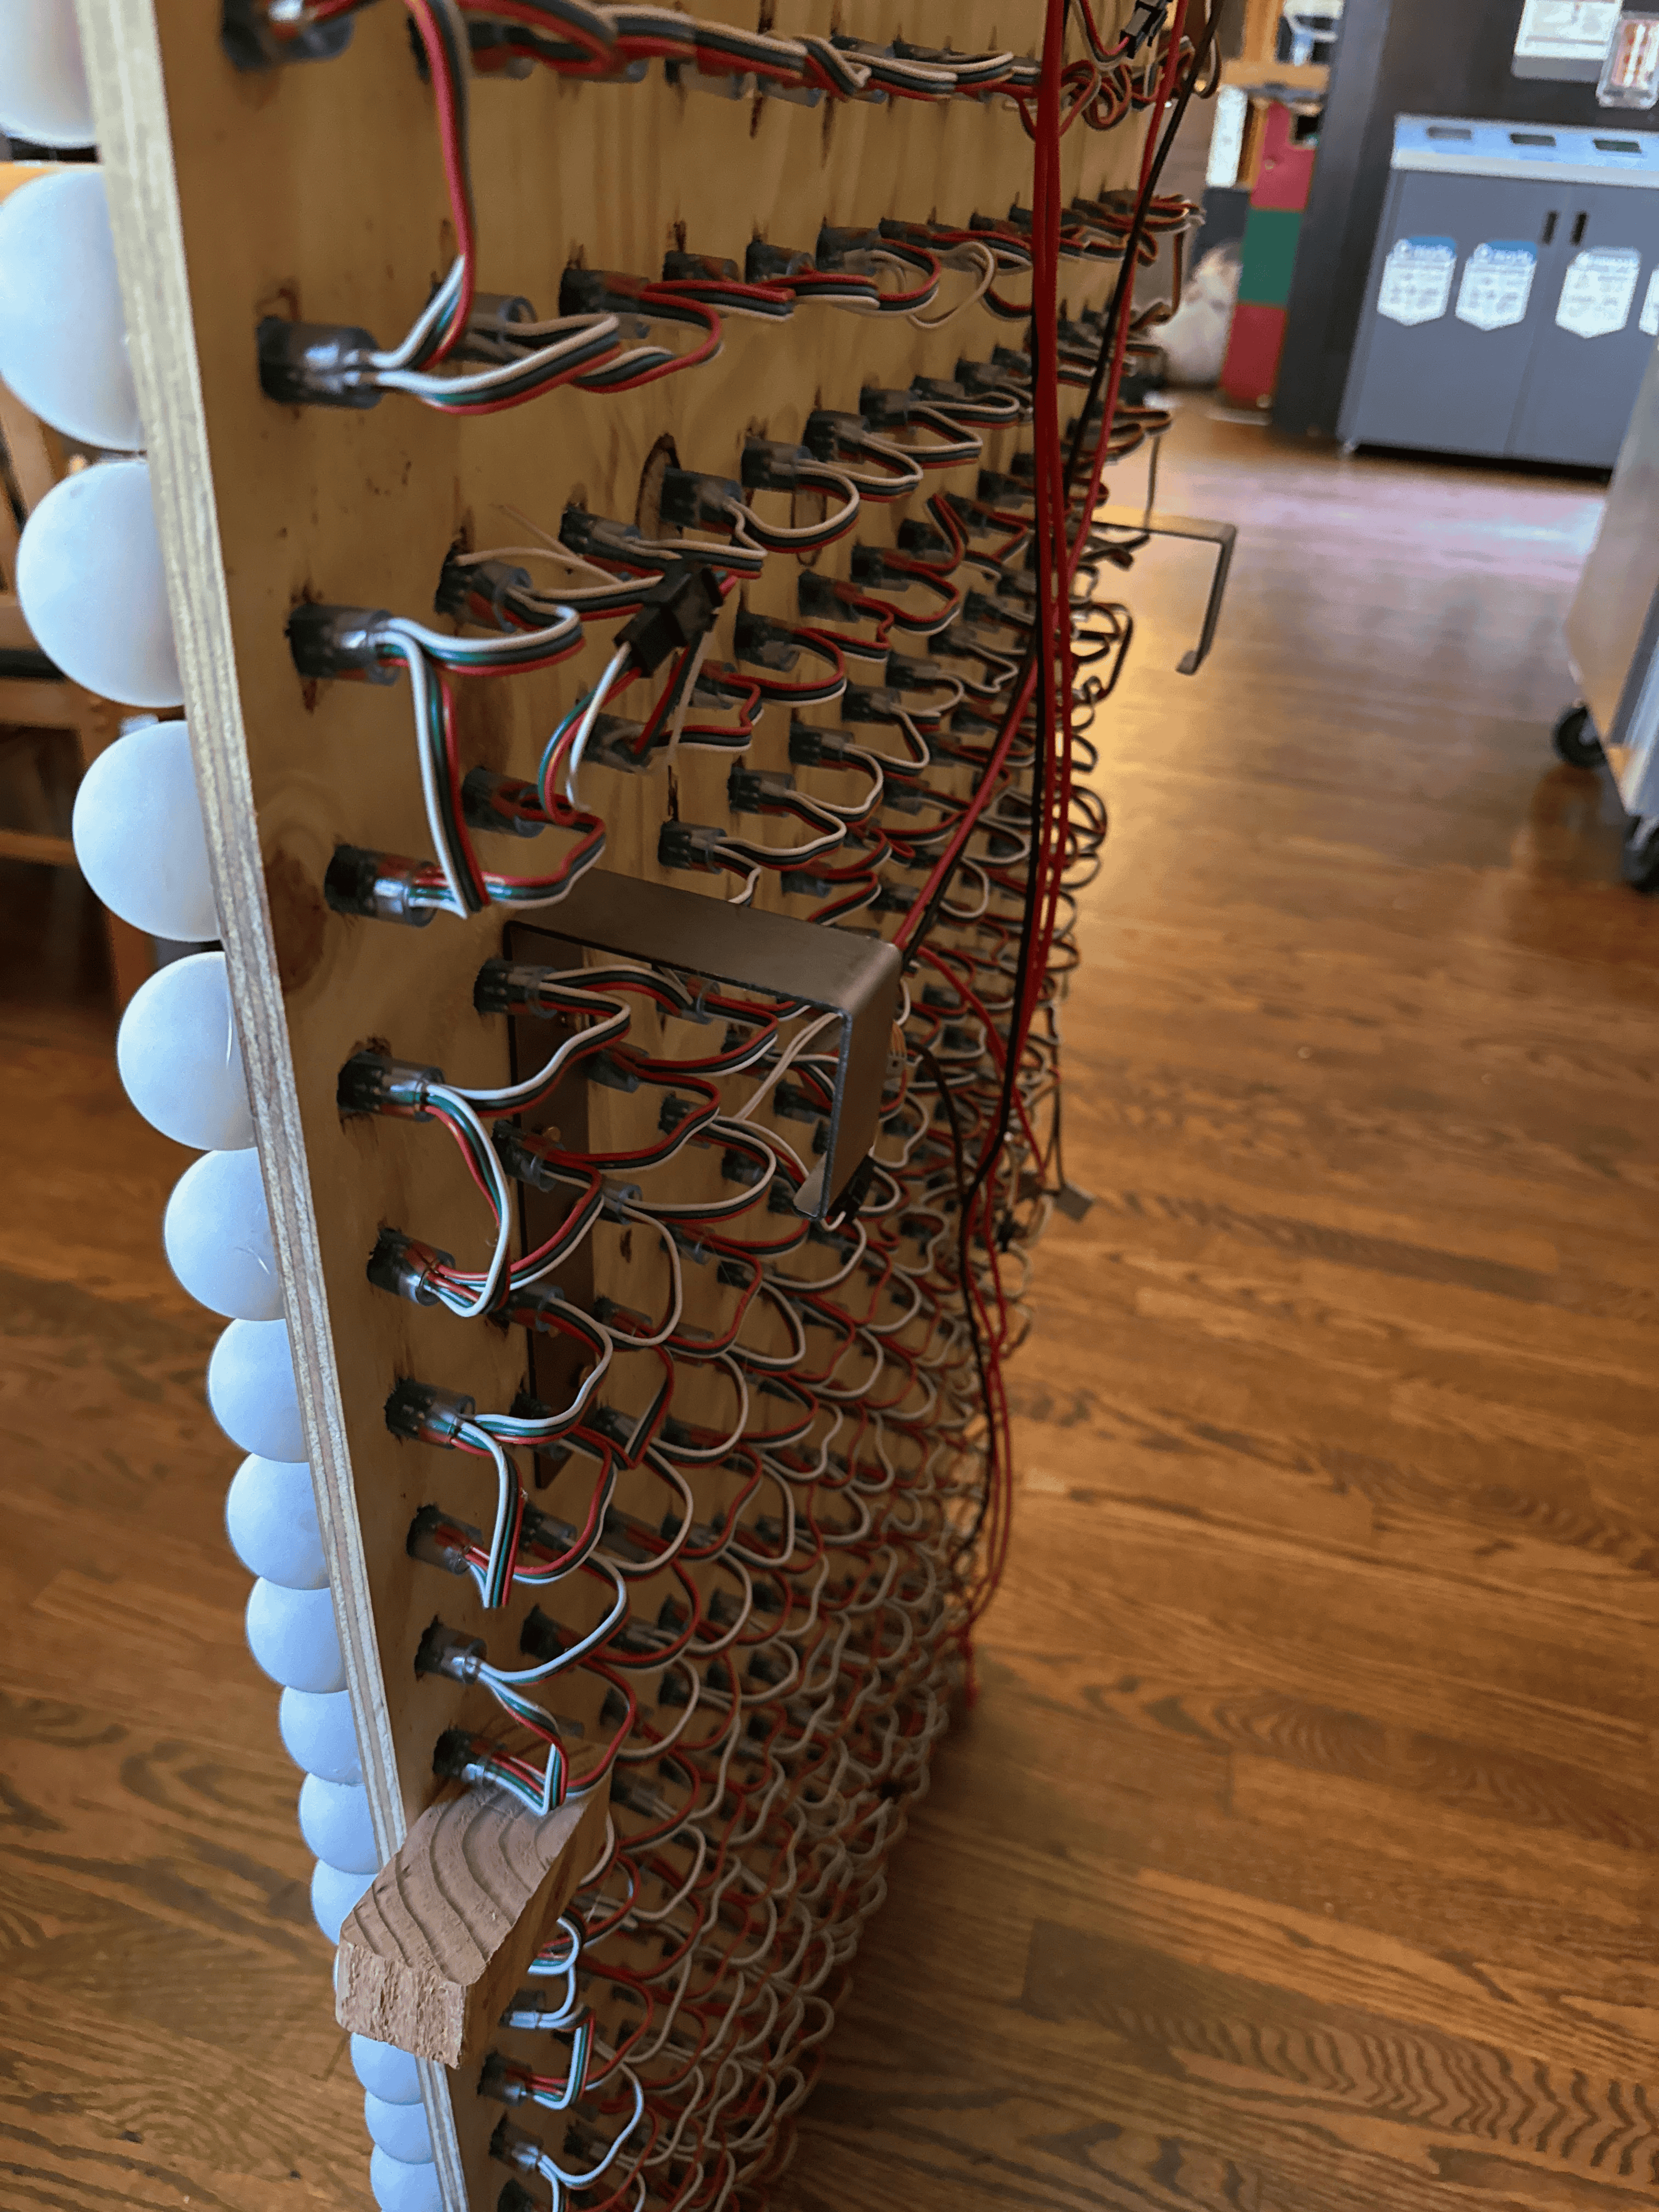
We figured we could weld square tubing between the two of them and make a separate frame that would rest on the ledge. Then, we would install brackets on each light panel, which could then be hooked into place and slid into position.
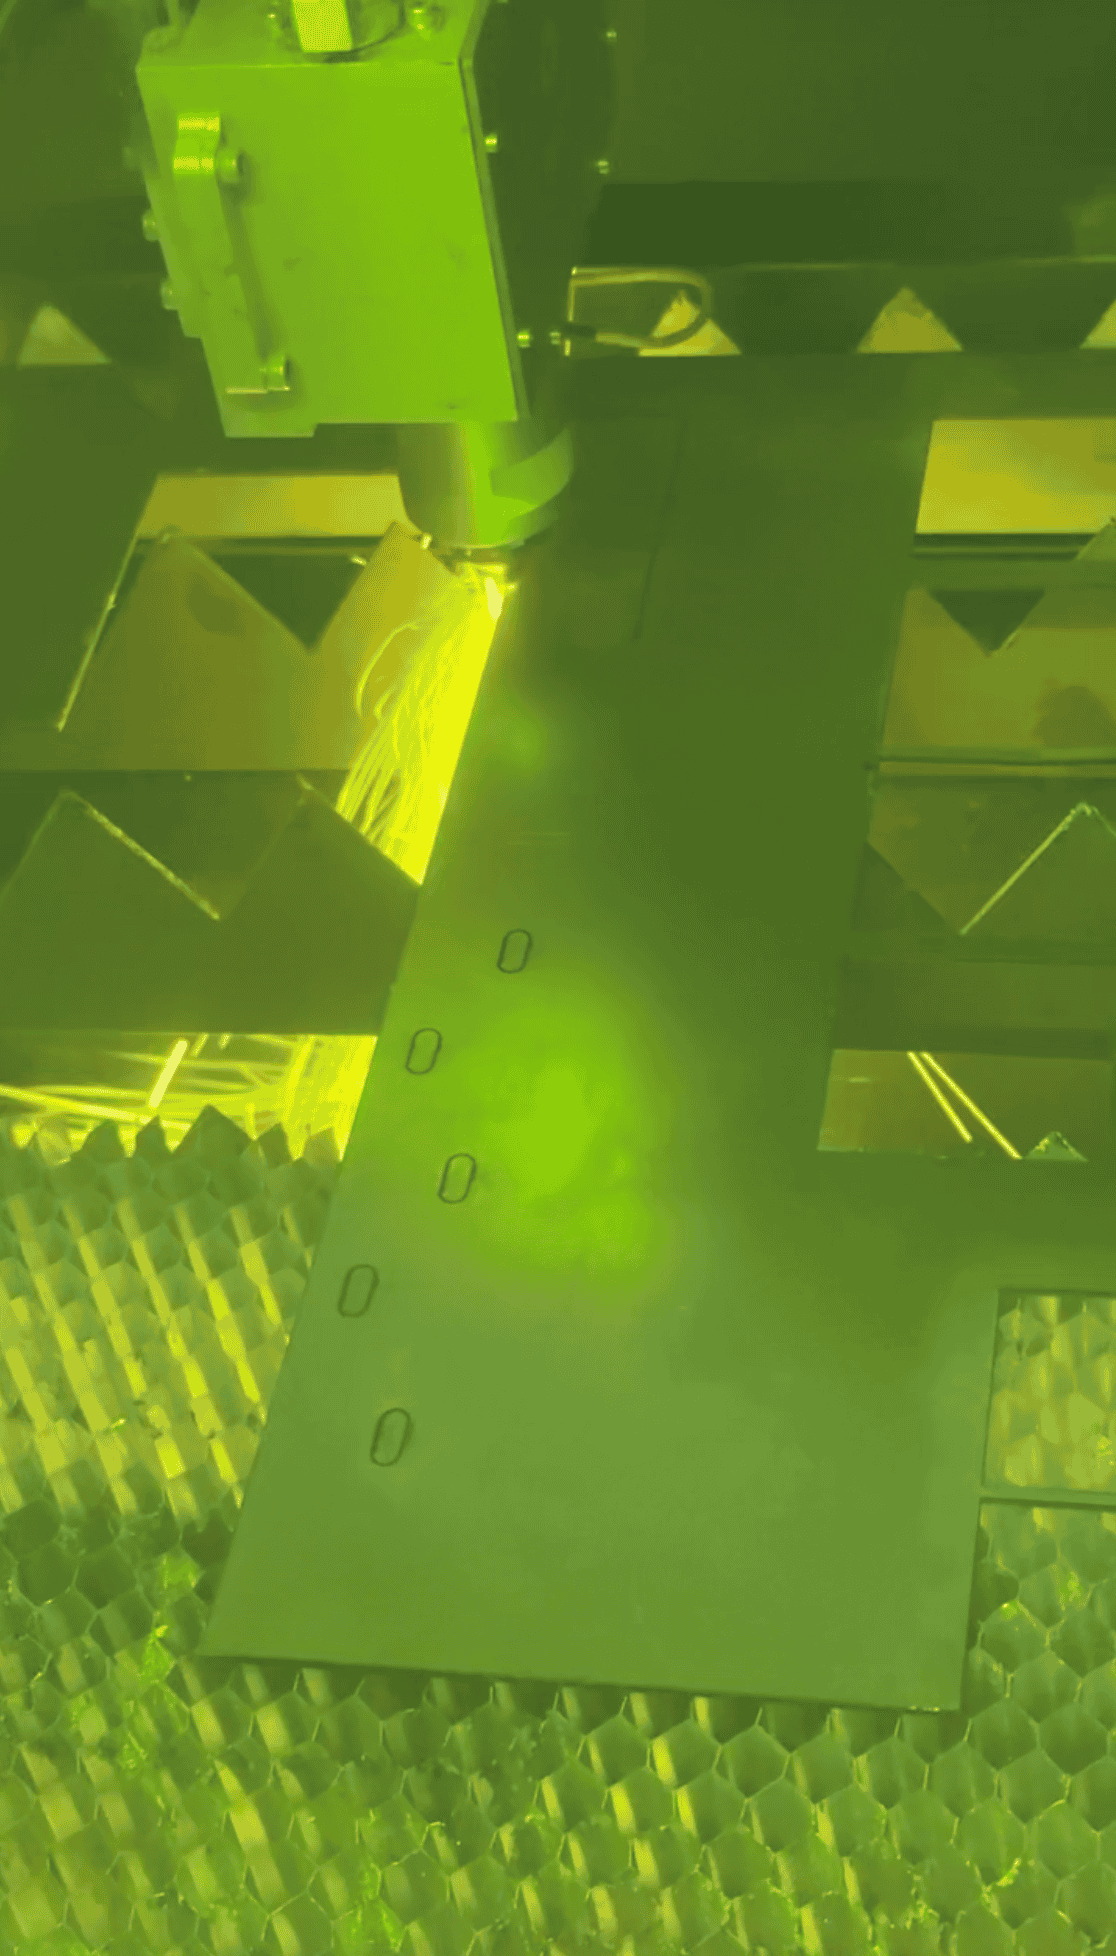
Laser Cutting
In the week leading up to our first party, I went to lab64 and used their metal laser cutter to cut out the steel brackets. I then used the metal brake to fold them into their final shape.
Welding
The day of our party, Thijs and I went to the PRL and I welded up the mount. This was my first actual project with TIG welding, and the welds have held up for over a year now.
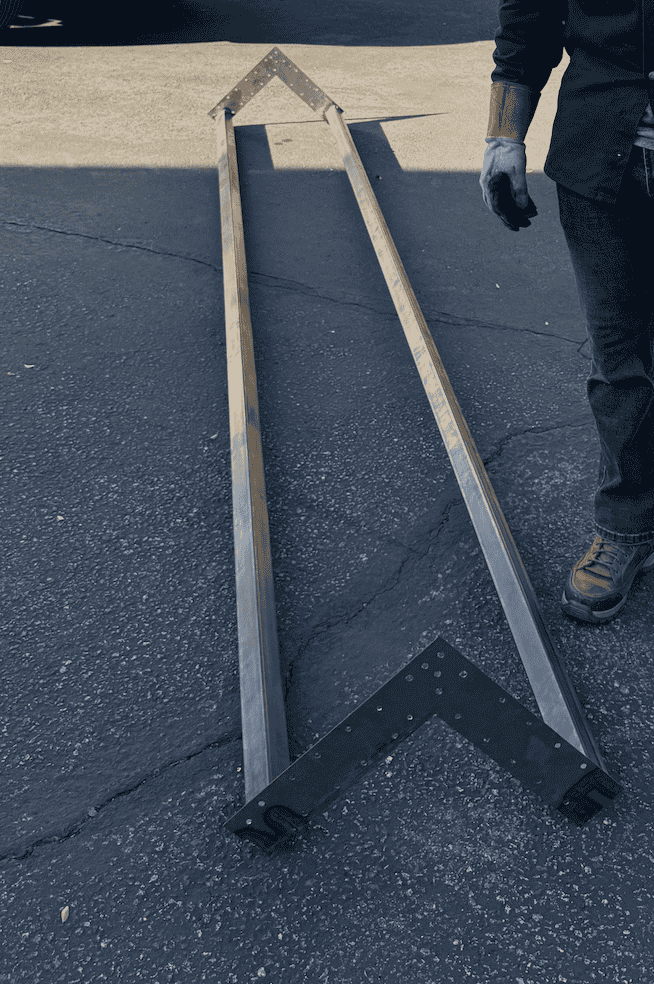
Hanging out in the PRL courtyard after we somehow got the mount welded with no issues.
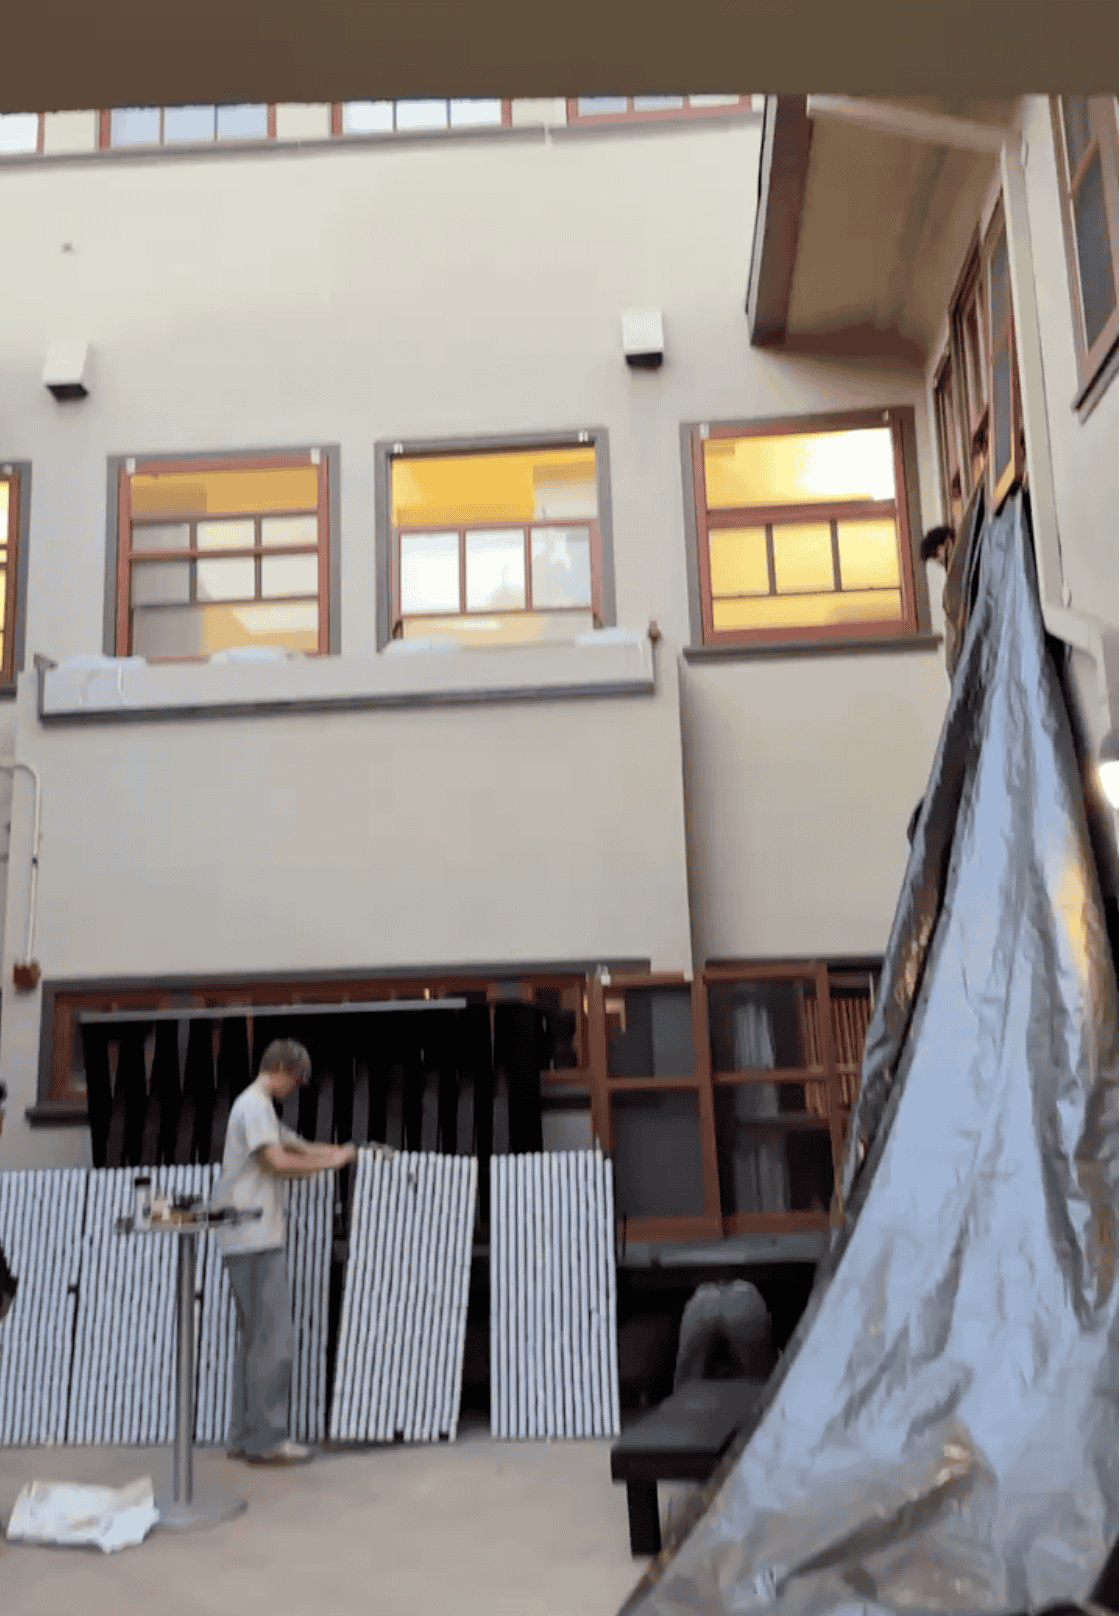
The bracket actually installed on the ledge, waiting for the panels to be put up.
Conclusion
We ended up getting the mount welded in a couple of hours, and even got back in time for the Fetii shoot. The mount worked great for my entire sophomore year, and it even survived the summer move out, as we’ve already used it for a party this fall.