Cutting Boards
Introduction
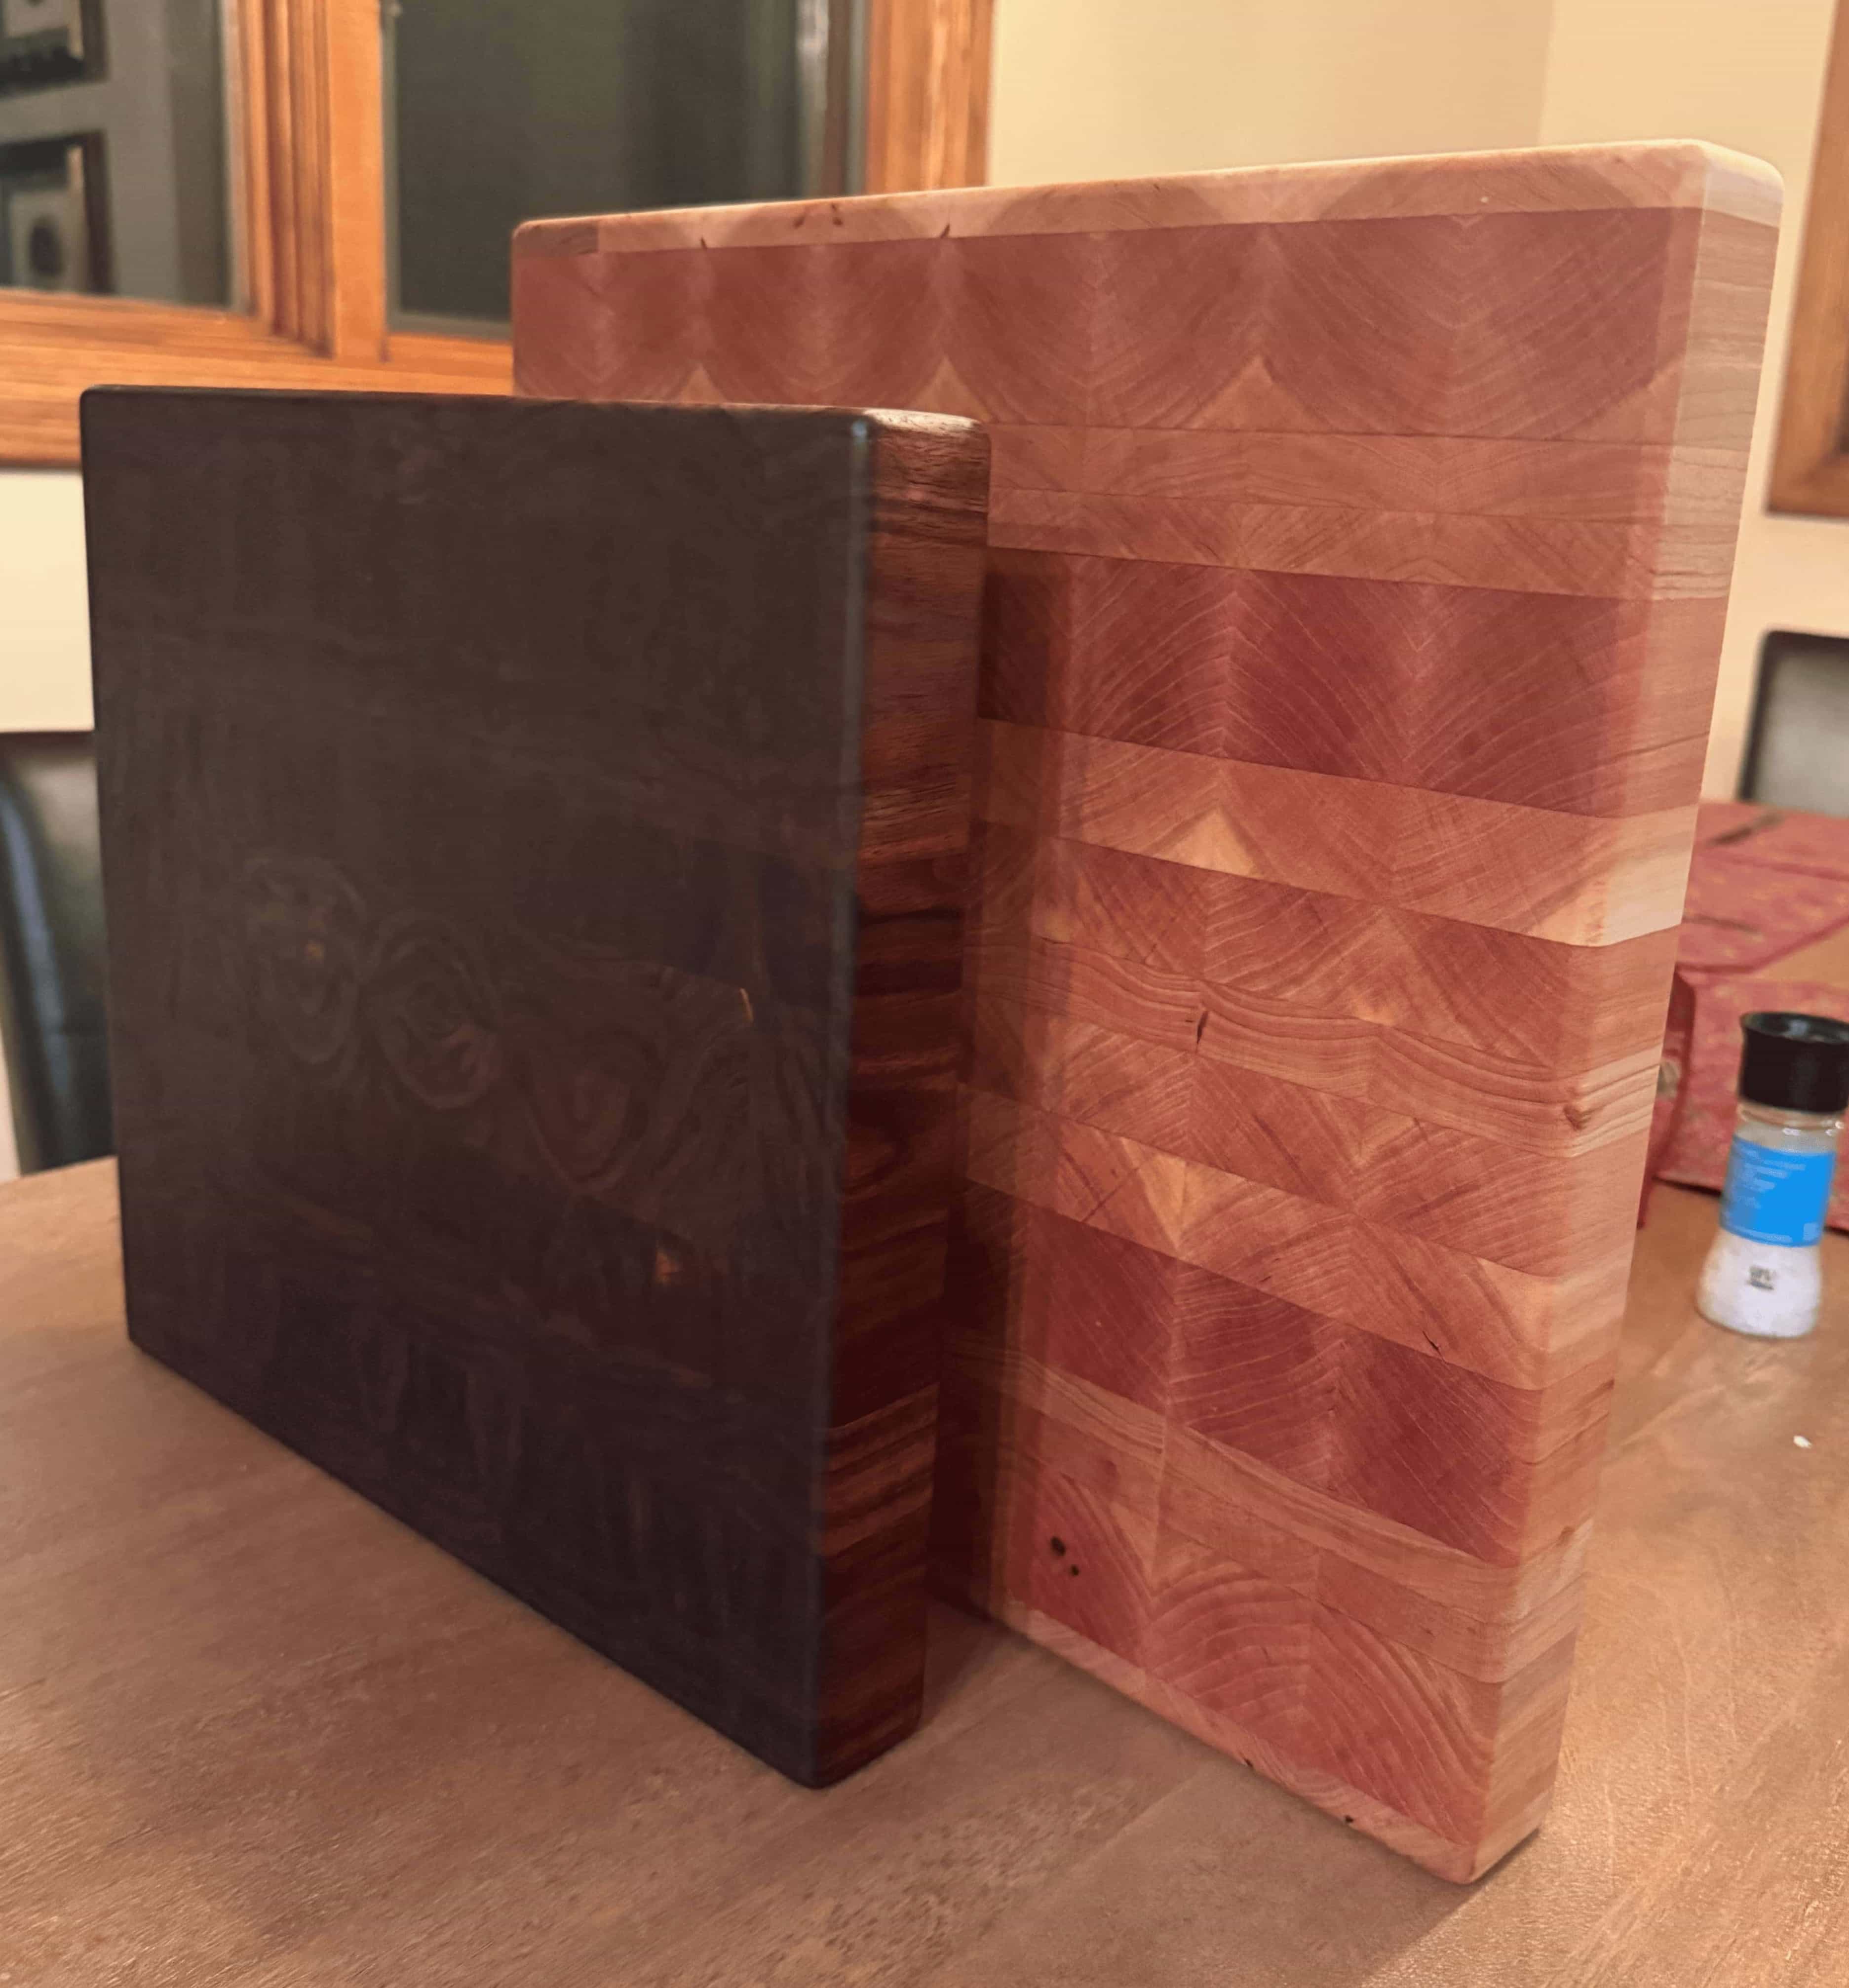
I decided to make a couple of end grain cutting boards as Christmas presents for my relatives.
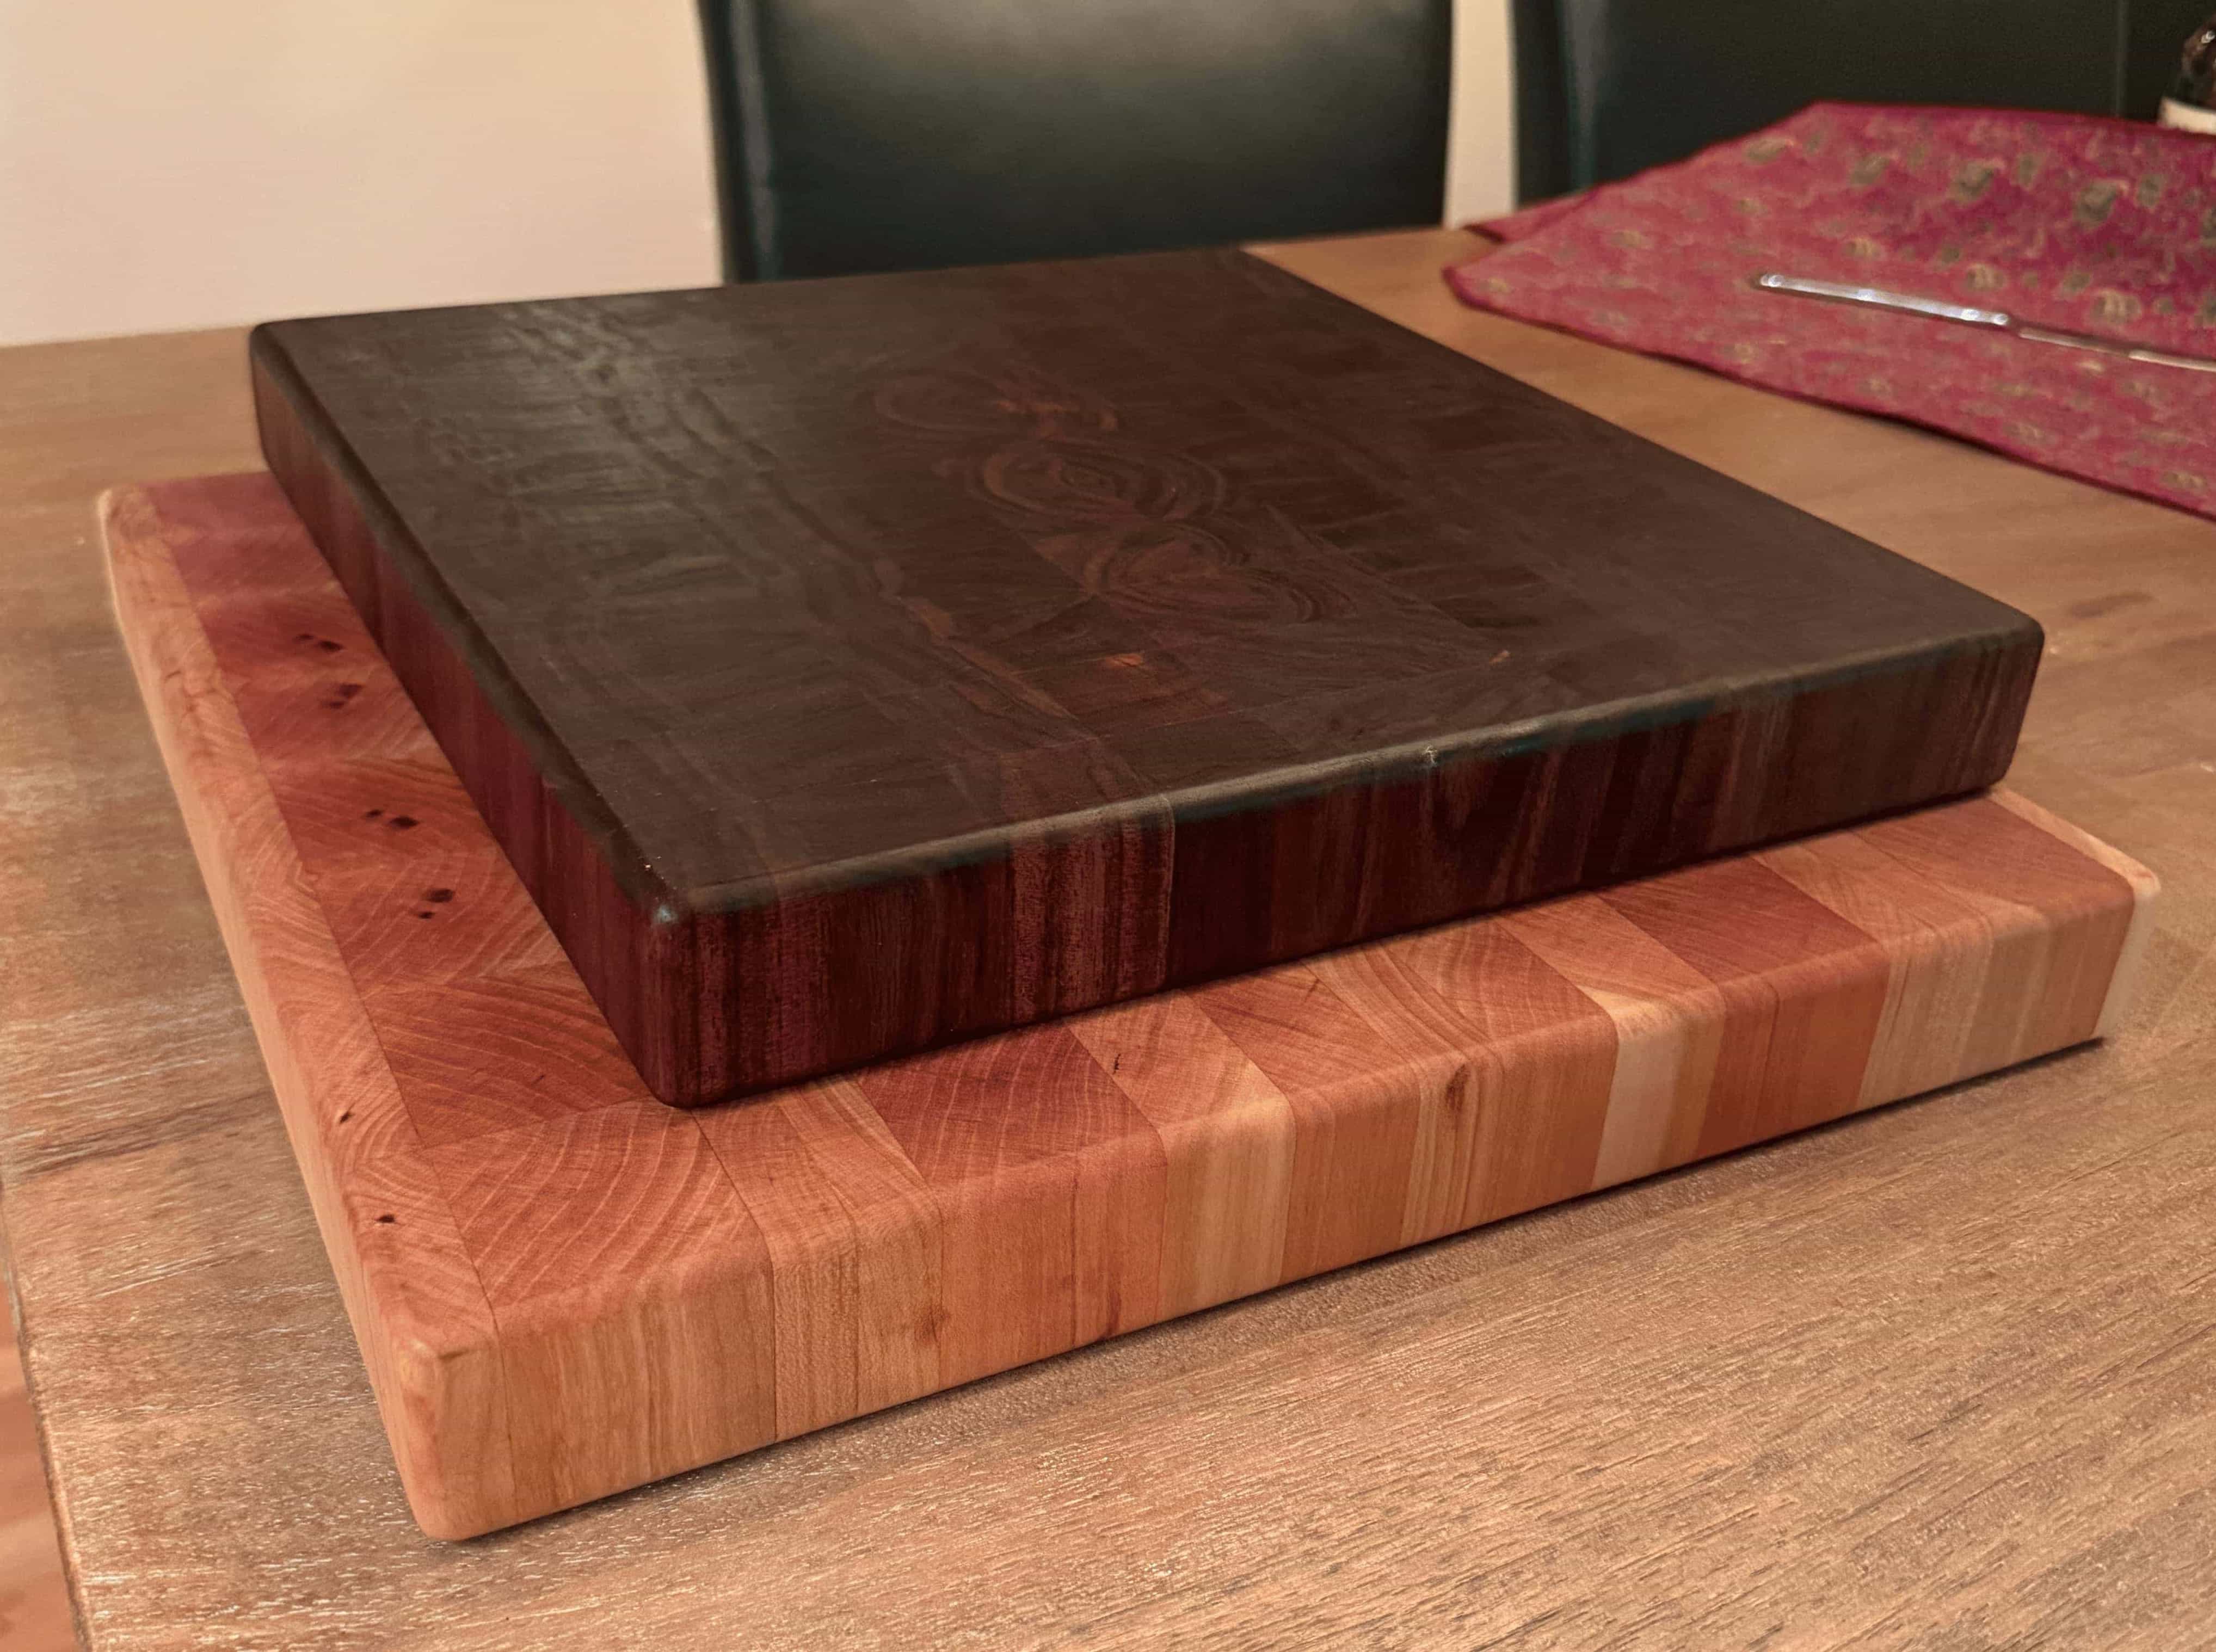
I had some leftover cherry from my bed project which I used for one of the boards.
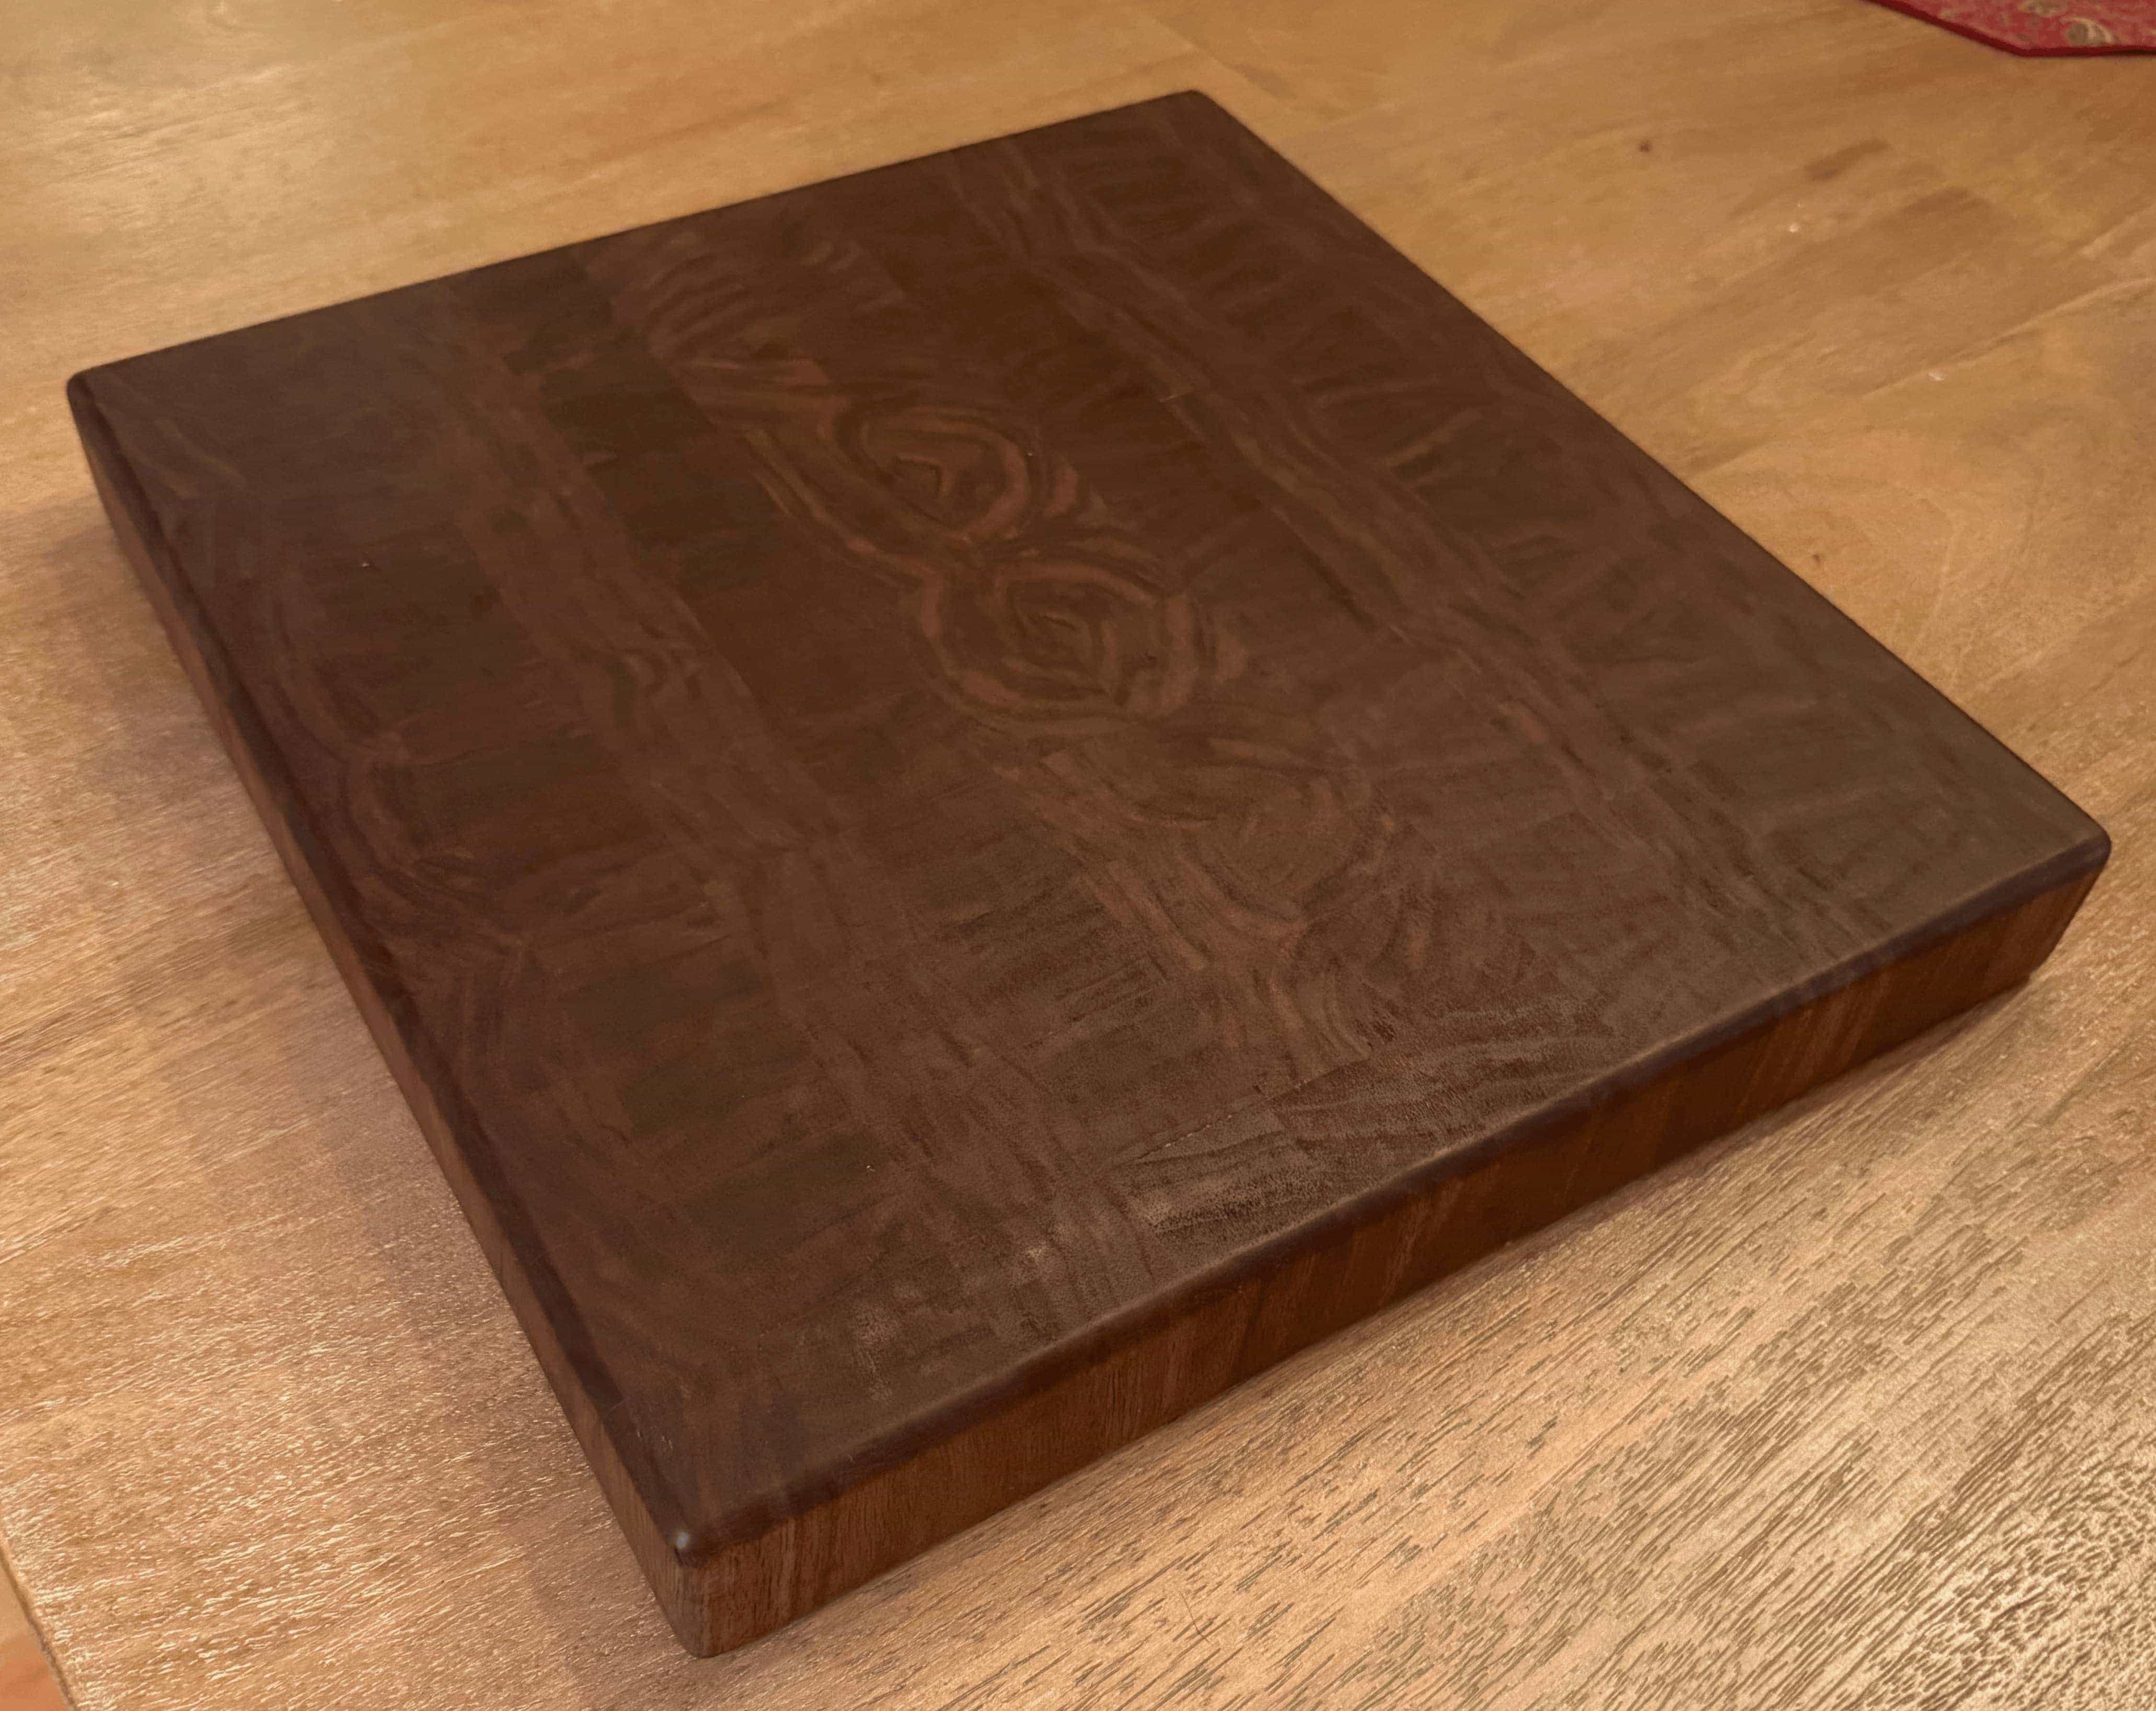
I was in a bit of a time crunch for the other one, and purchased a plank of walnut from the Makerspace I was working in. The price wasn’t bad, but the board had several defects and resulted in a much smaller cutting board than I had planned for.
The Process
There are hundreds, if not thousands, of tutorials online about making end grain cutting boards. So I won’t detail the process, but I’ll include some pictures I took during the build.
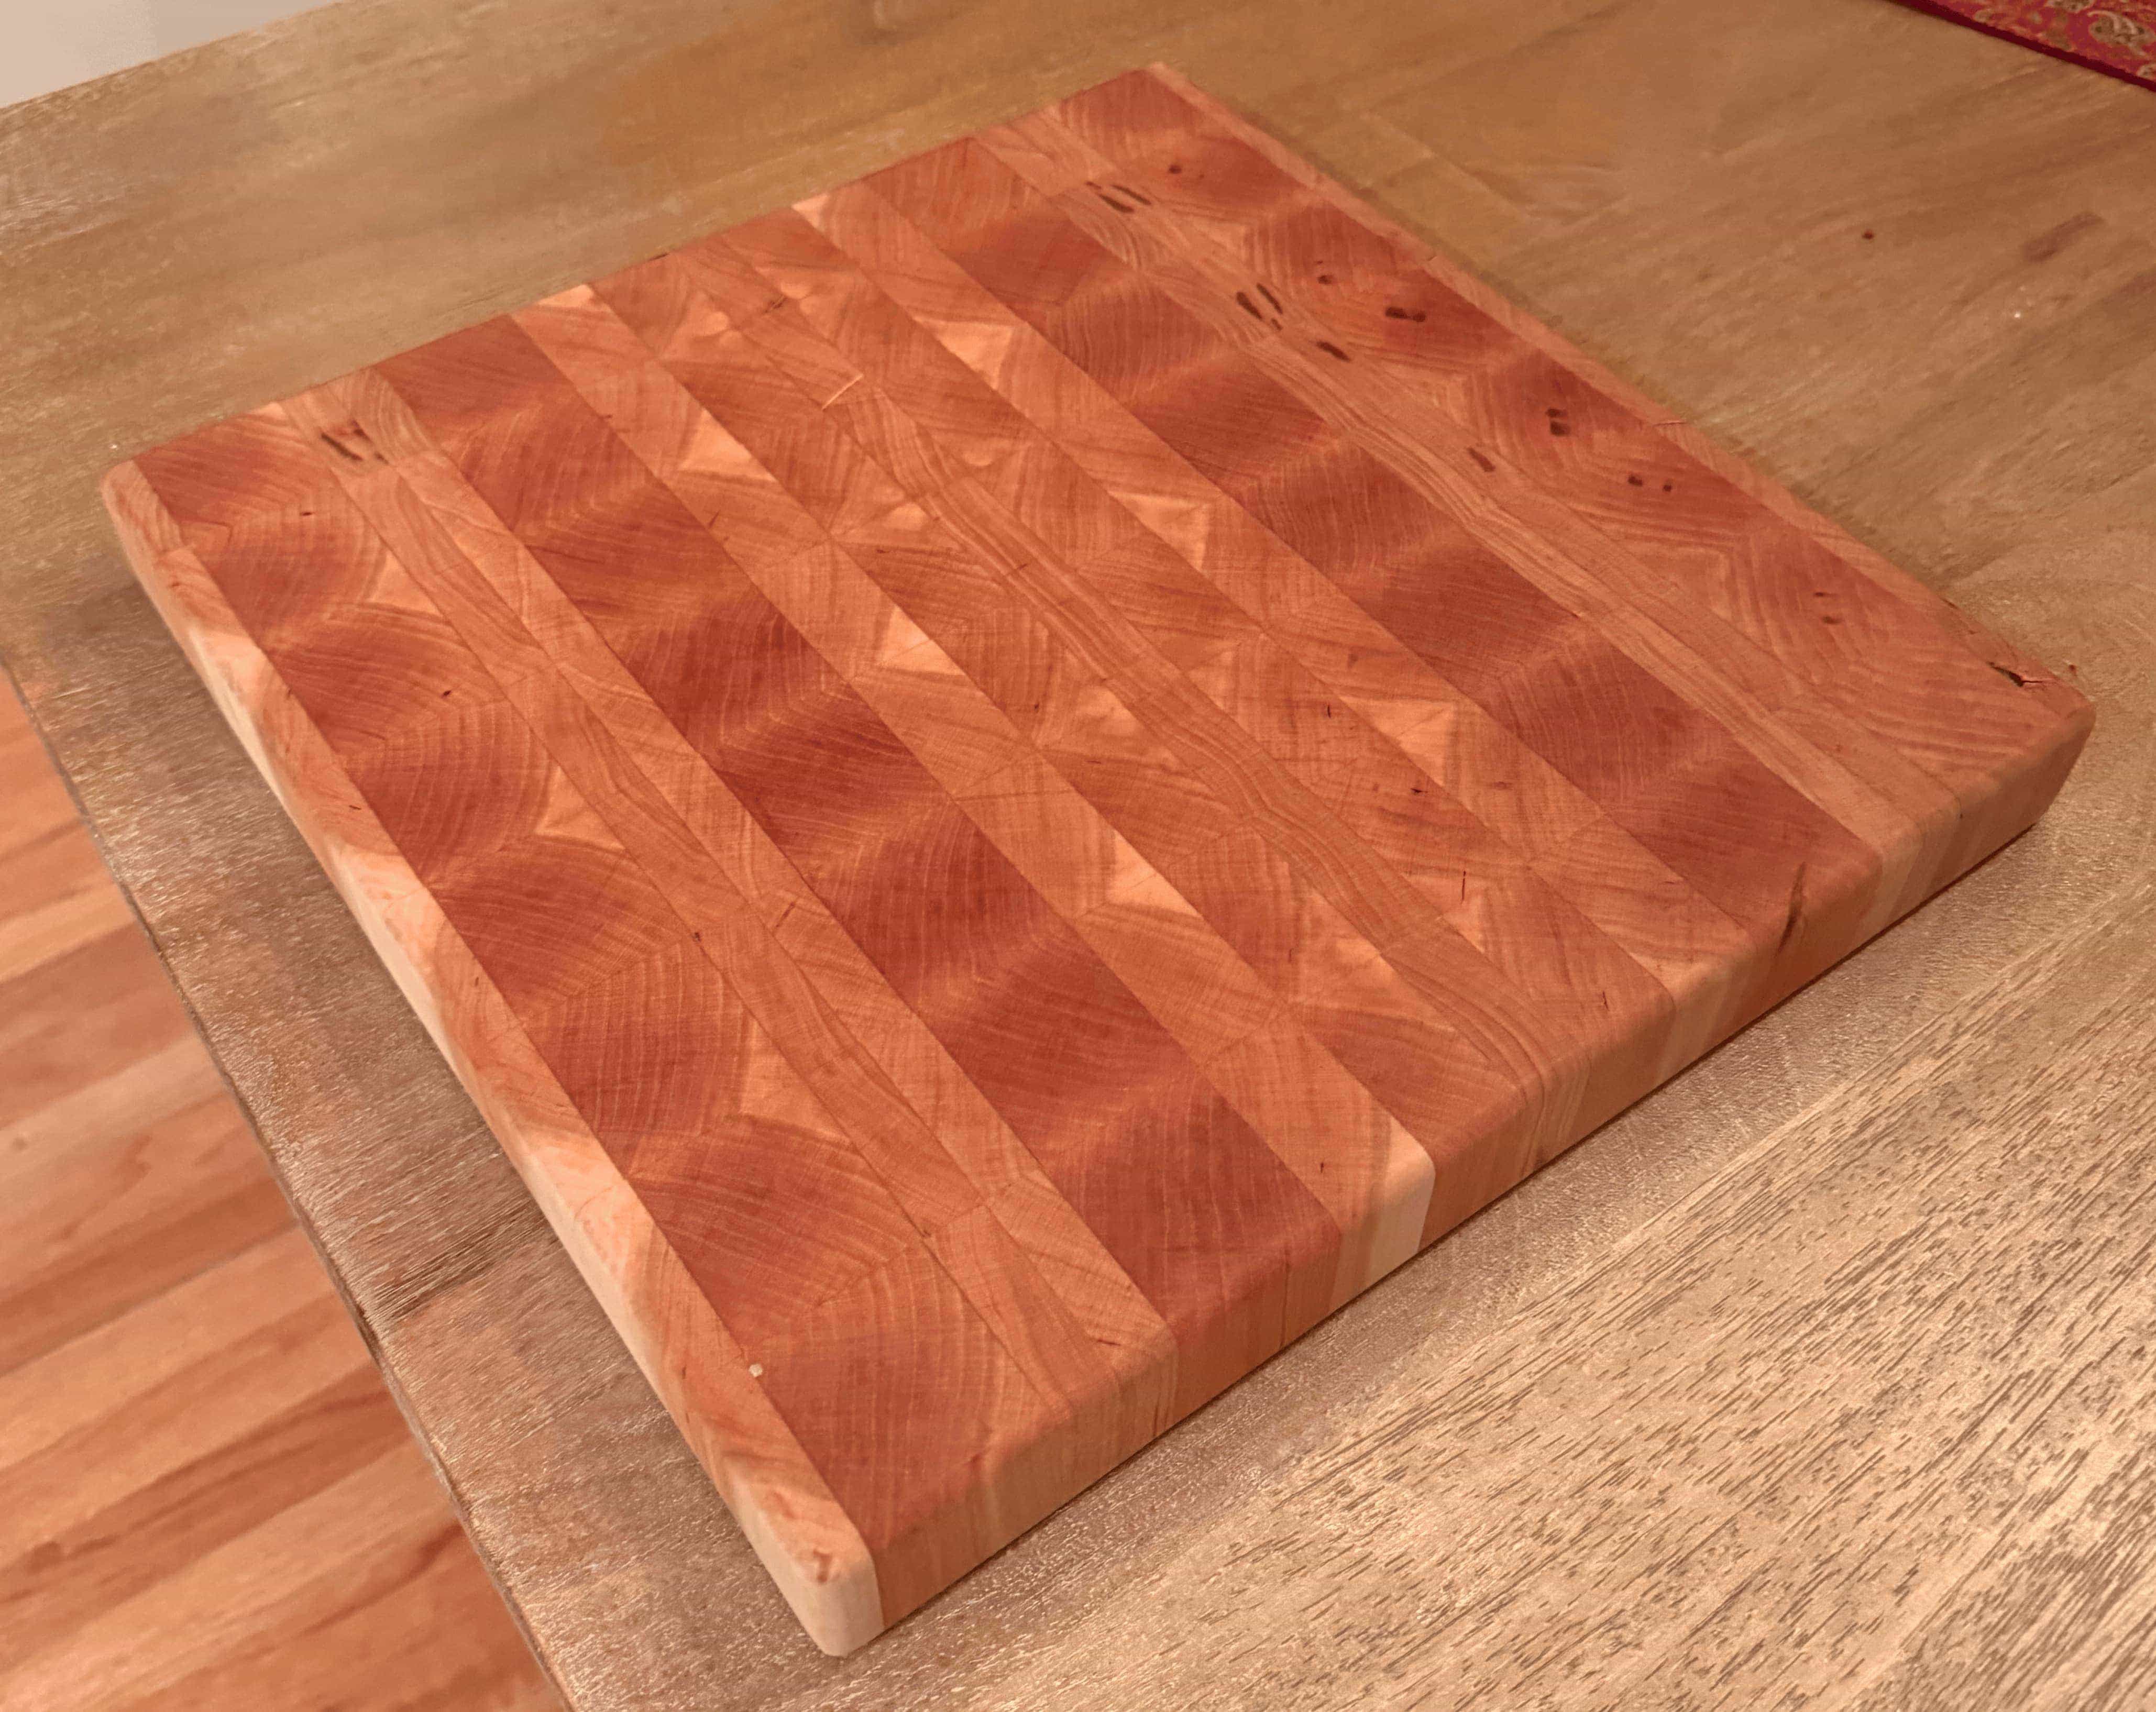
Cherry Cutting Board
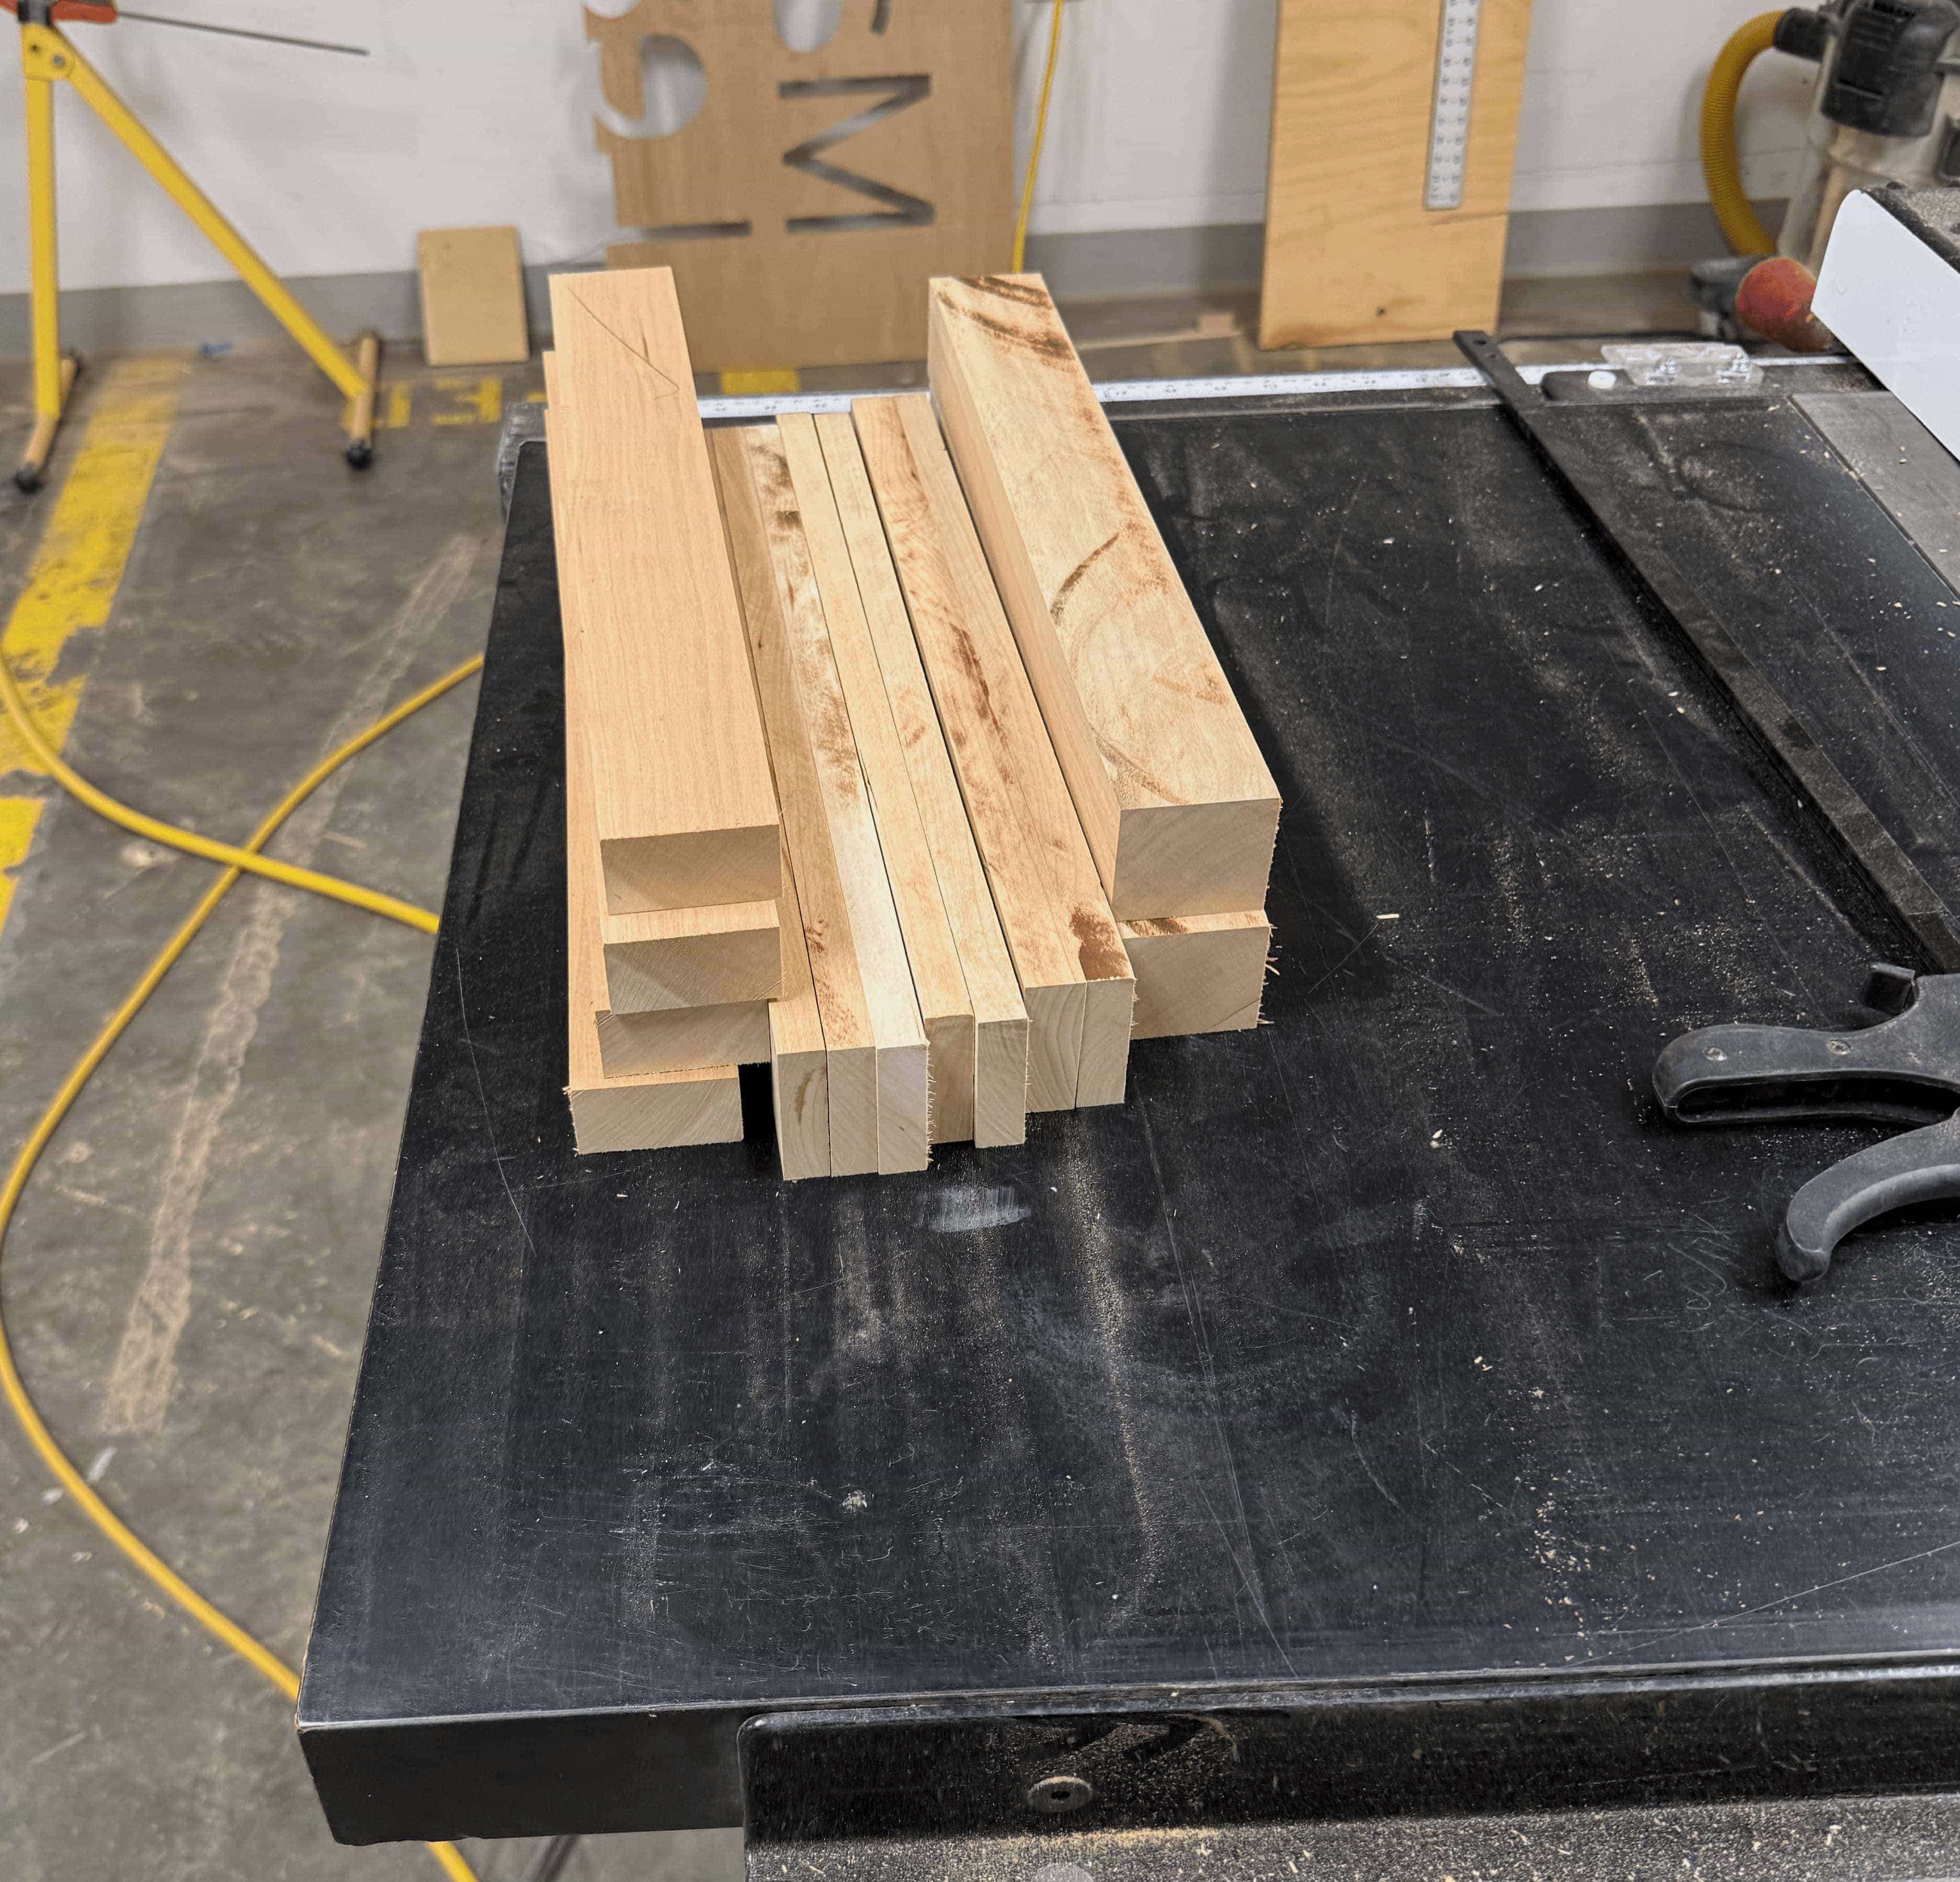
Cutting the leftover cherry into strips
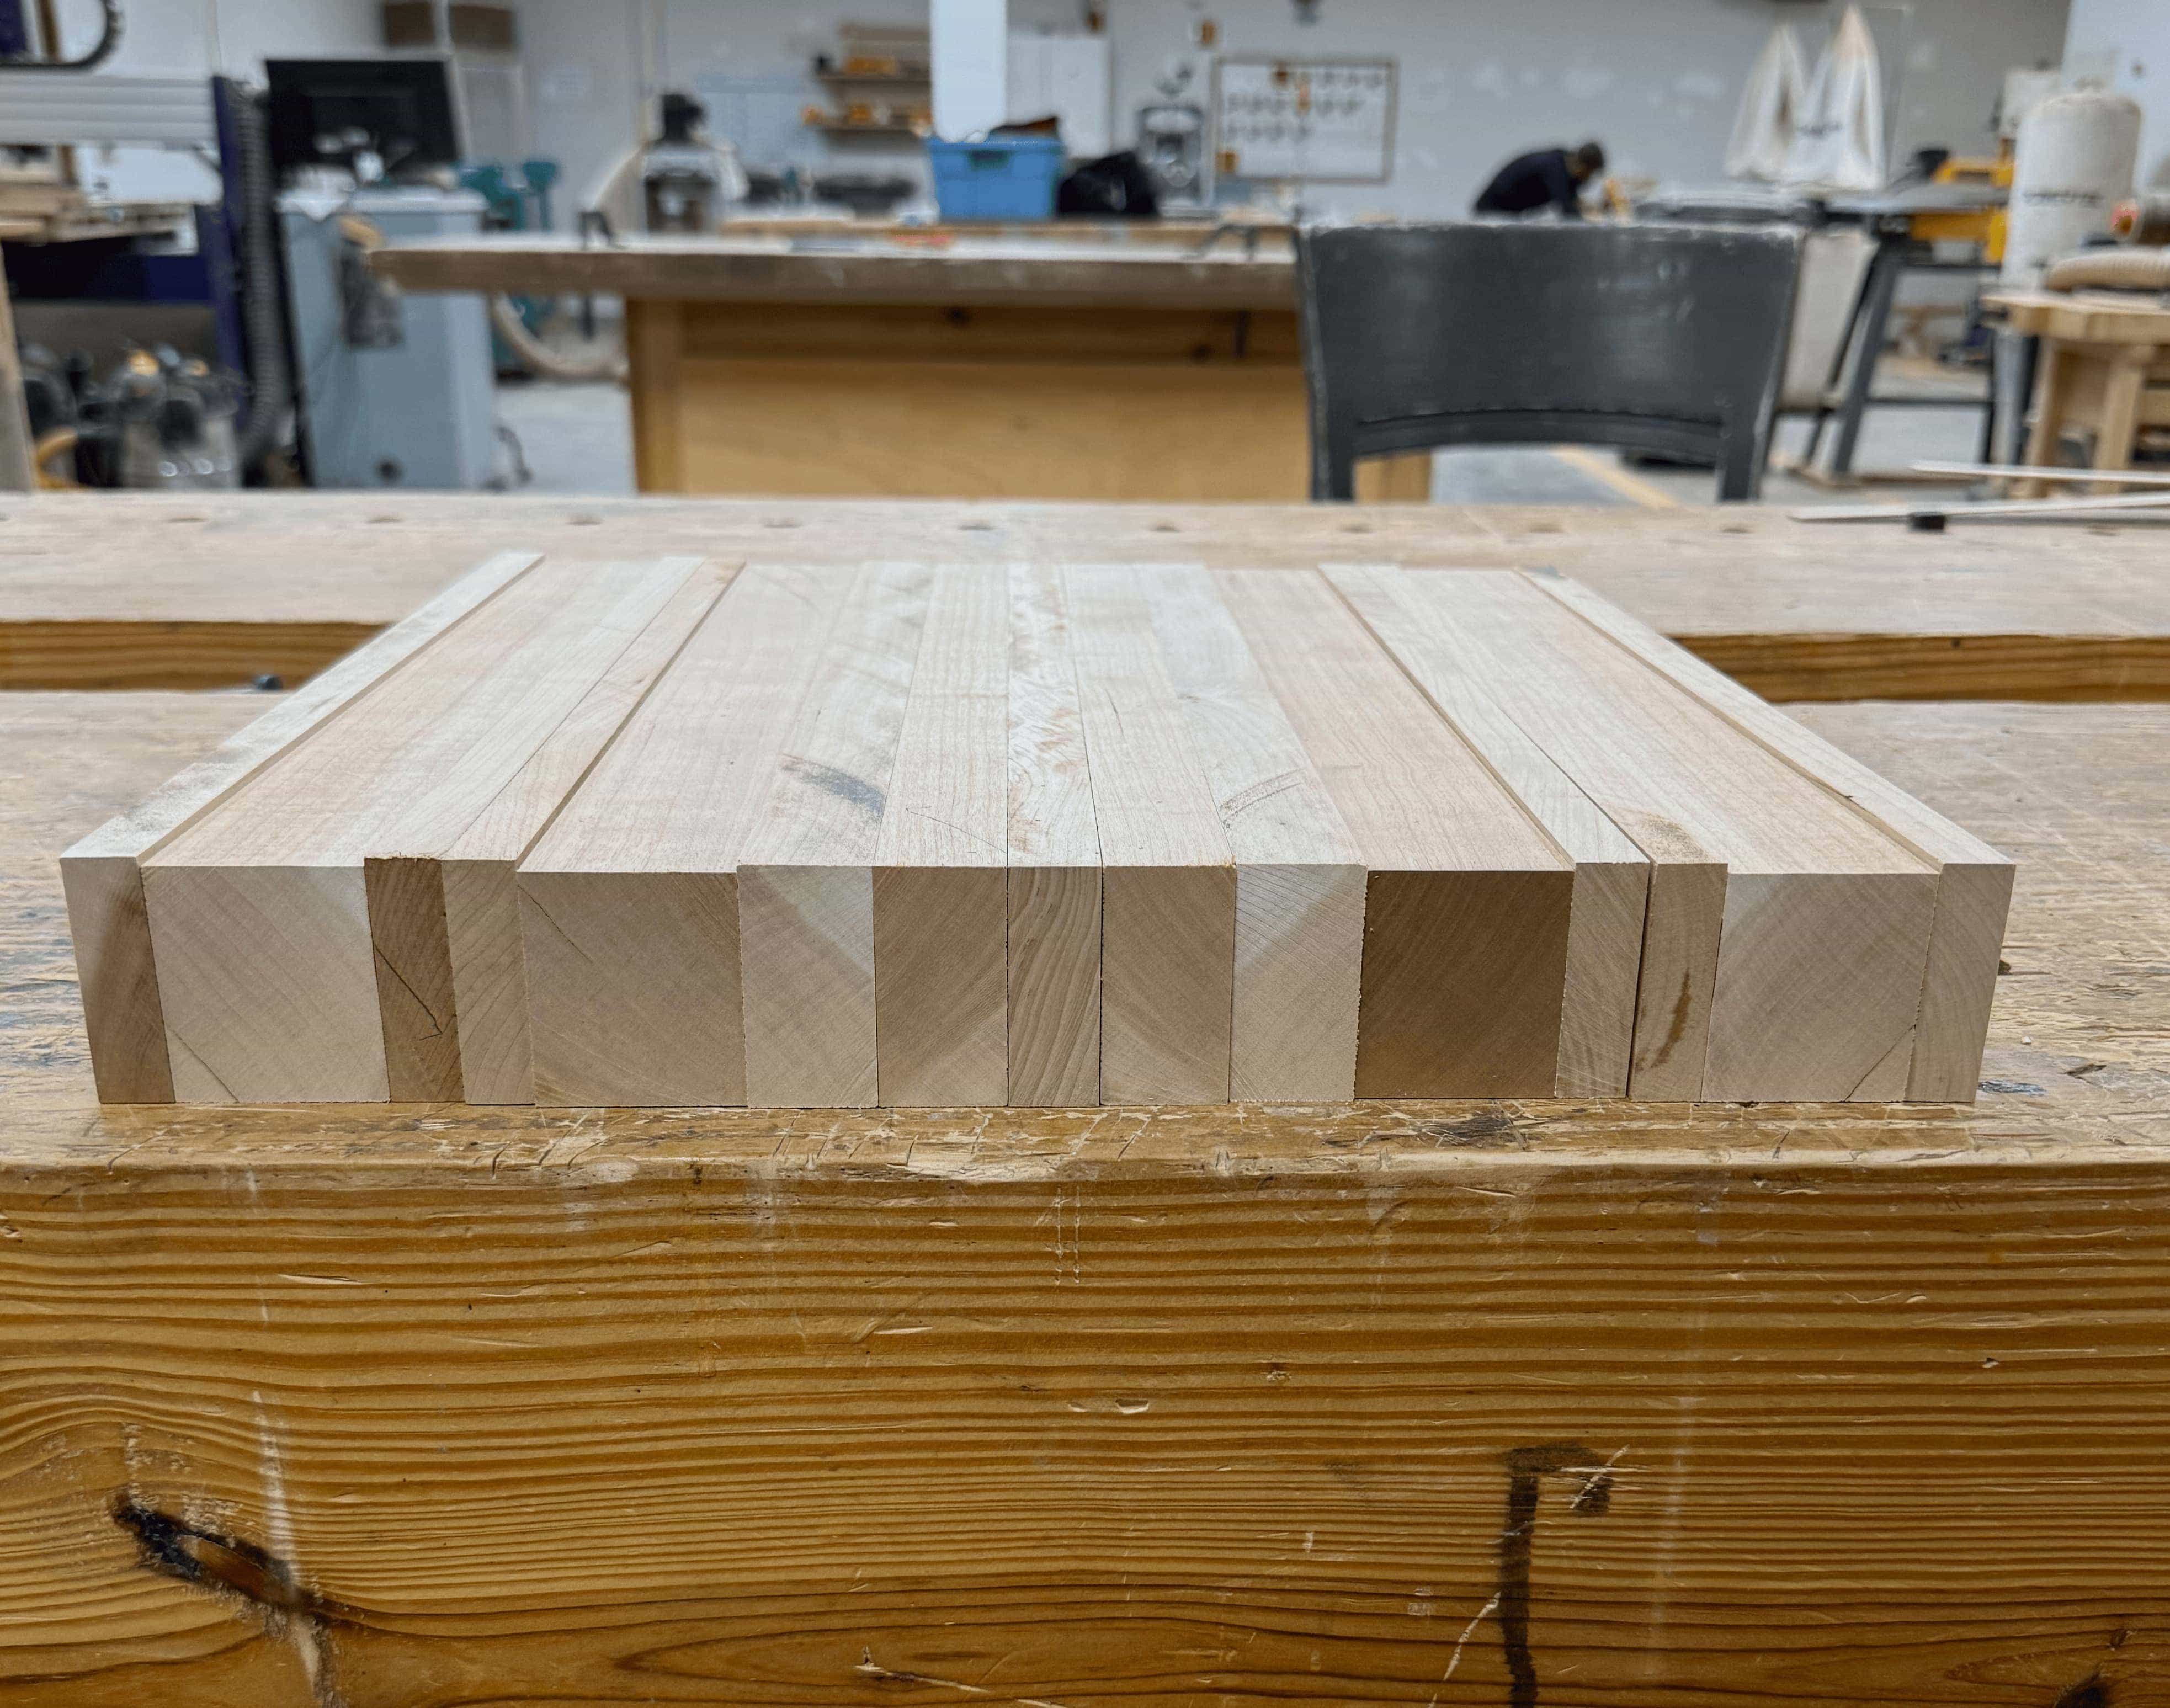
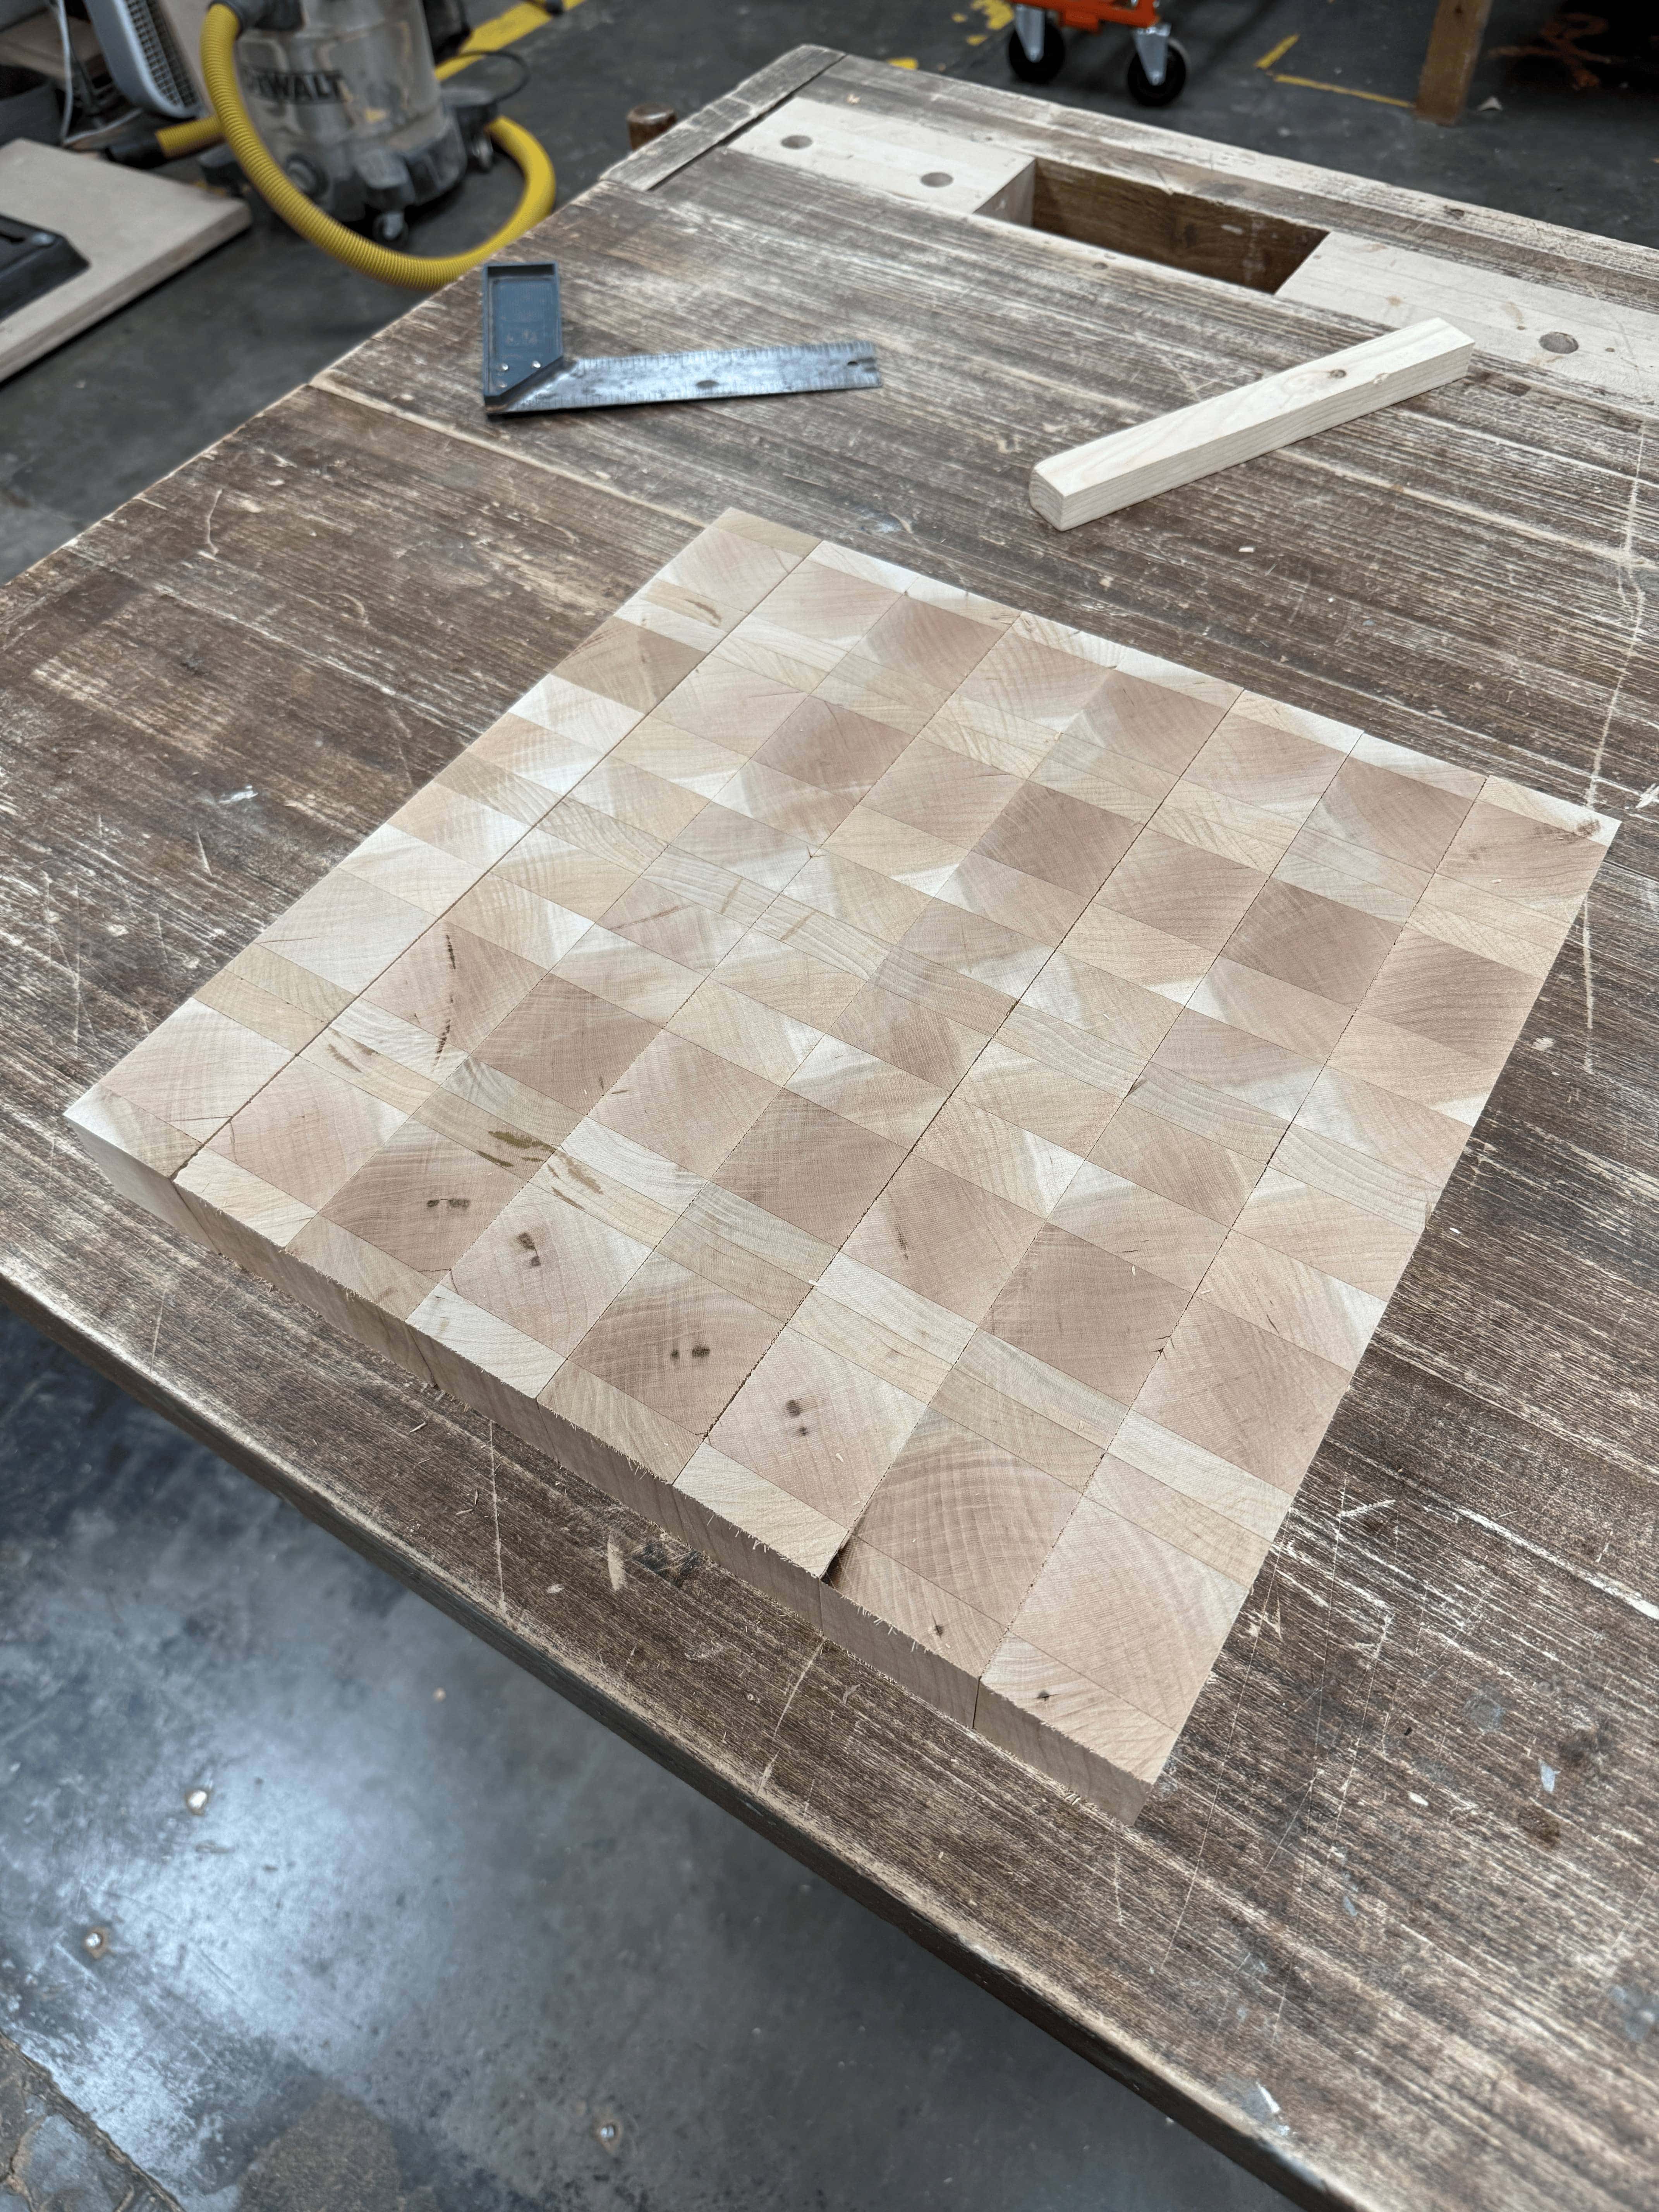
Figuring out a pattern
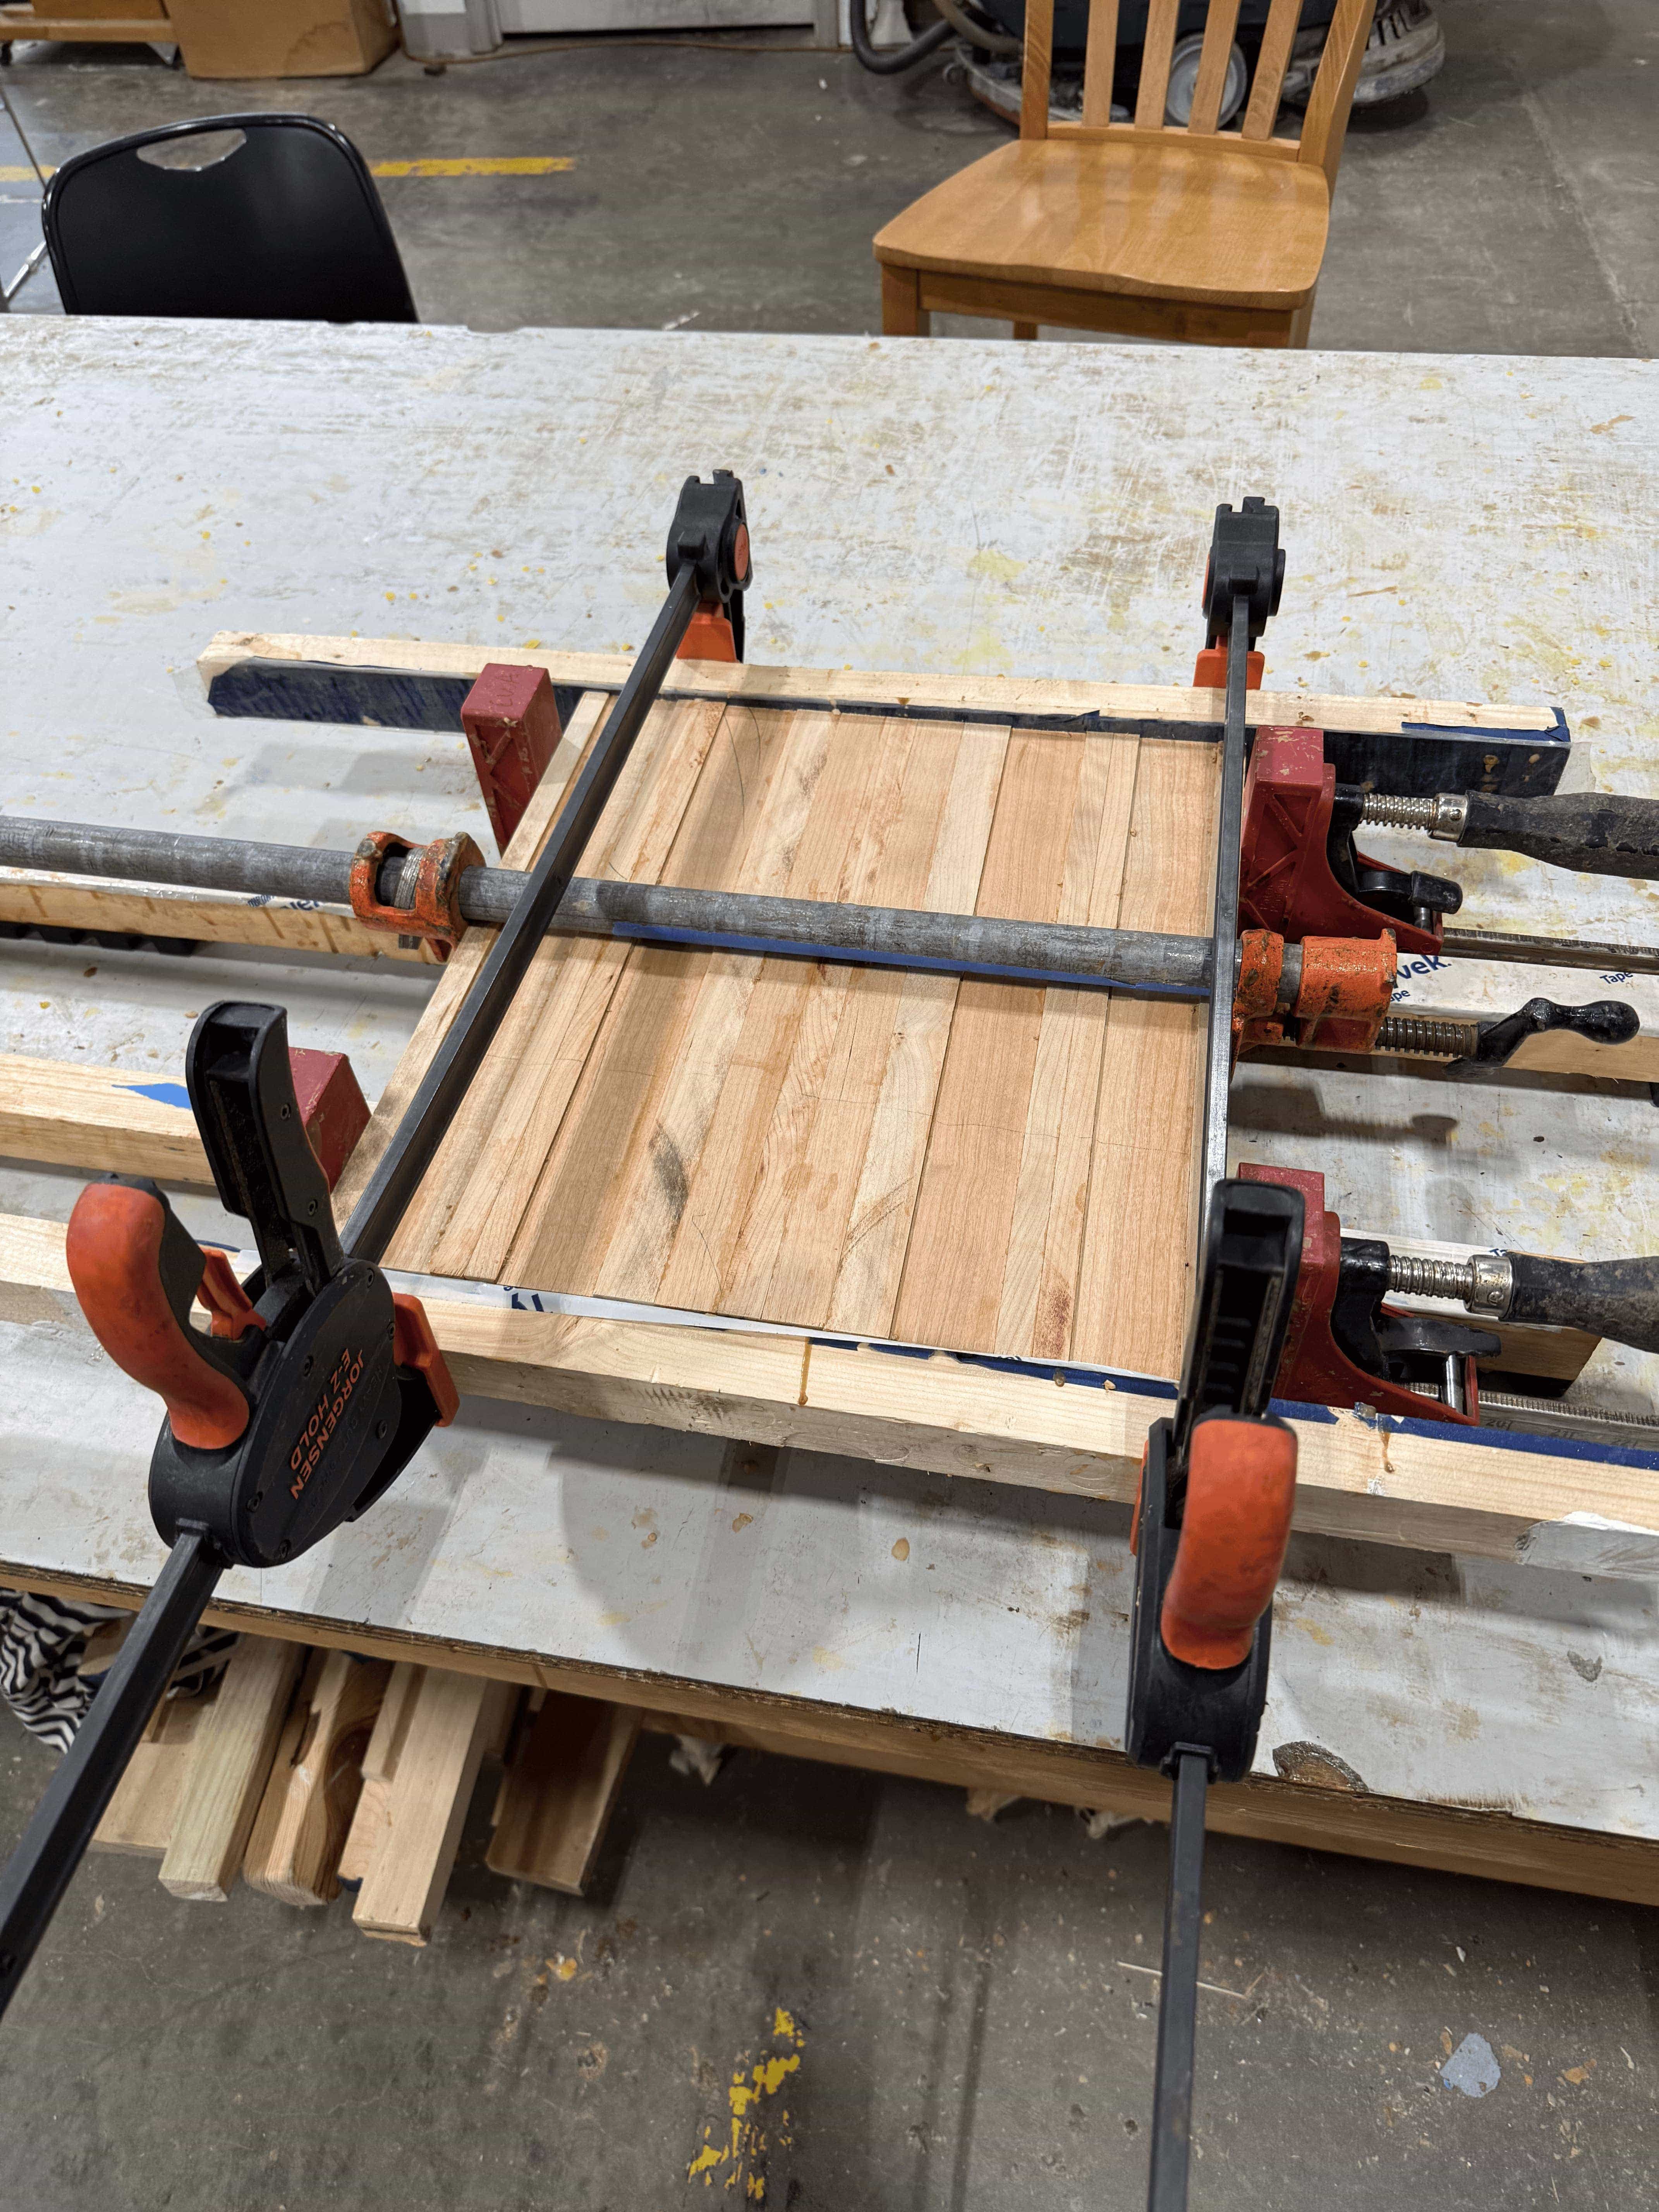
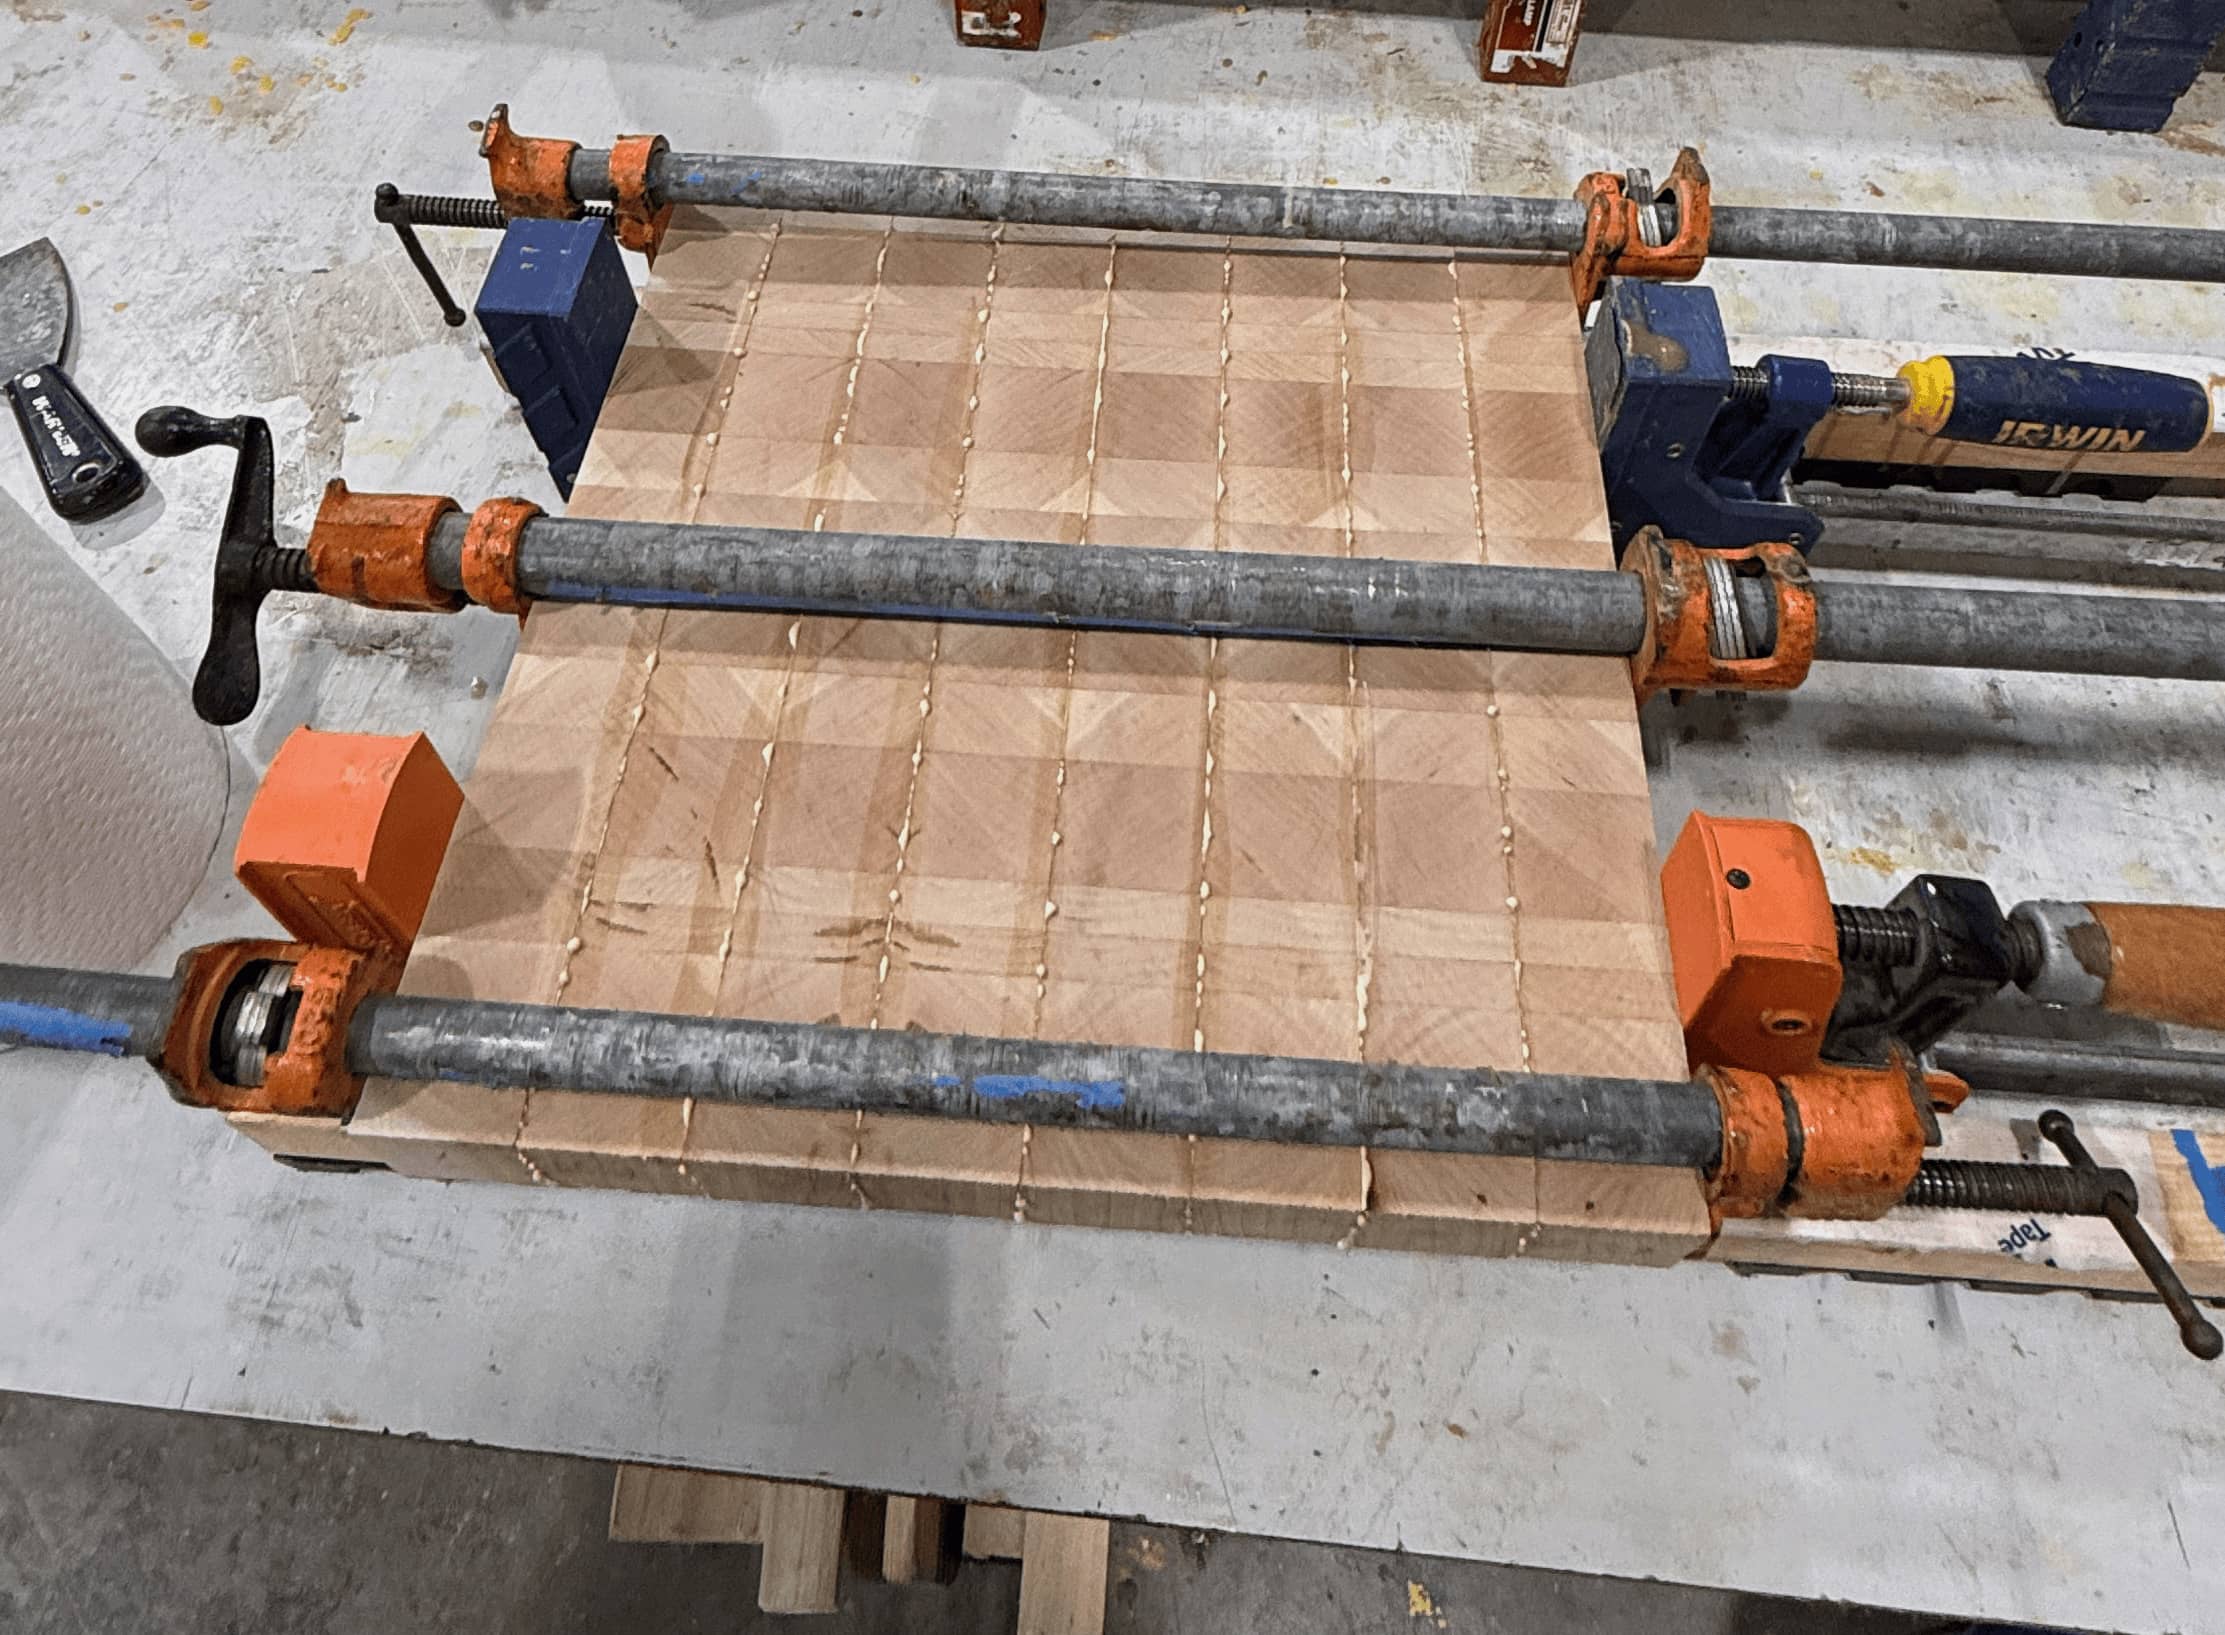
First clamp up
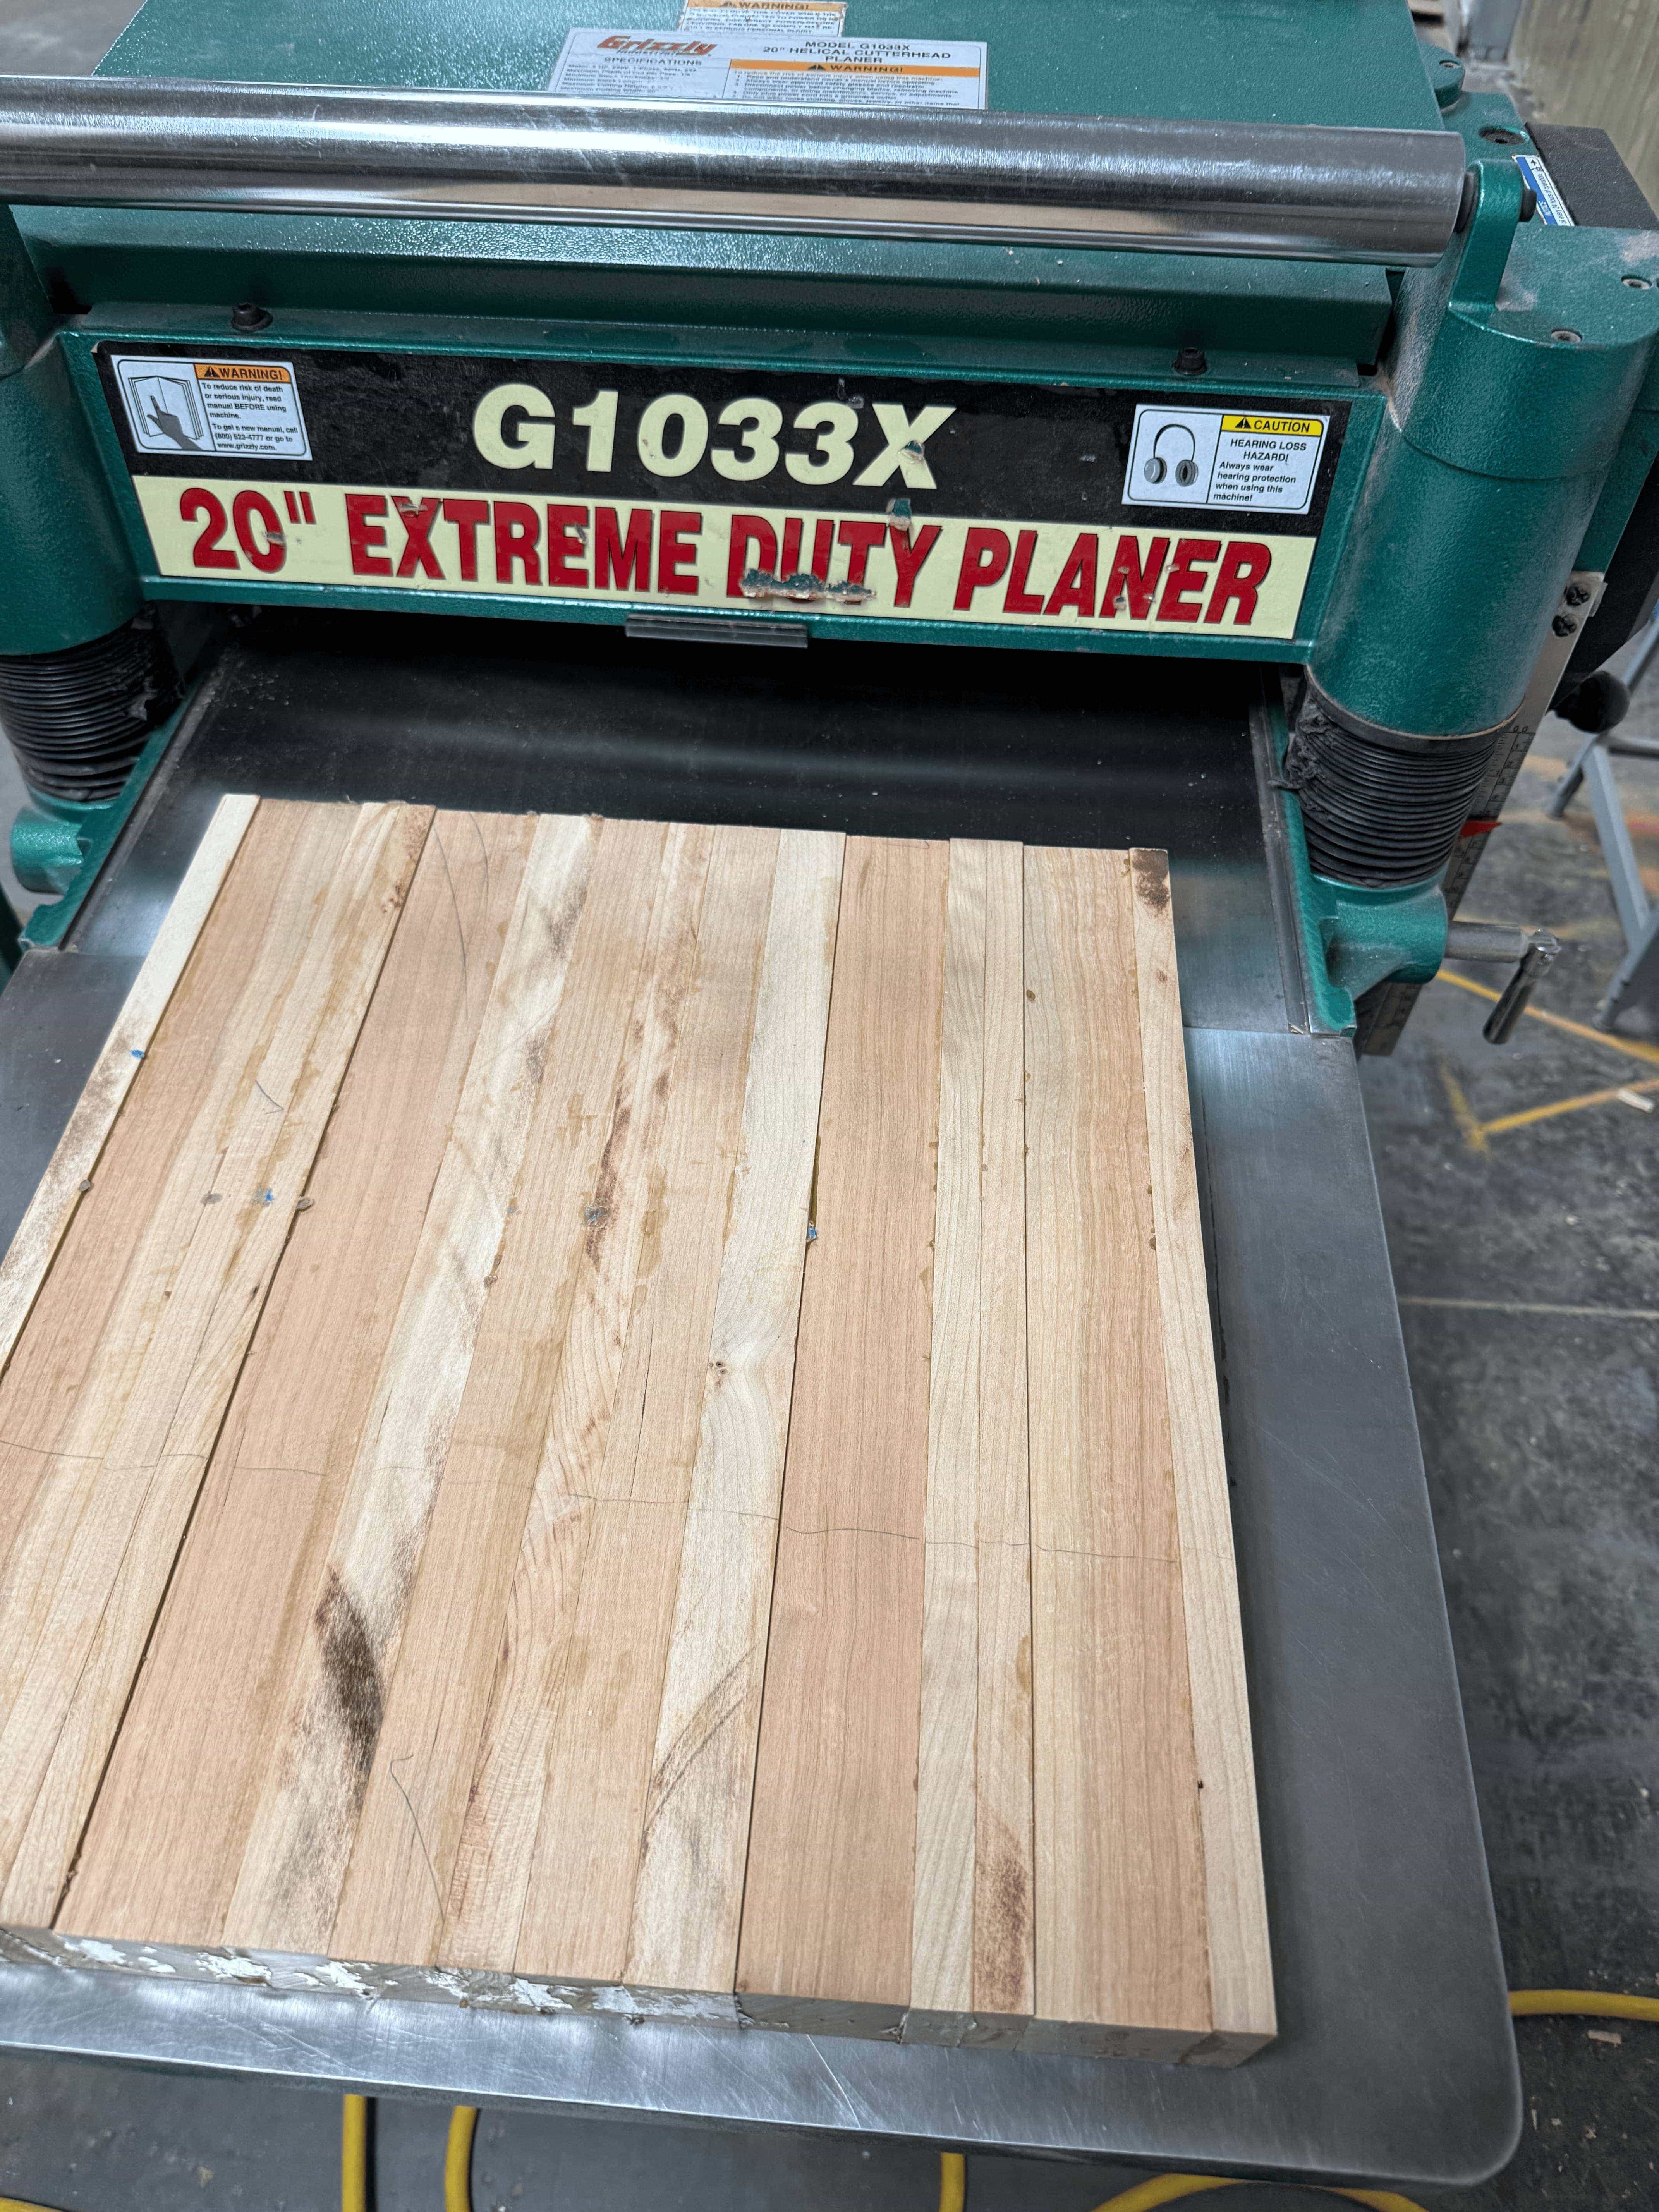
Flattening
Furing out second pattern
2nd and final clamp up
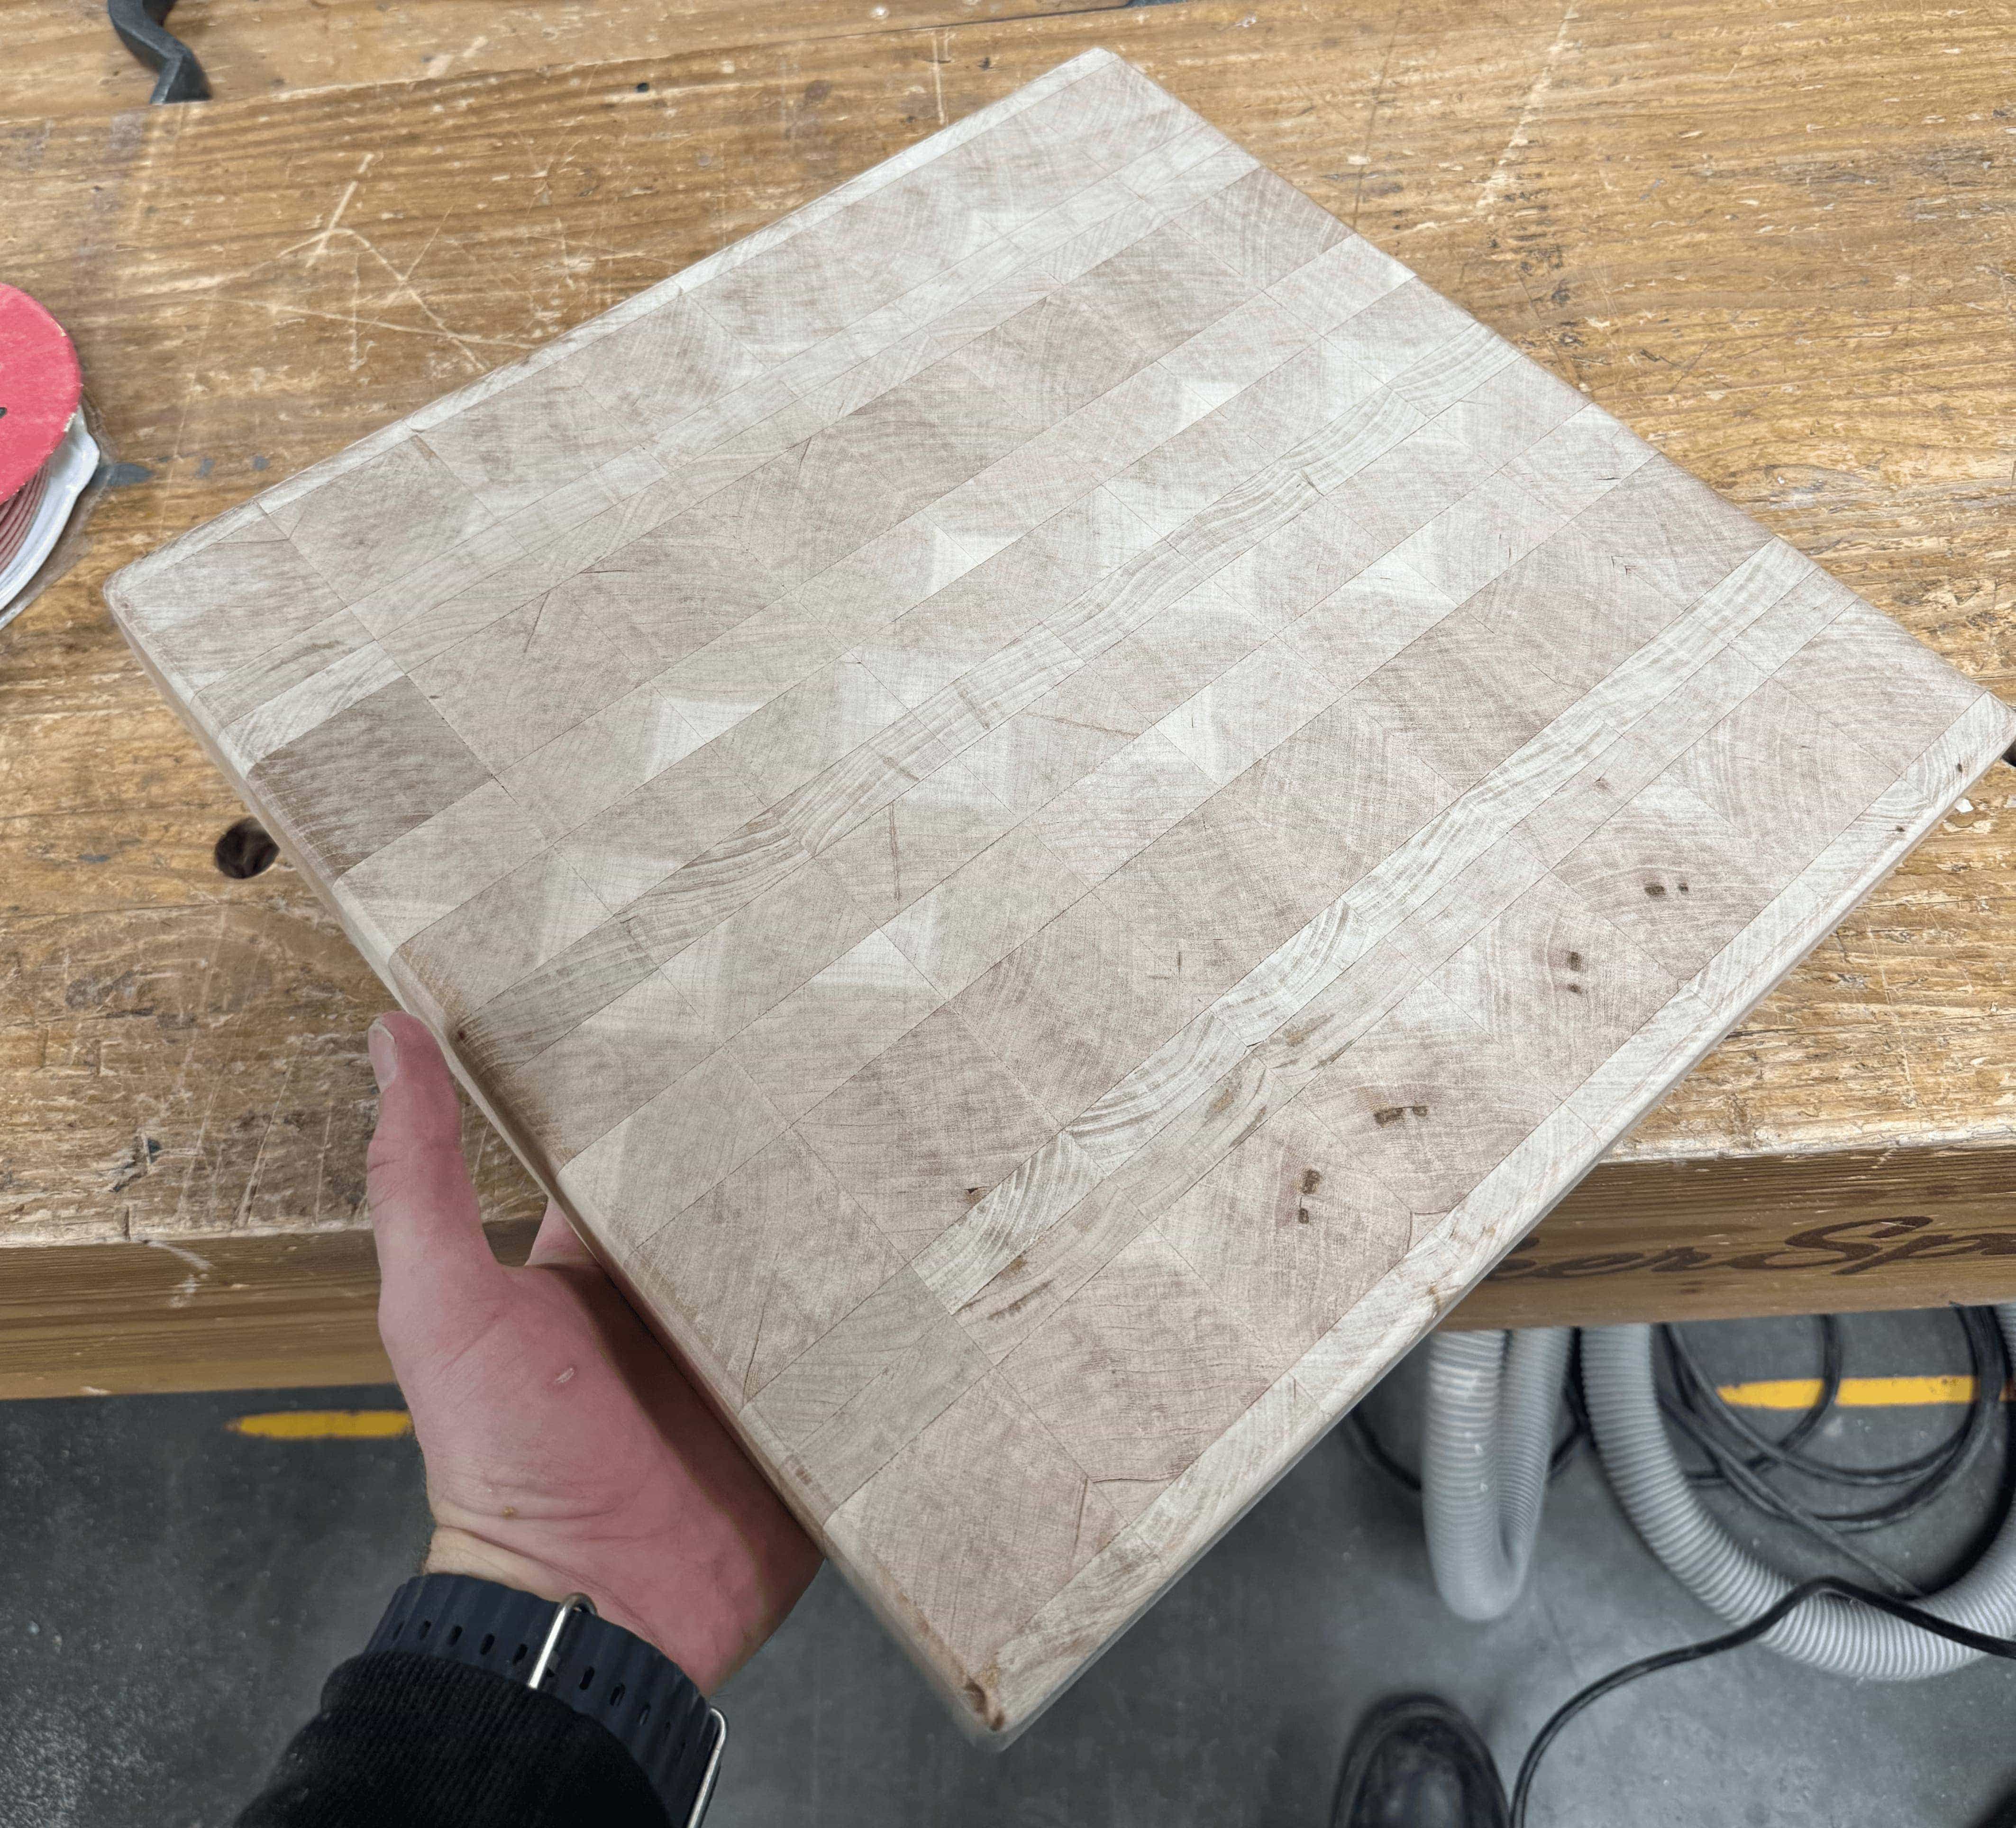
All sanded and ready for oil
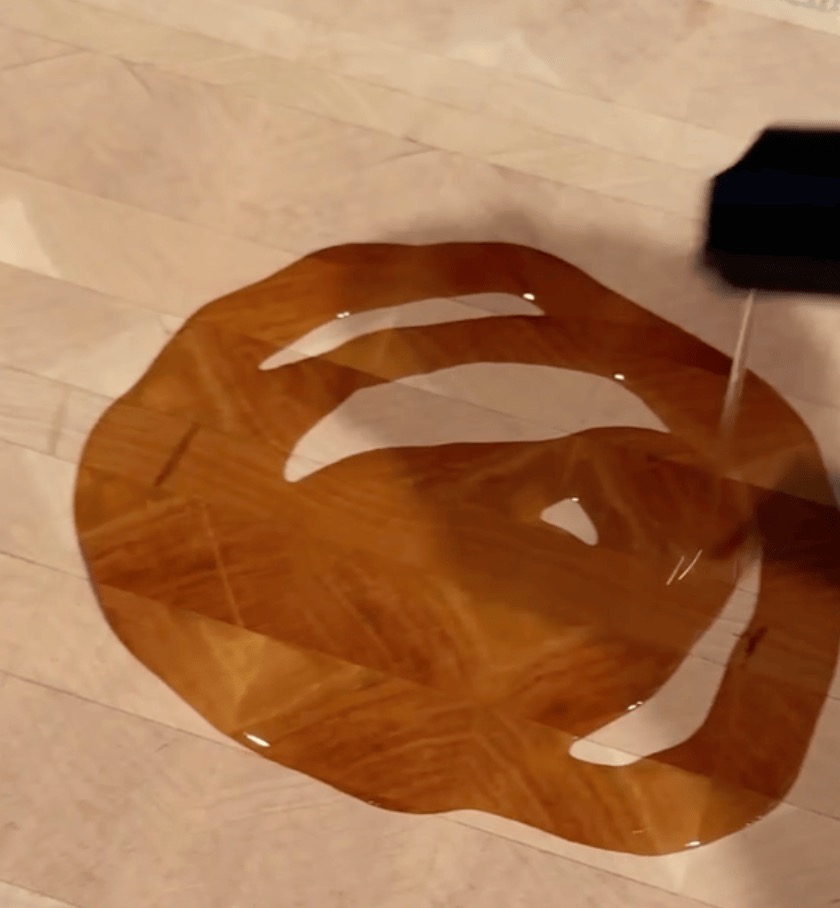
Applying mineral oil
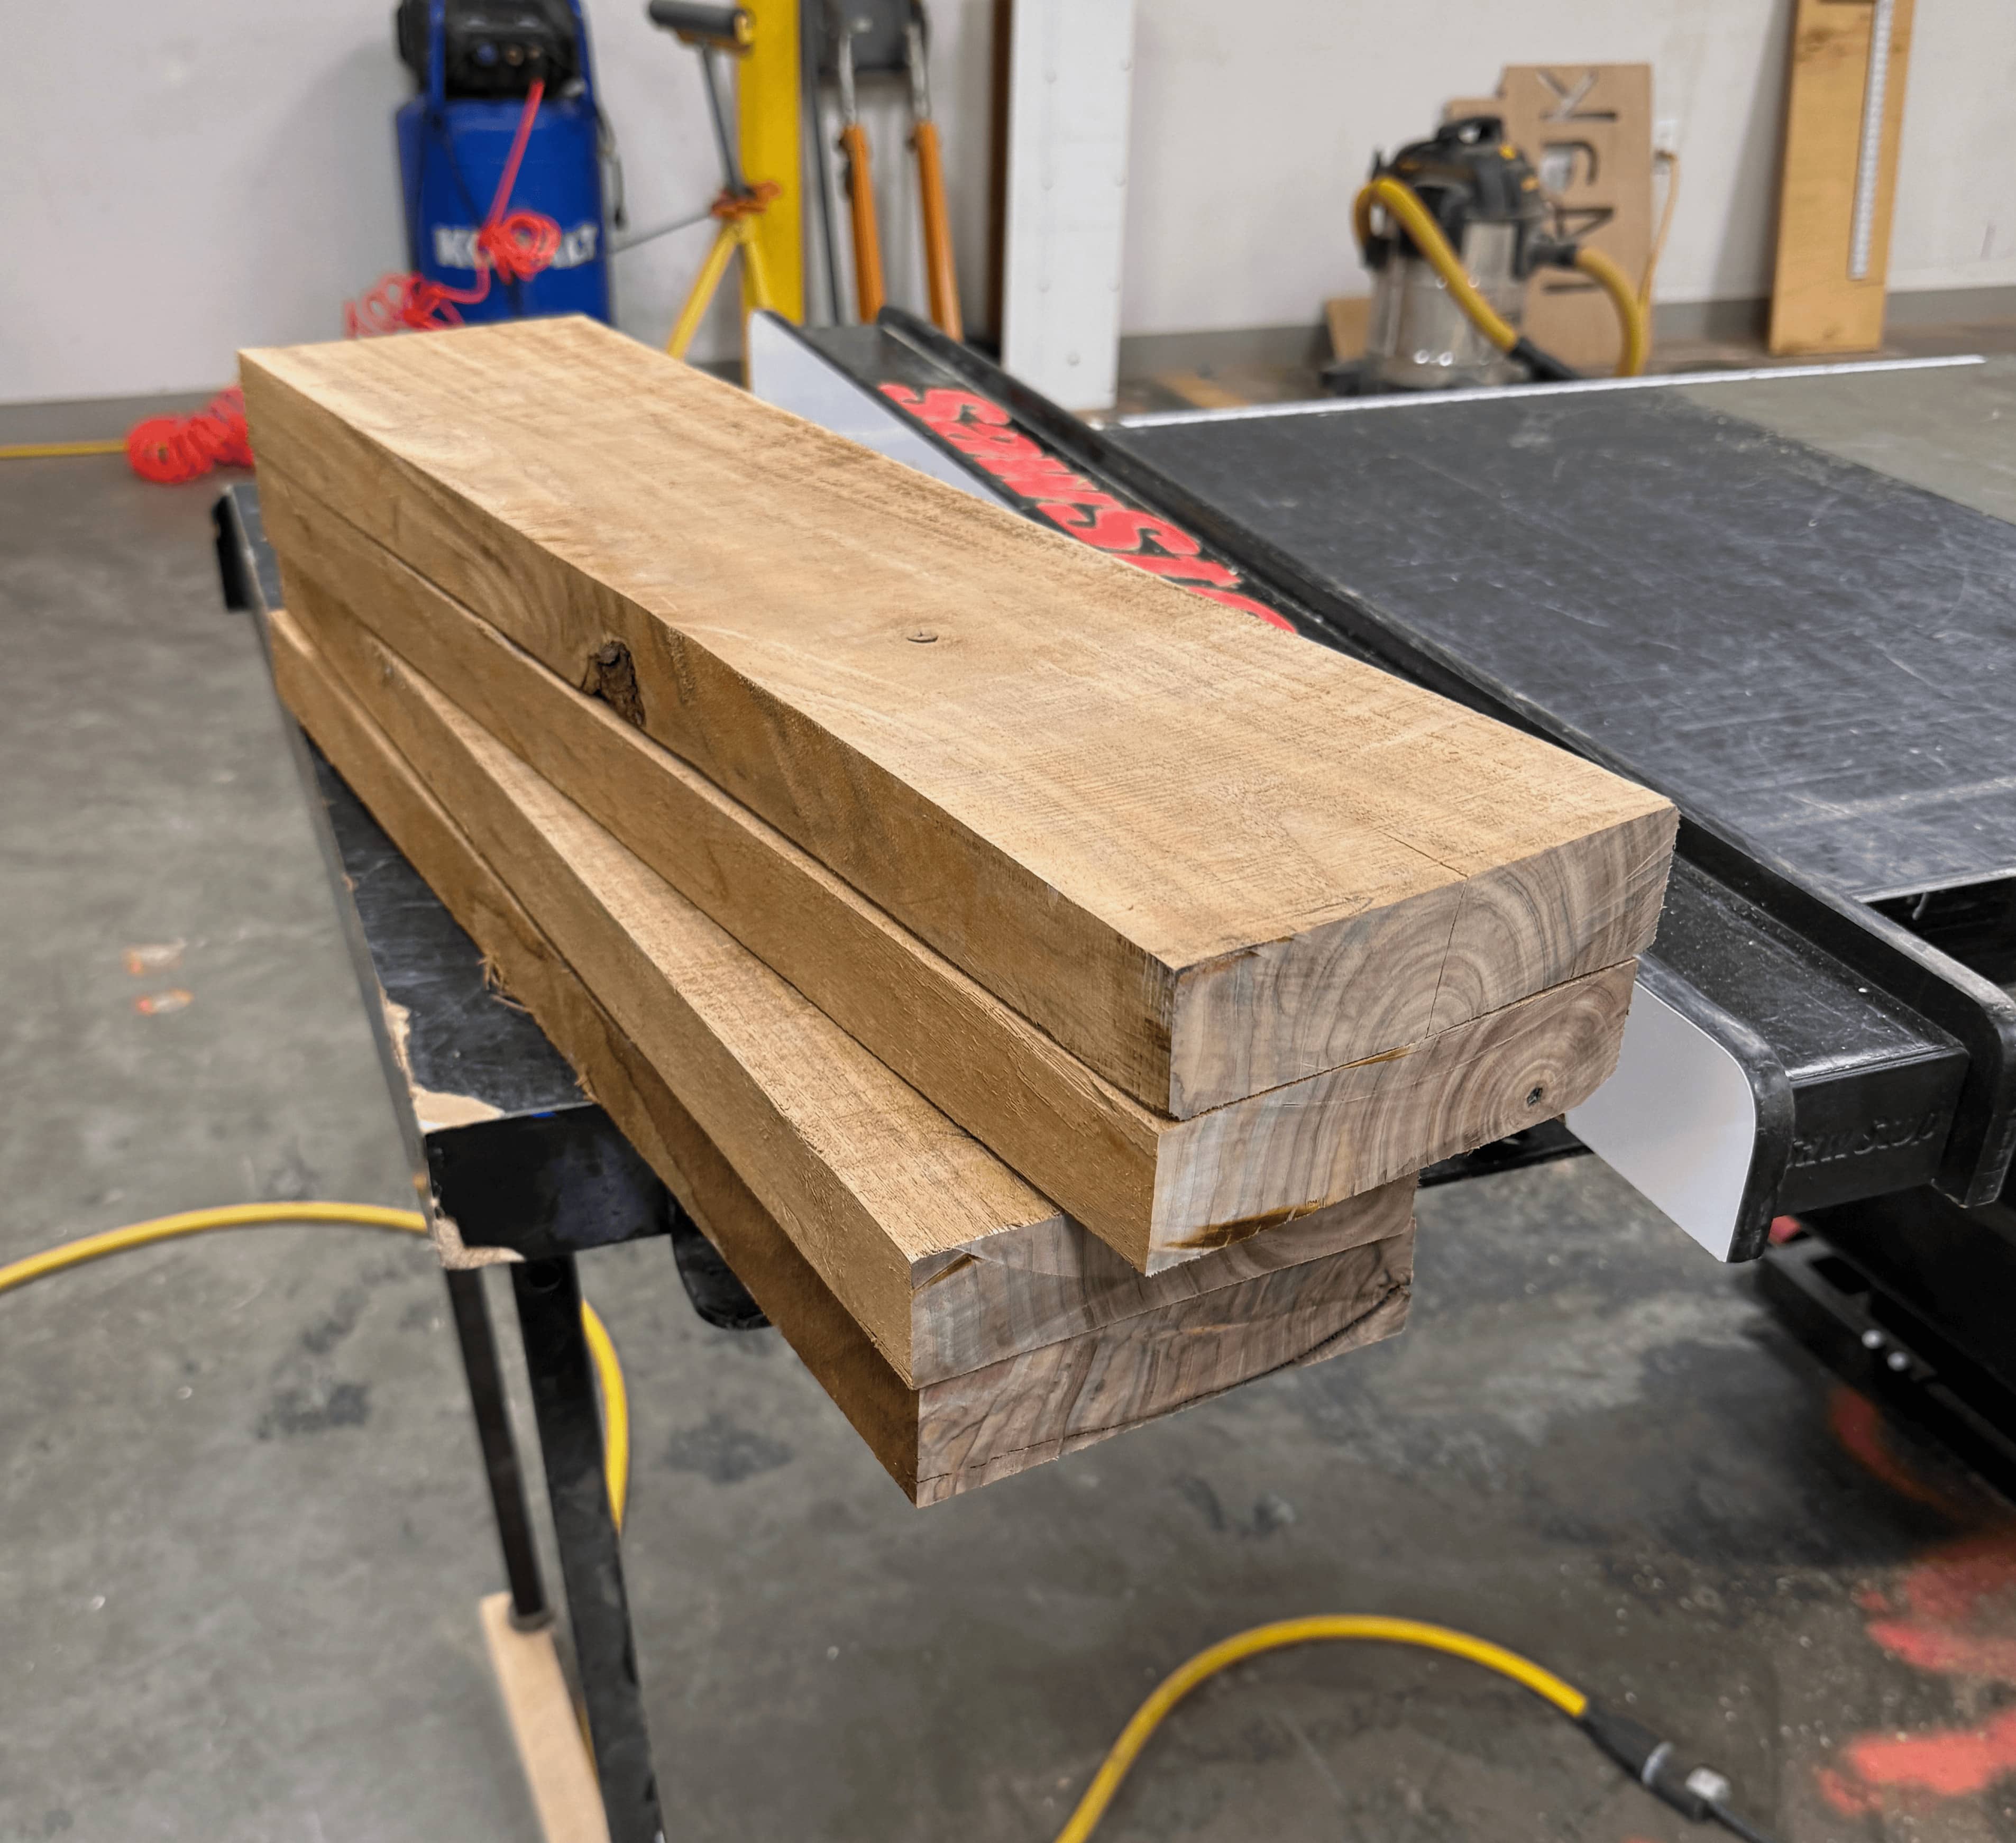
Walnut Cutting Board
Rough cut planks
Milling process pt 1
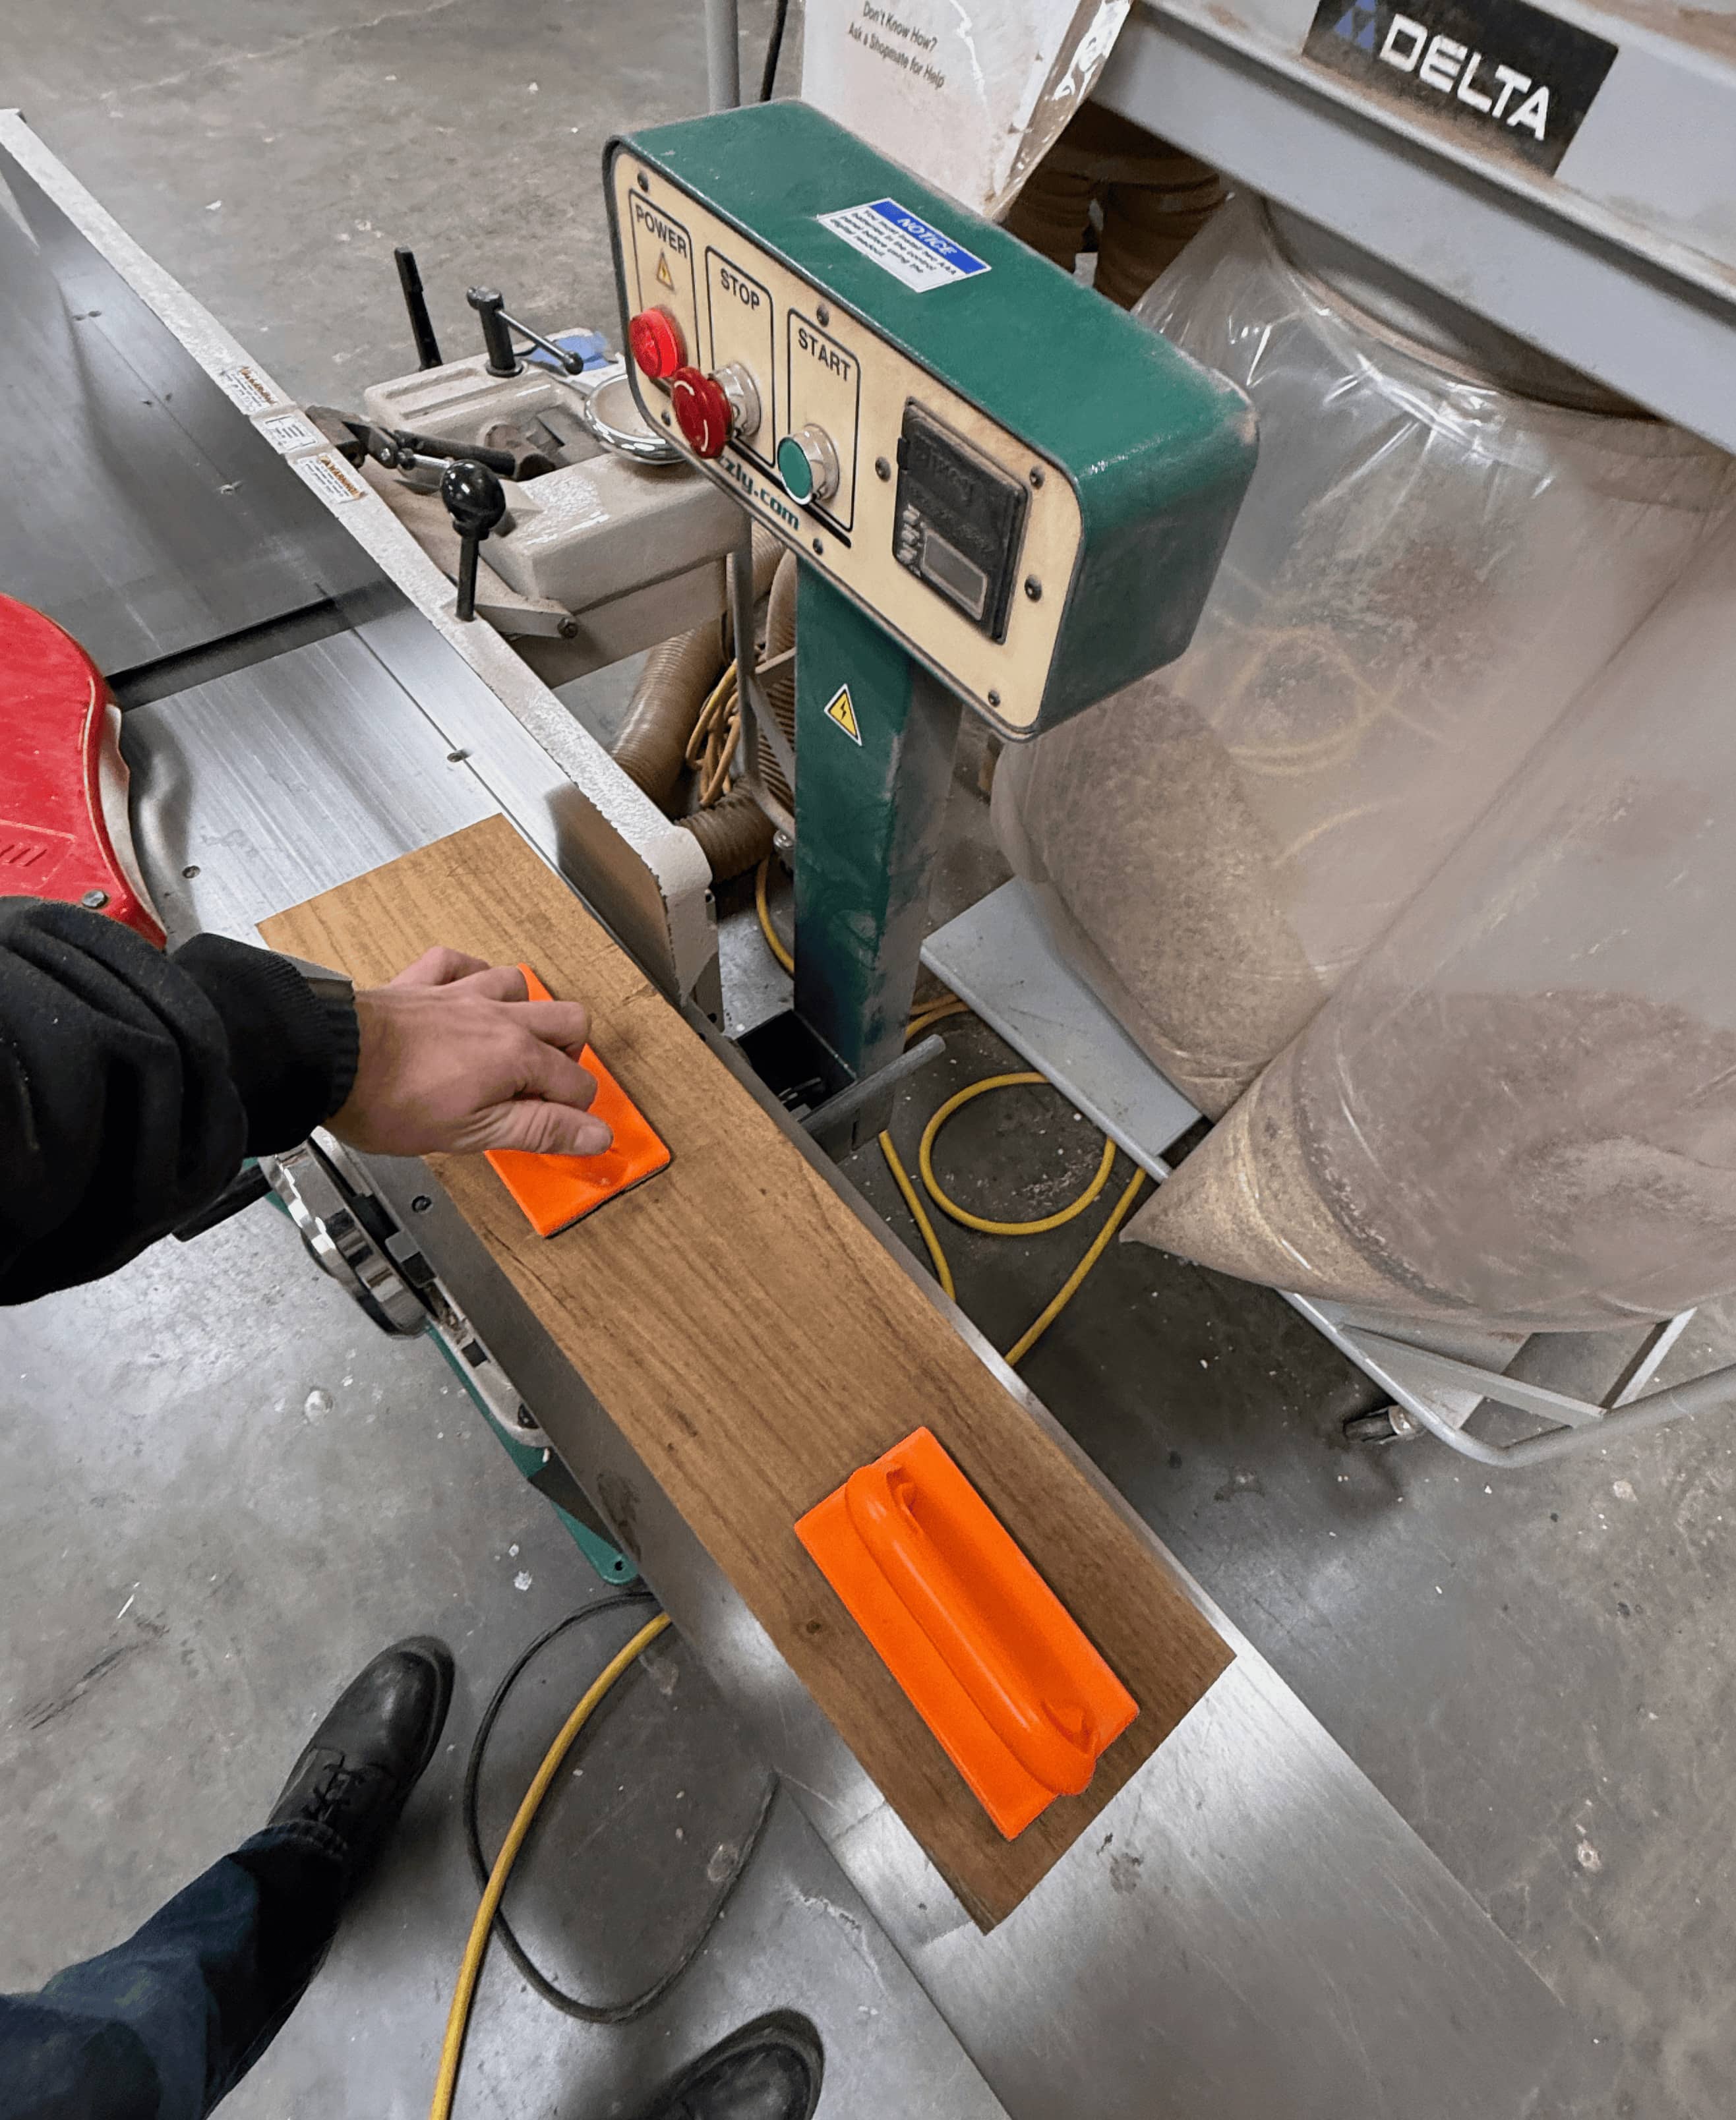
Milling process pt 2
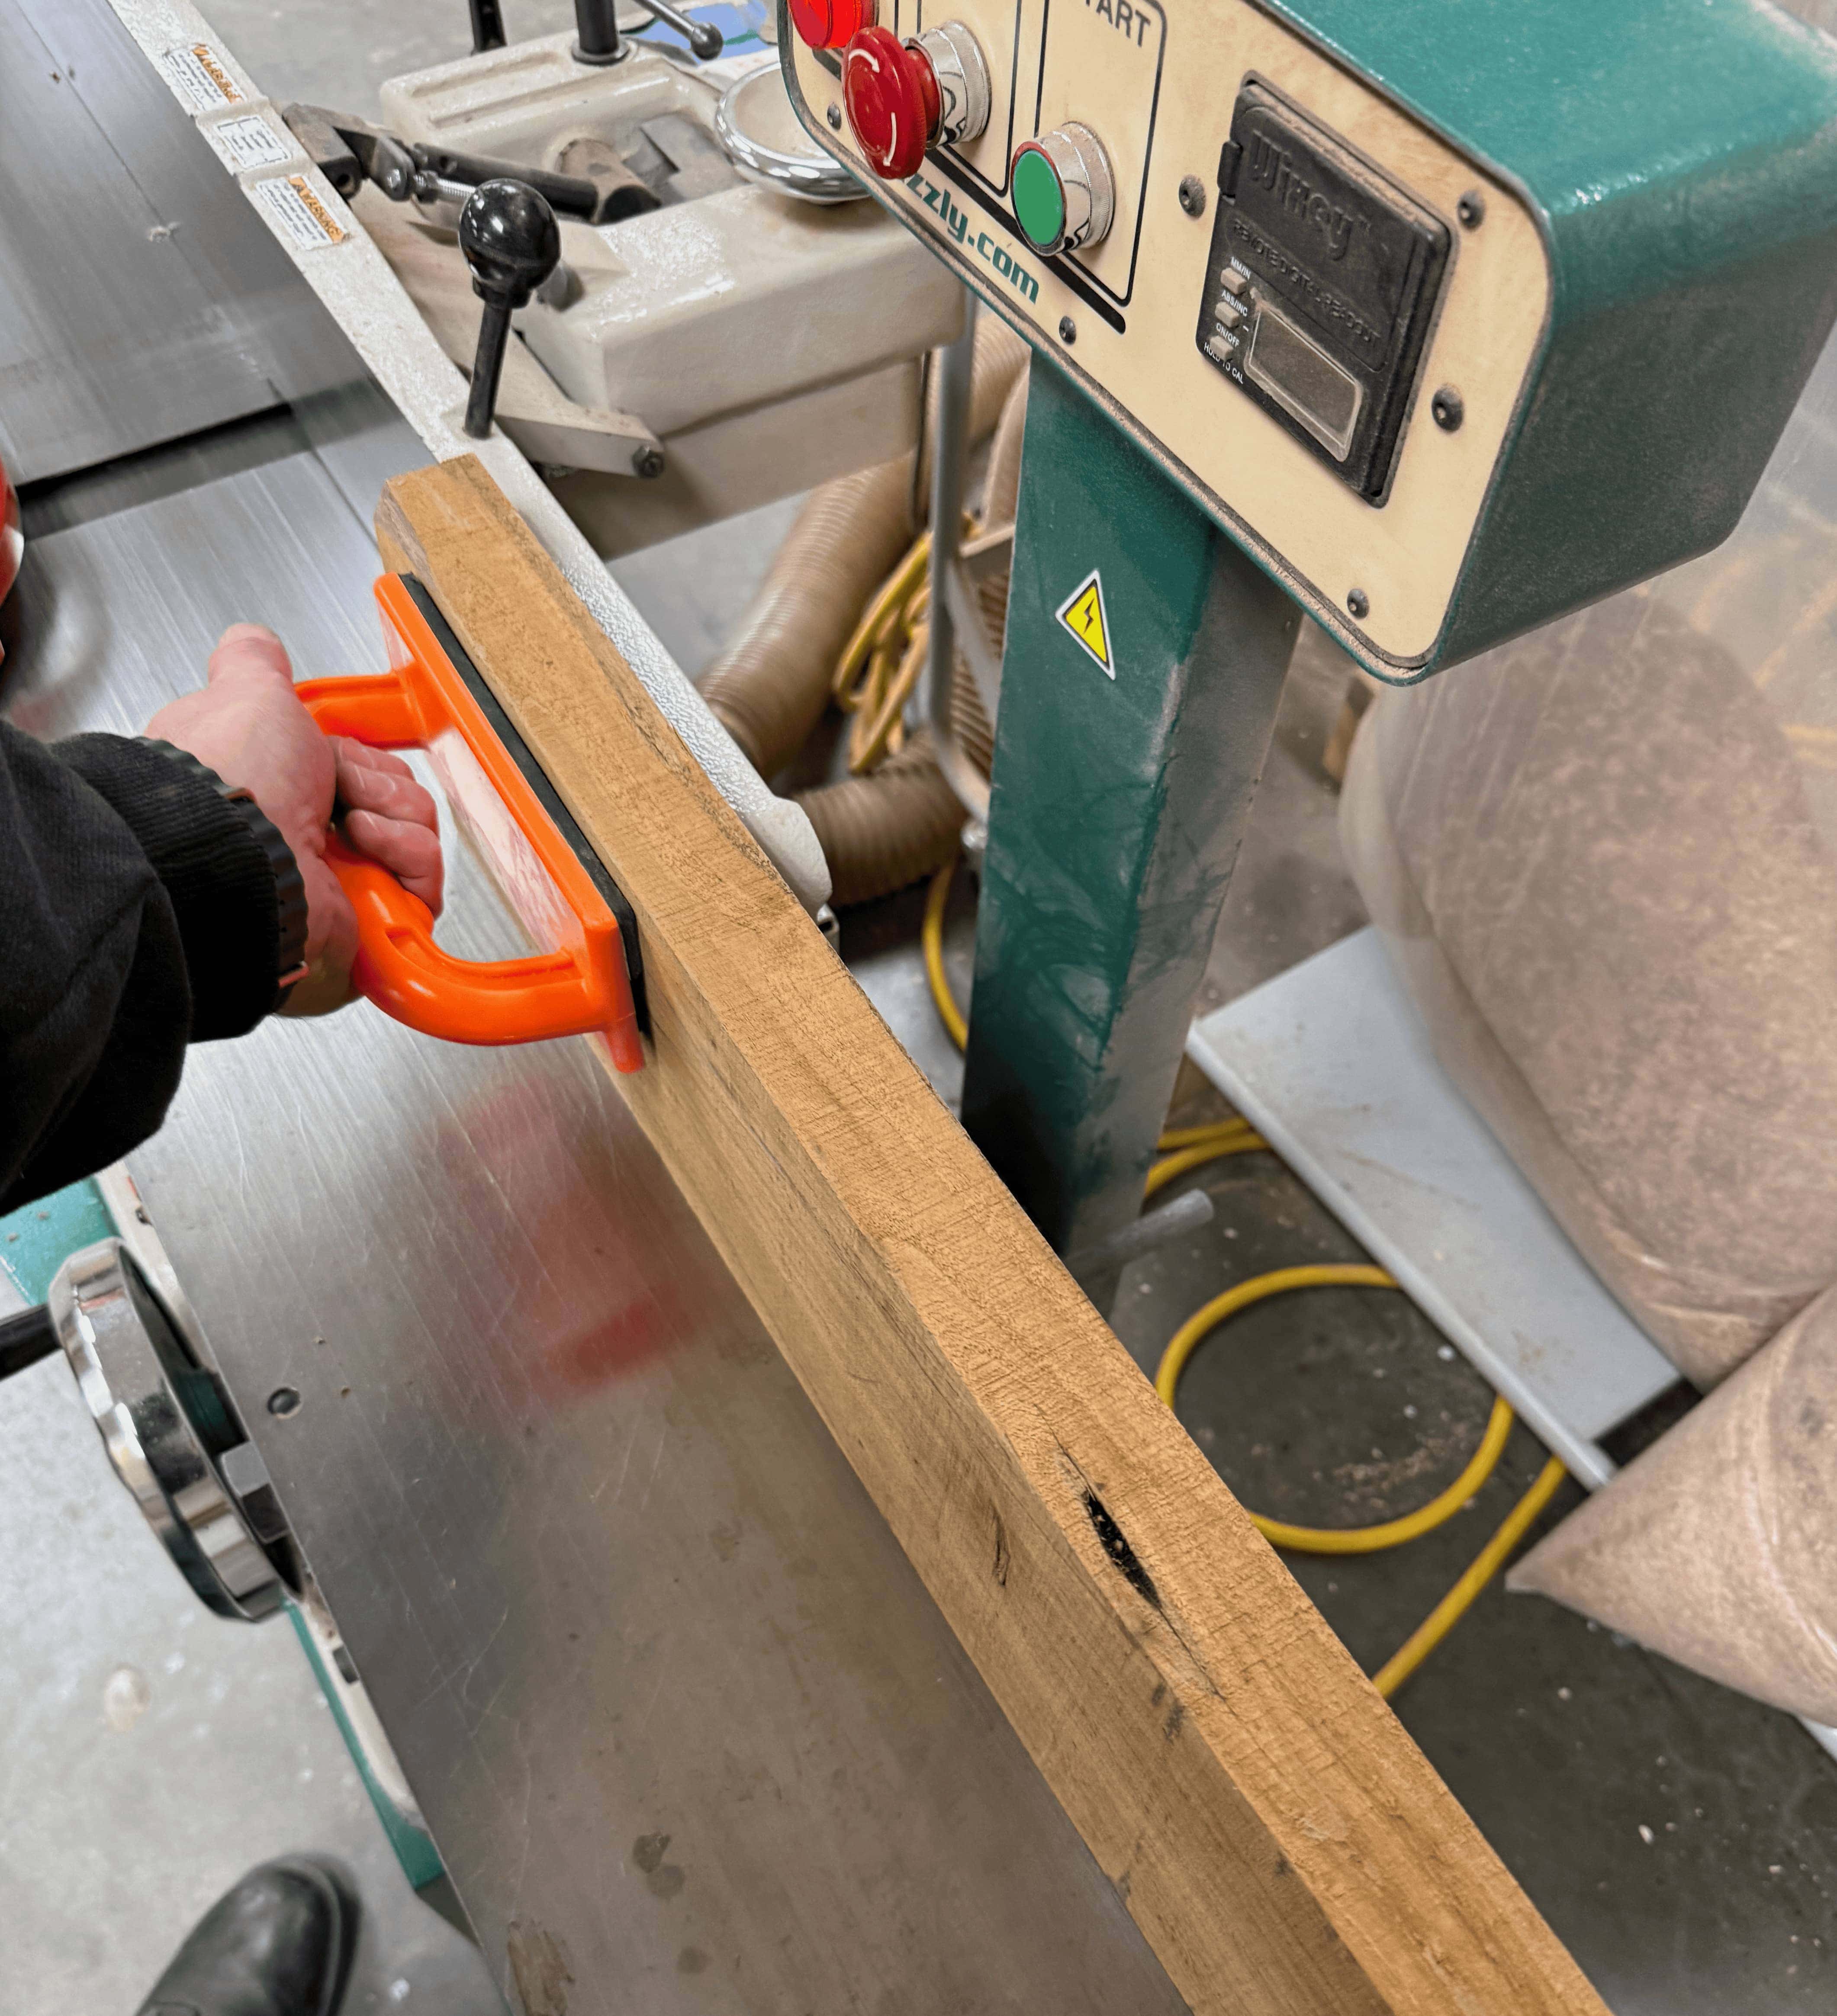
Milling process pt 3
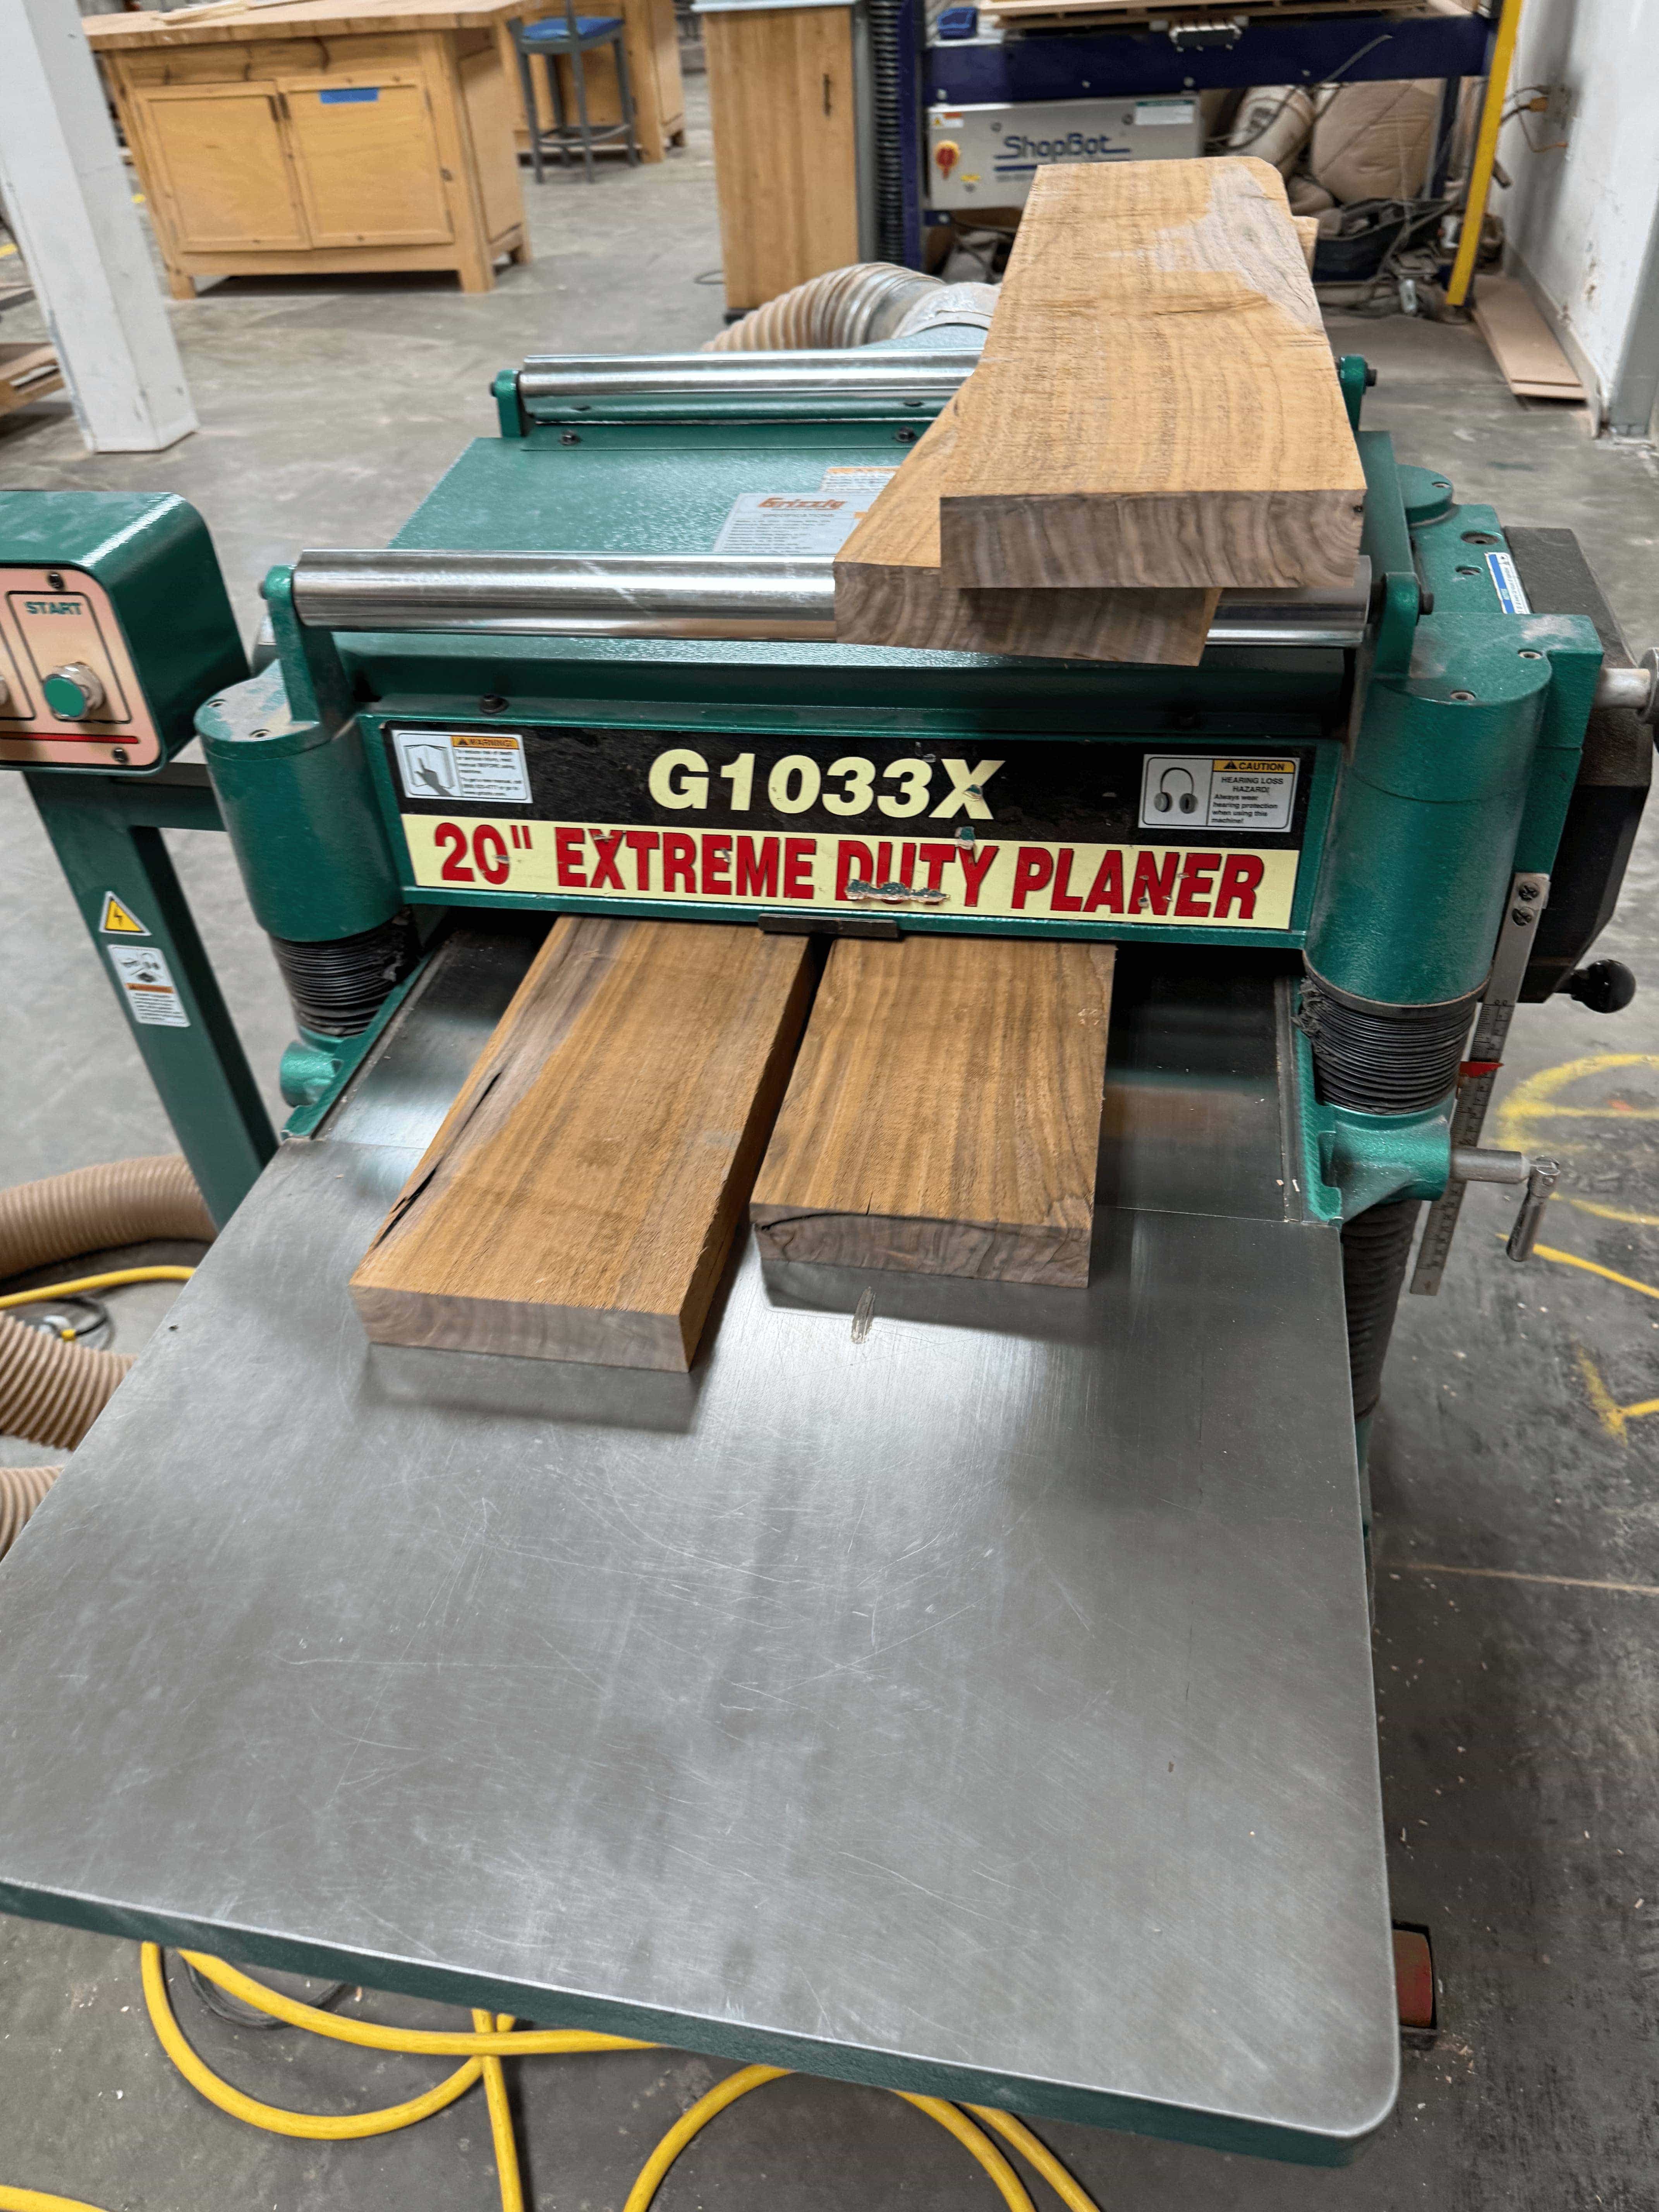
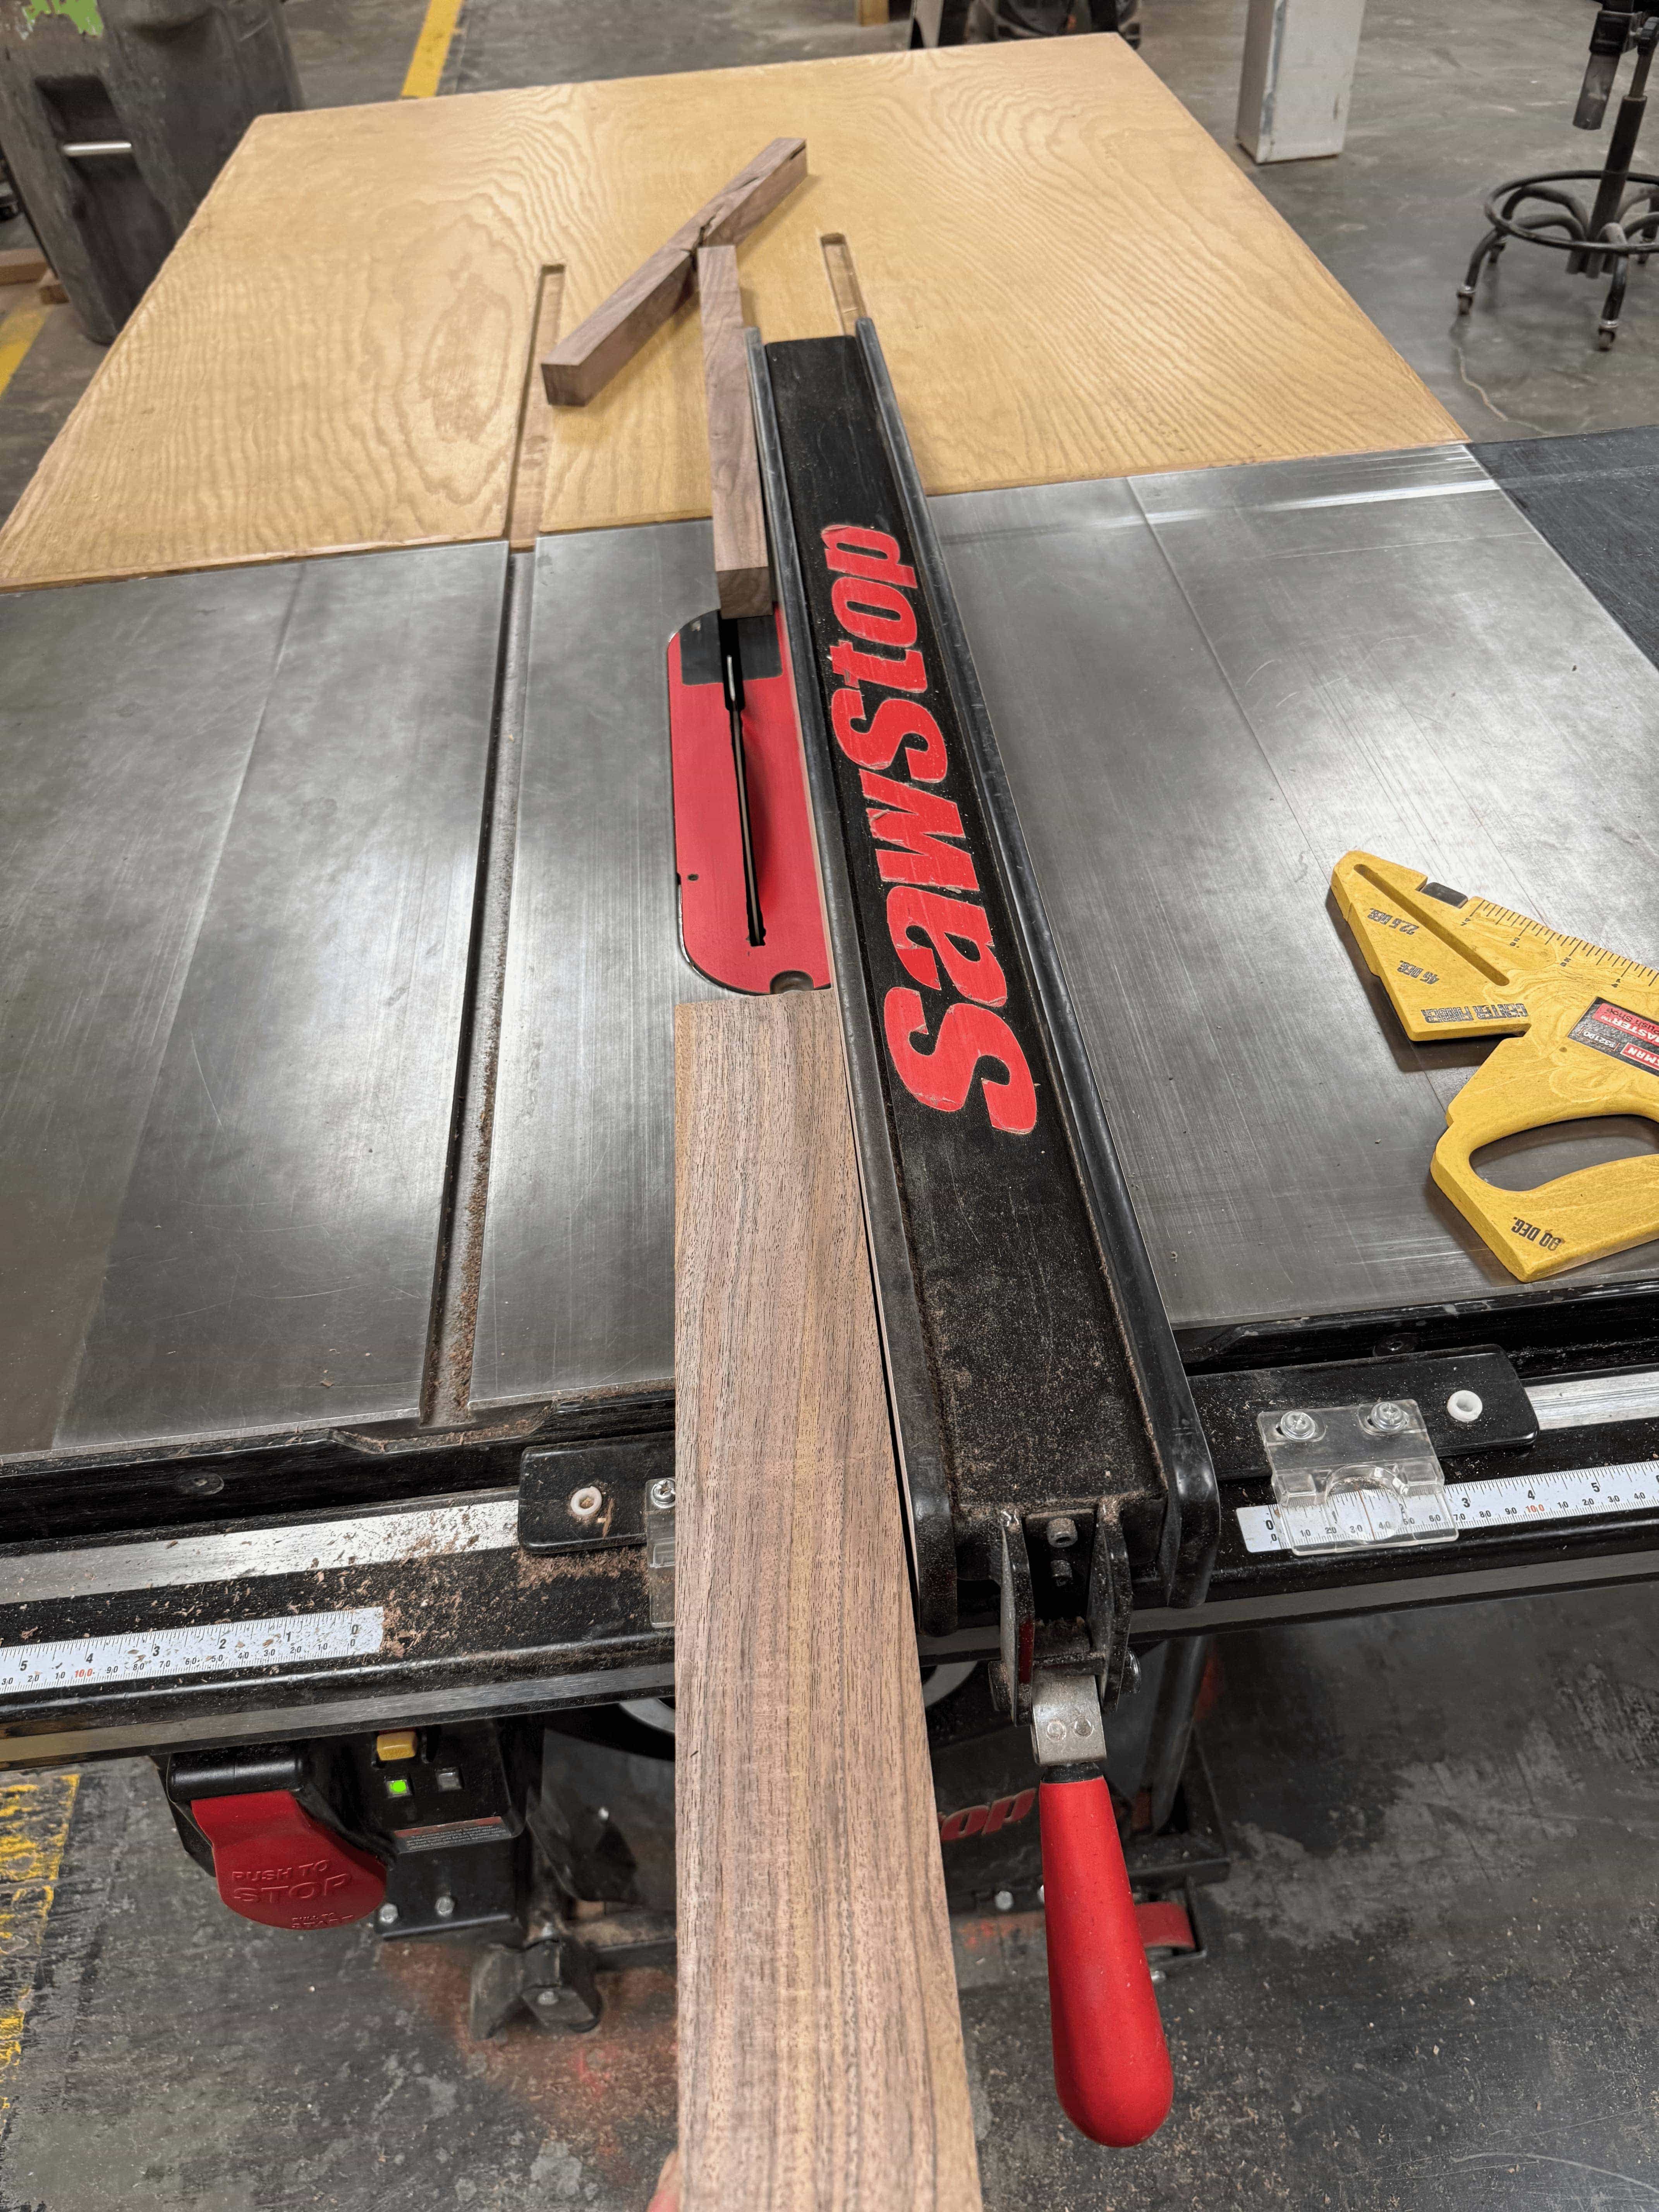
Cutting into strips
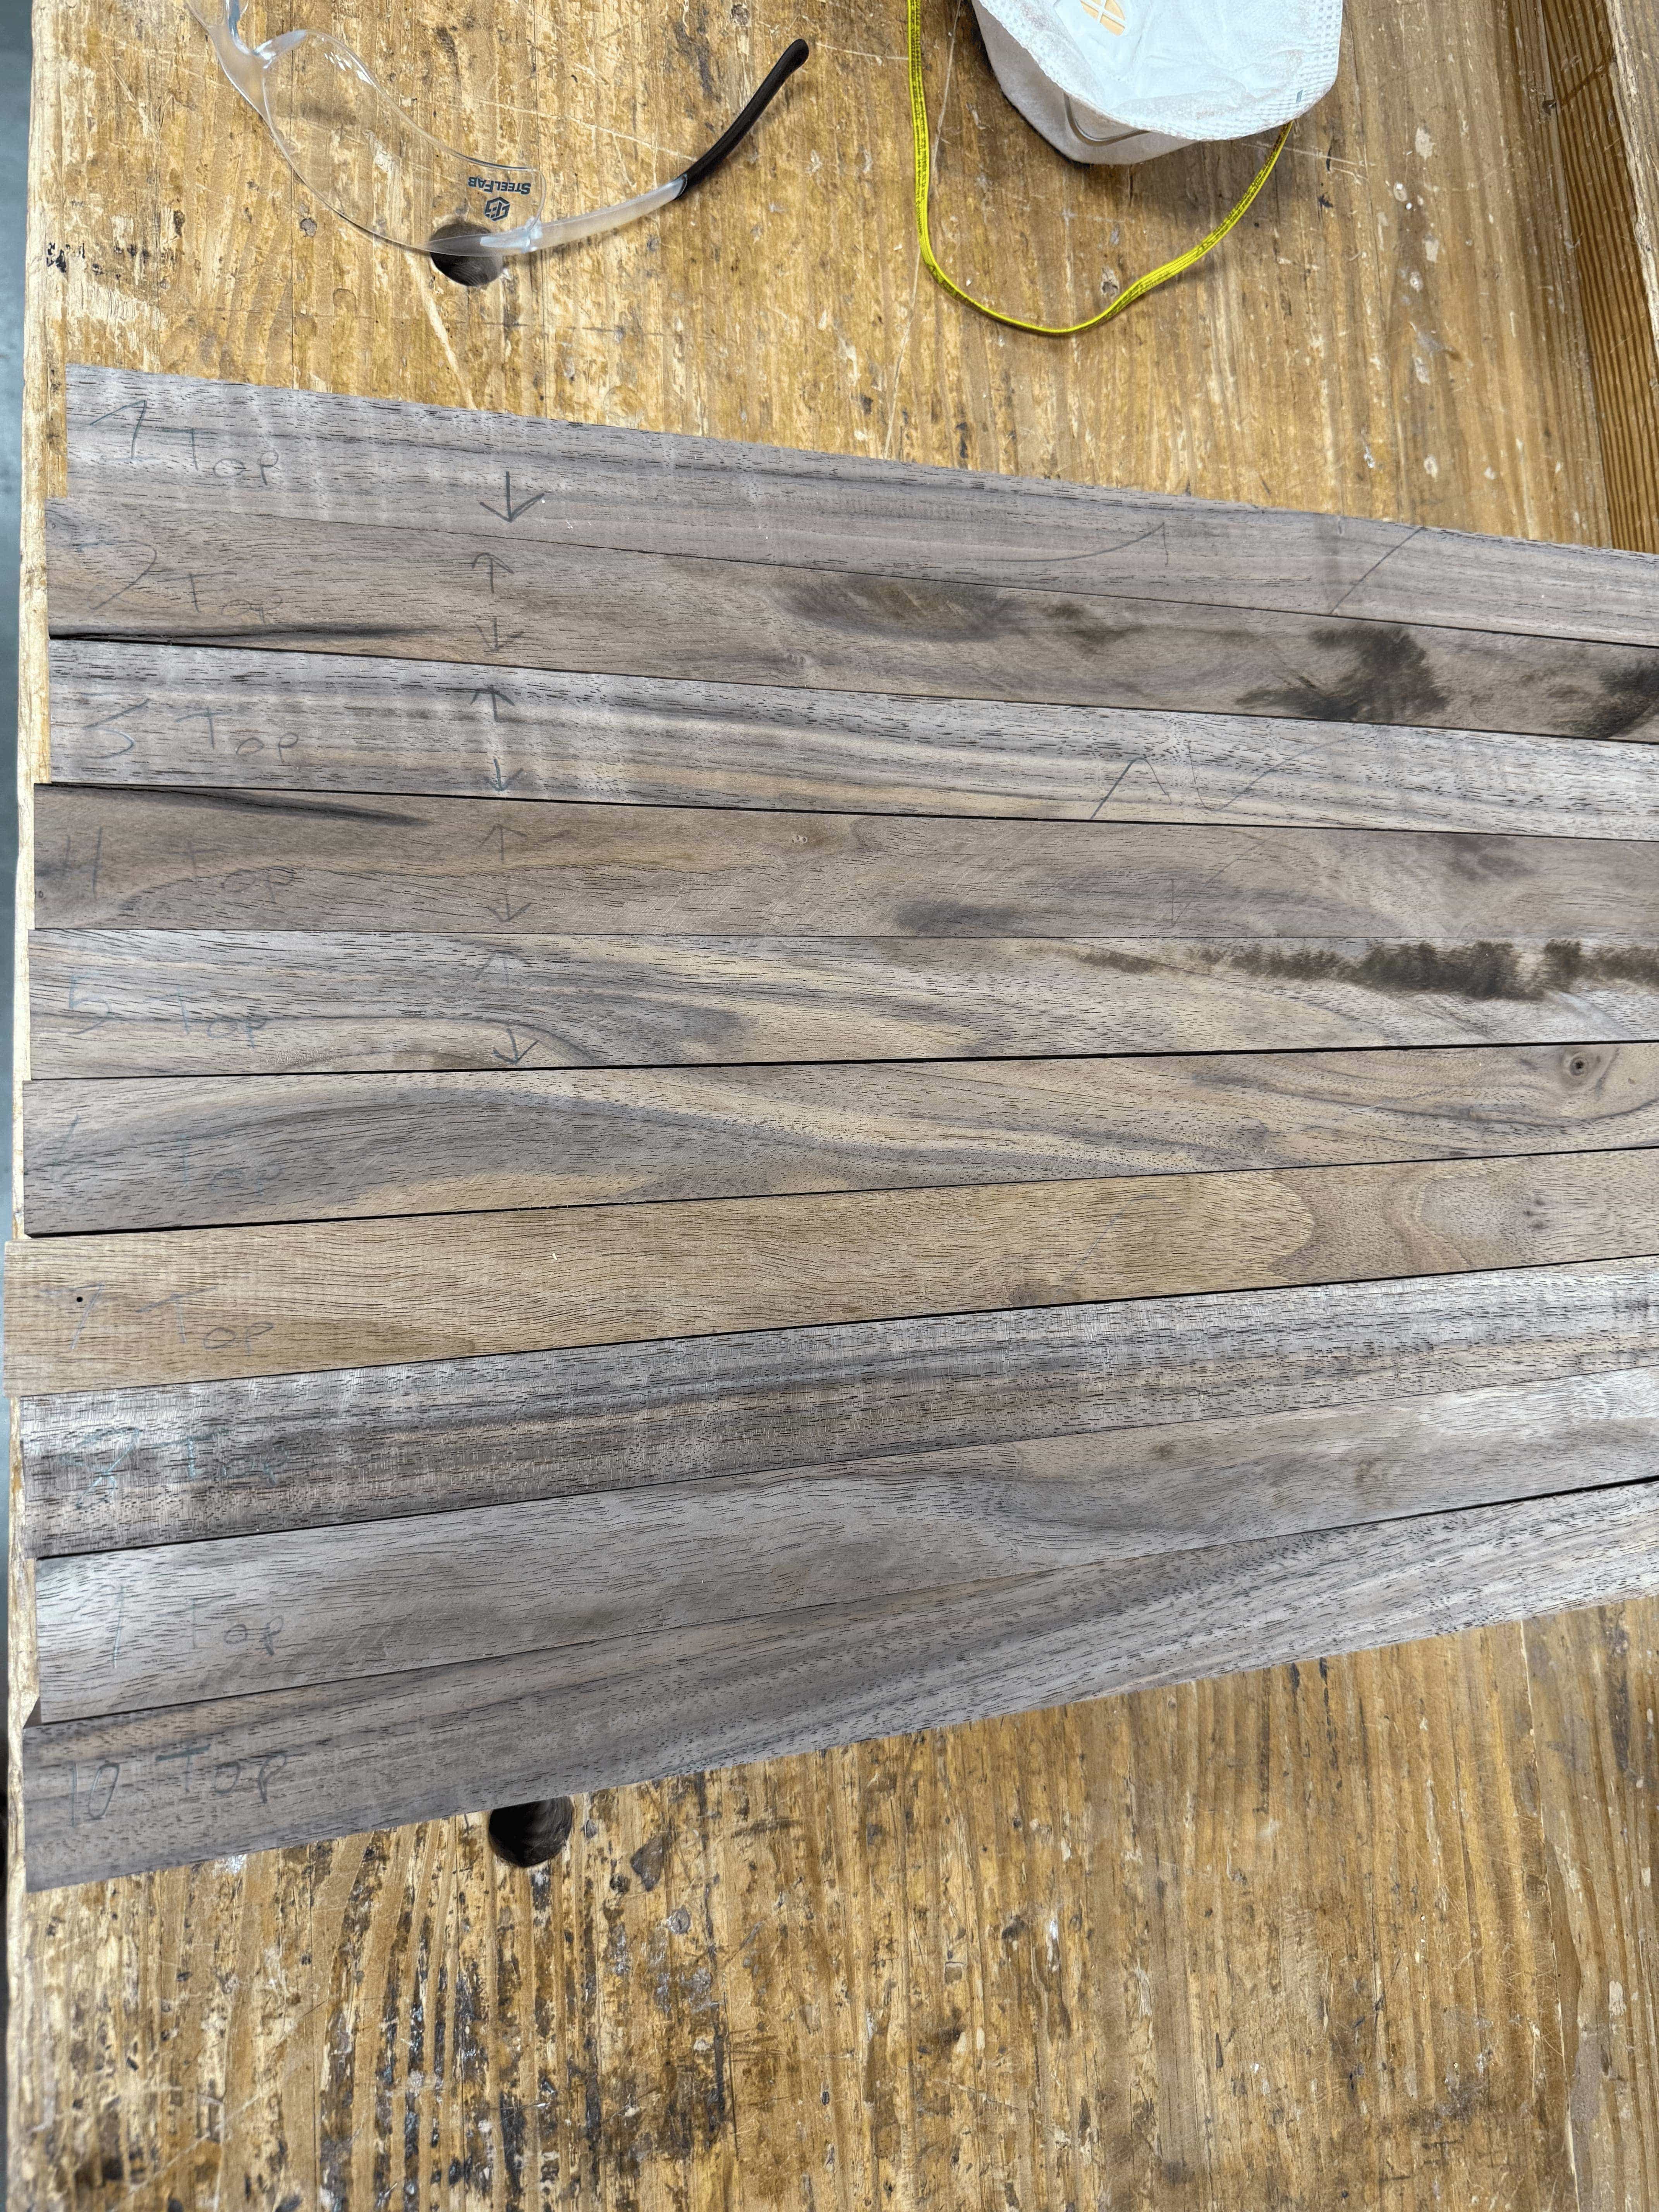
Needed to do another round of jointing.
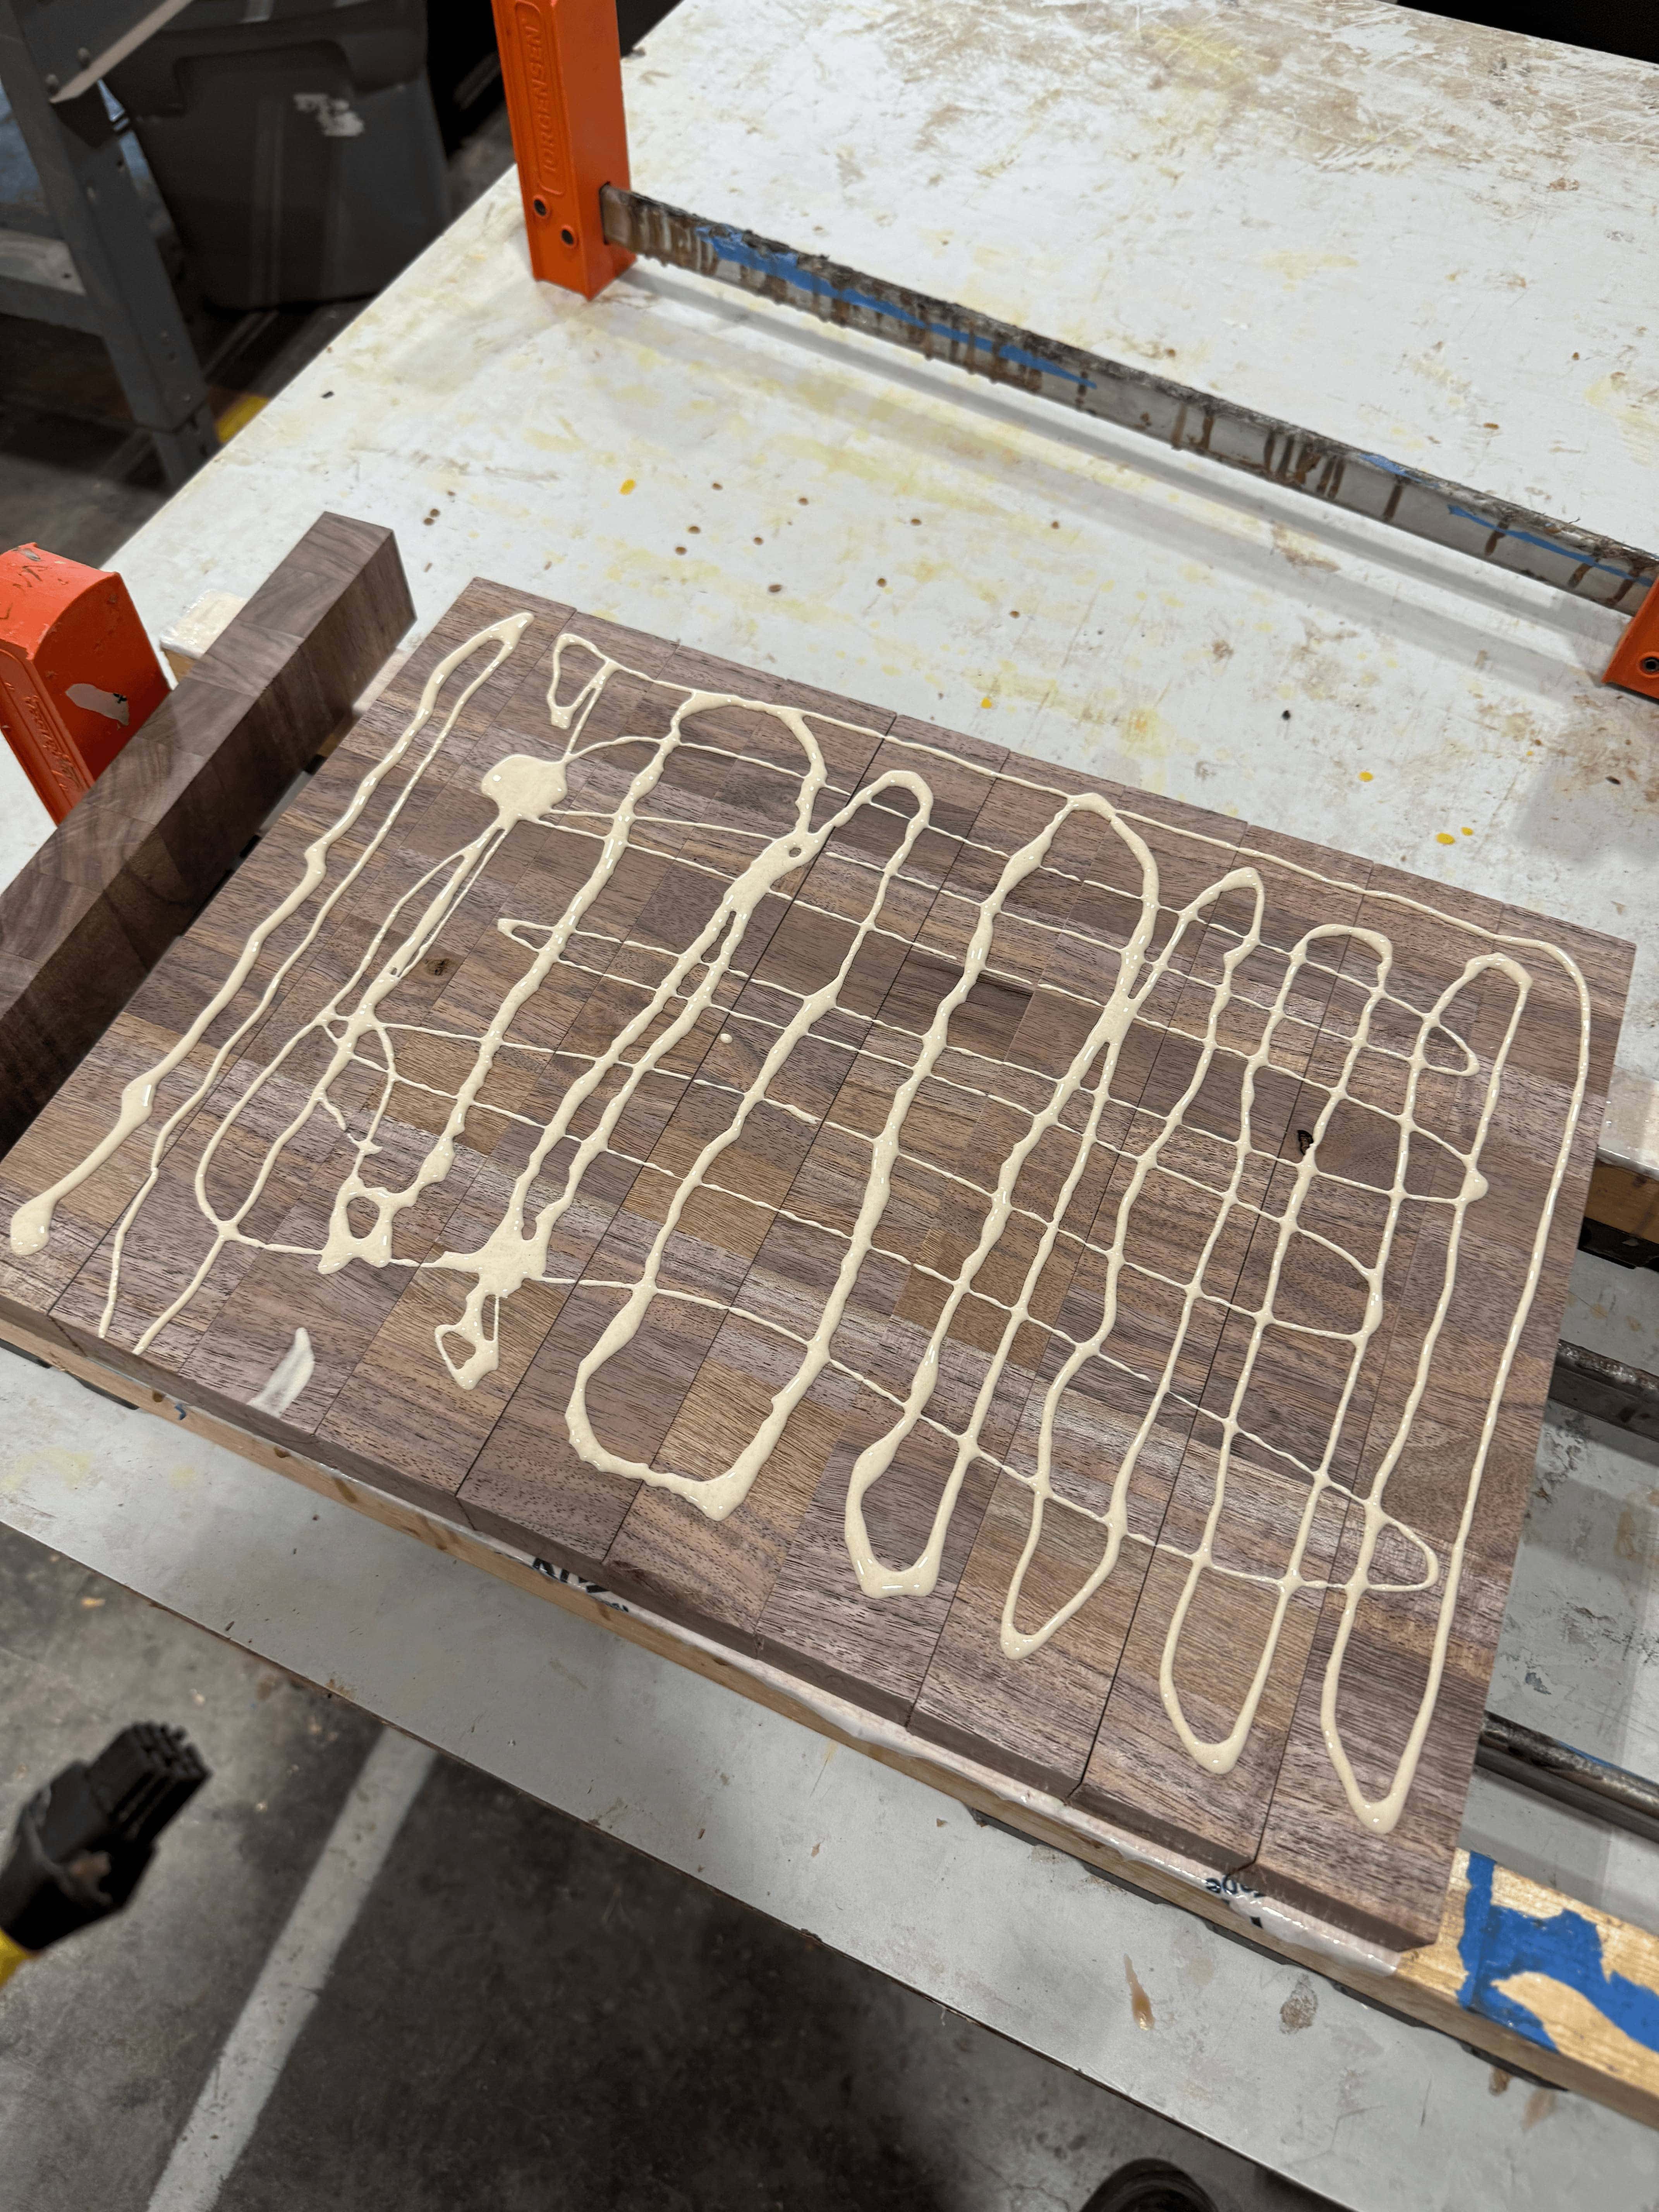
First clamp up
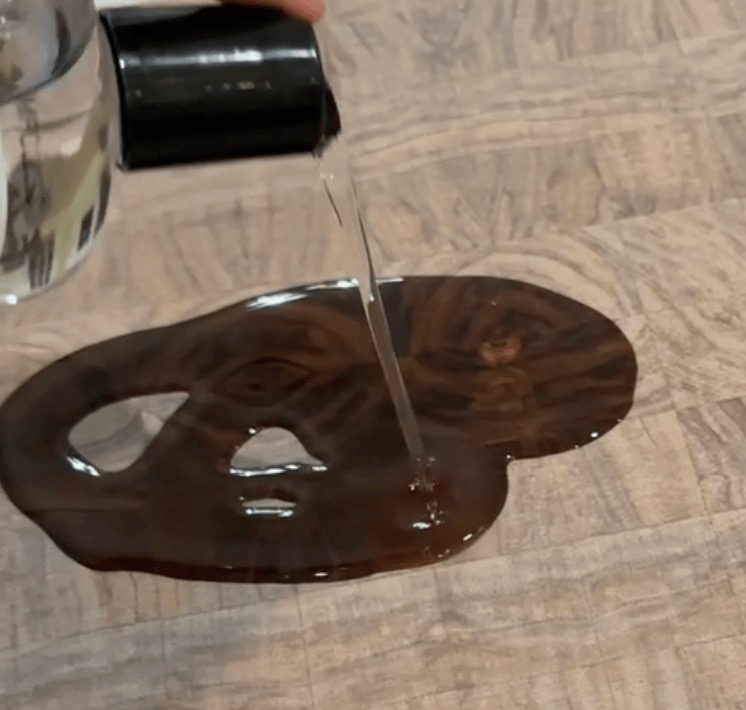
Skipping forward to mineral oil application.
Mineral Oil Hack
By the way, you can use any food safe mineral oil. Even the stuff at the drug stores that is meant to be used as a laxative (which means it is rated for human consumption!) As long as it is 100% mineral oil with no scents/coloring, it will work great.
Final result
This was a fun project. I think they turned out well, especially considering I’ve never made cutting boards before. The walnut had several imperfections and needed to be milled twice. After I cut the wood into strips, internal forces in the wood bent some of the strips out of wack. I ran them through the jointer again to ensure the glue up would be successful. I probably could have done some better bookmatching, but I still think the patterns turned out nicely.