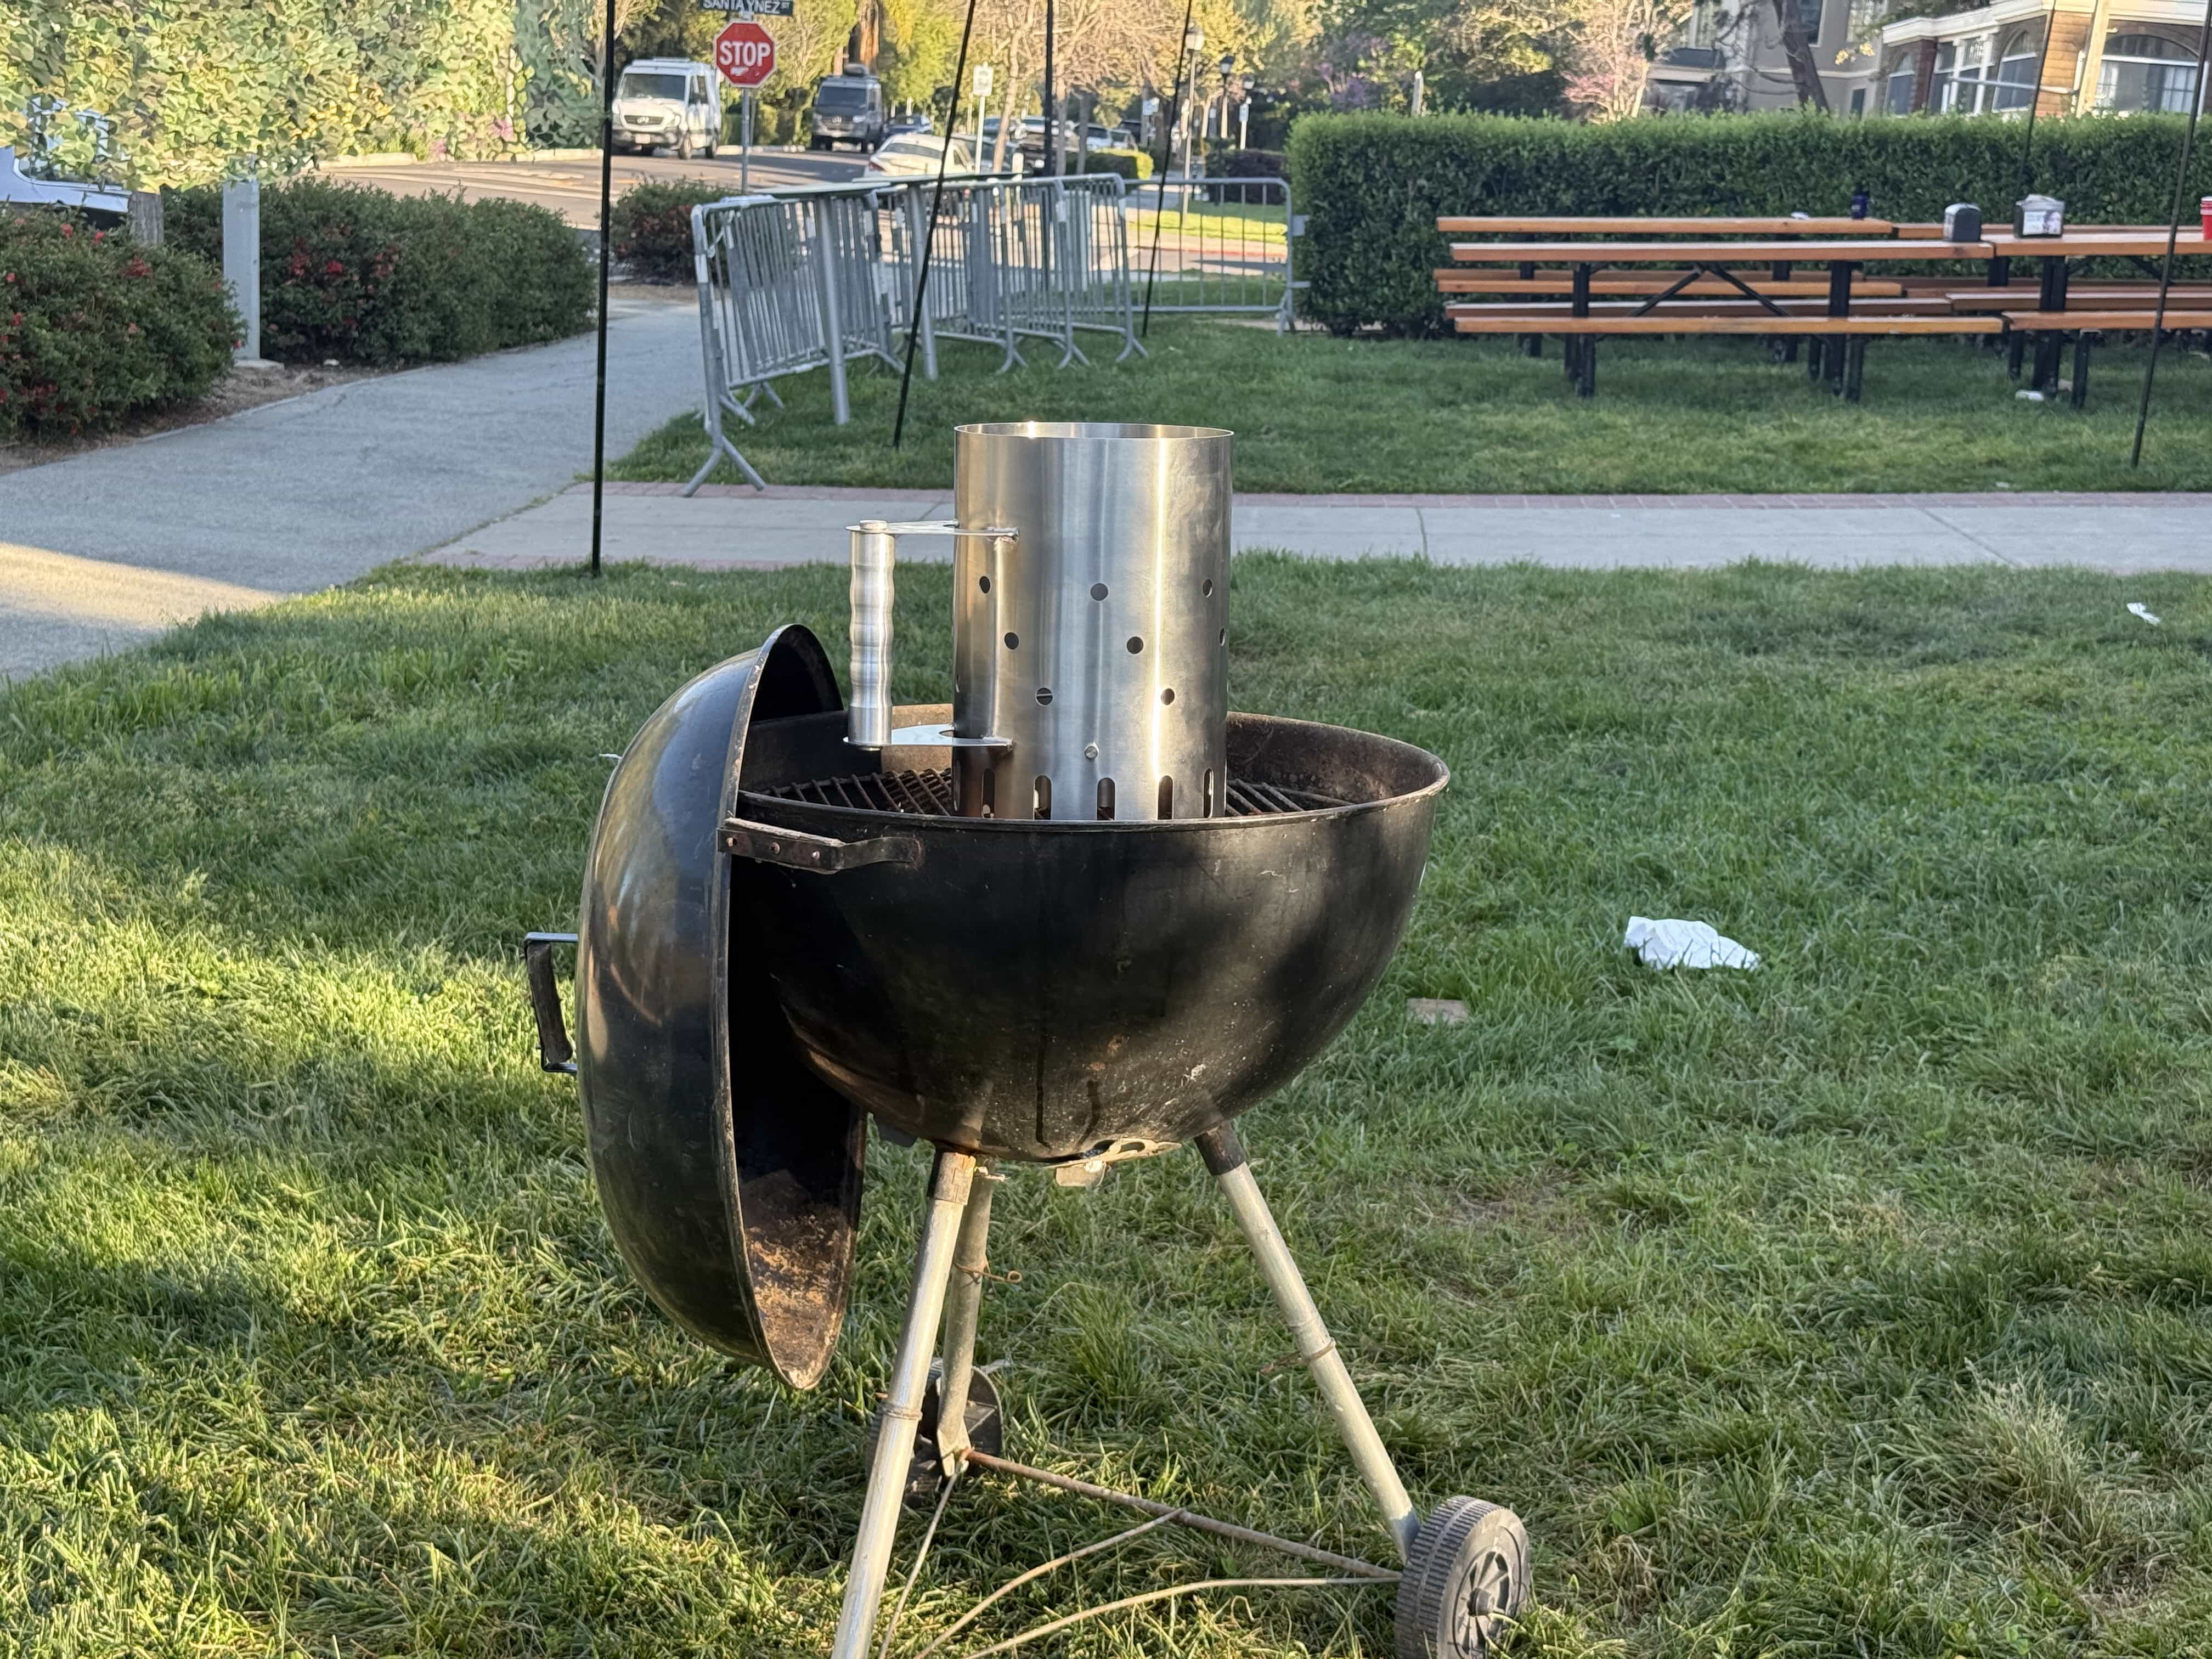
Stainless Steel Charcoal Starter
Introduction
One of my favorite classes that I’ve taken so far at Stanford has been ME 103: Product Realization: Design and Making. In this class, you are tasked with developing a product involving three fabrication processes. The processes you could choose from included welding, forming, turning, machining, and casting. In order to be successful, you had to choose a product that was well scoped and could be finished within the 10-week duration of the class (really <4 weeks once you start on the product). The product that I chose to build was a charcoal starter.
Inspiration
For as long as I can remember, one of my household chores has been preparing the grill, including clearing the ash and preparing the charcoal starter. Yes, I know, such a “chore” to prepare the grill so my dad can cook steak for the family. Regardless of my spoiled upbringing, I became familiar with this implement and noted how the starter would rust away after only a few years of use before being replaced. I decided to try and make one that would be as resistant to the elements as possible.
The Process
Low Fidelity Prototype
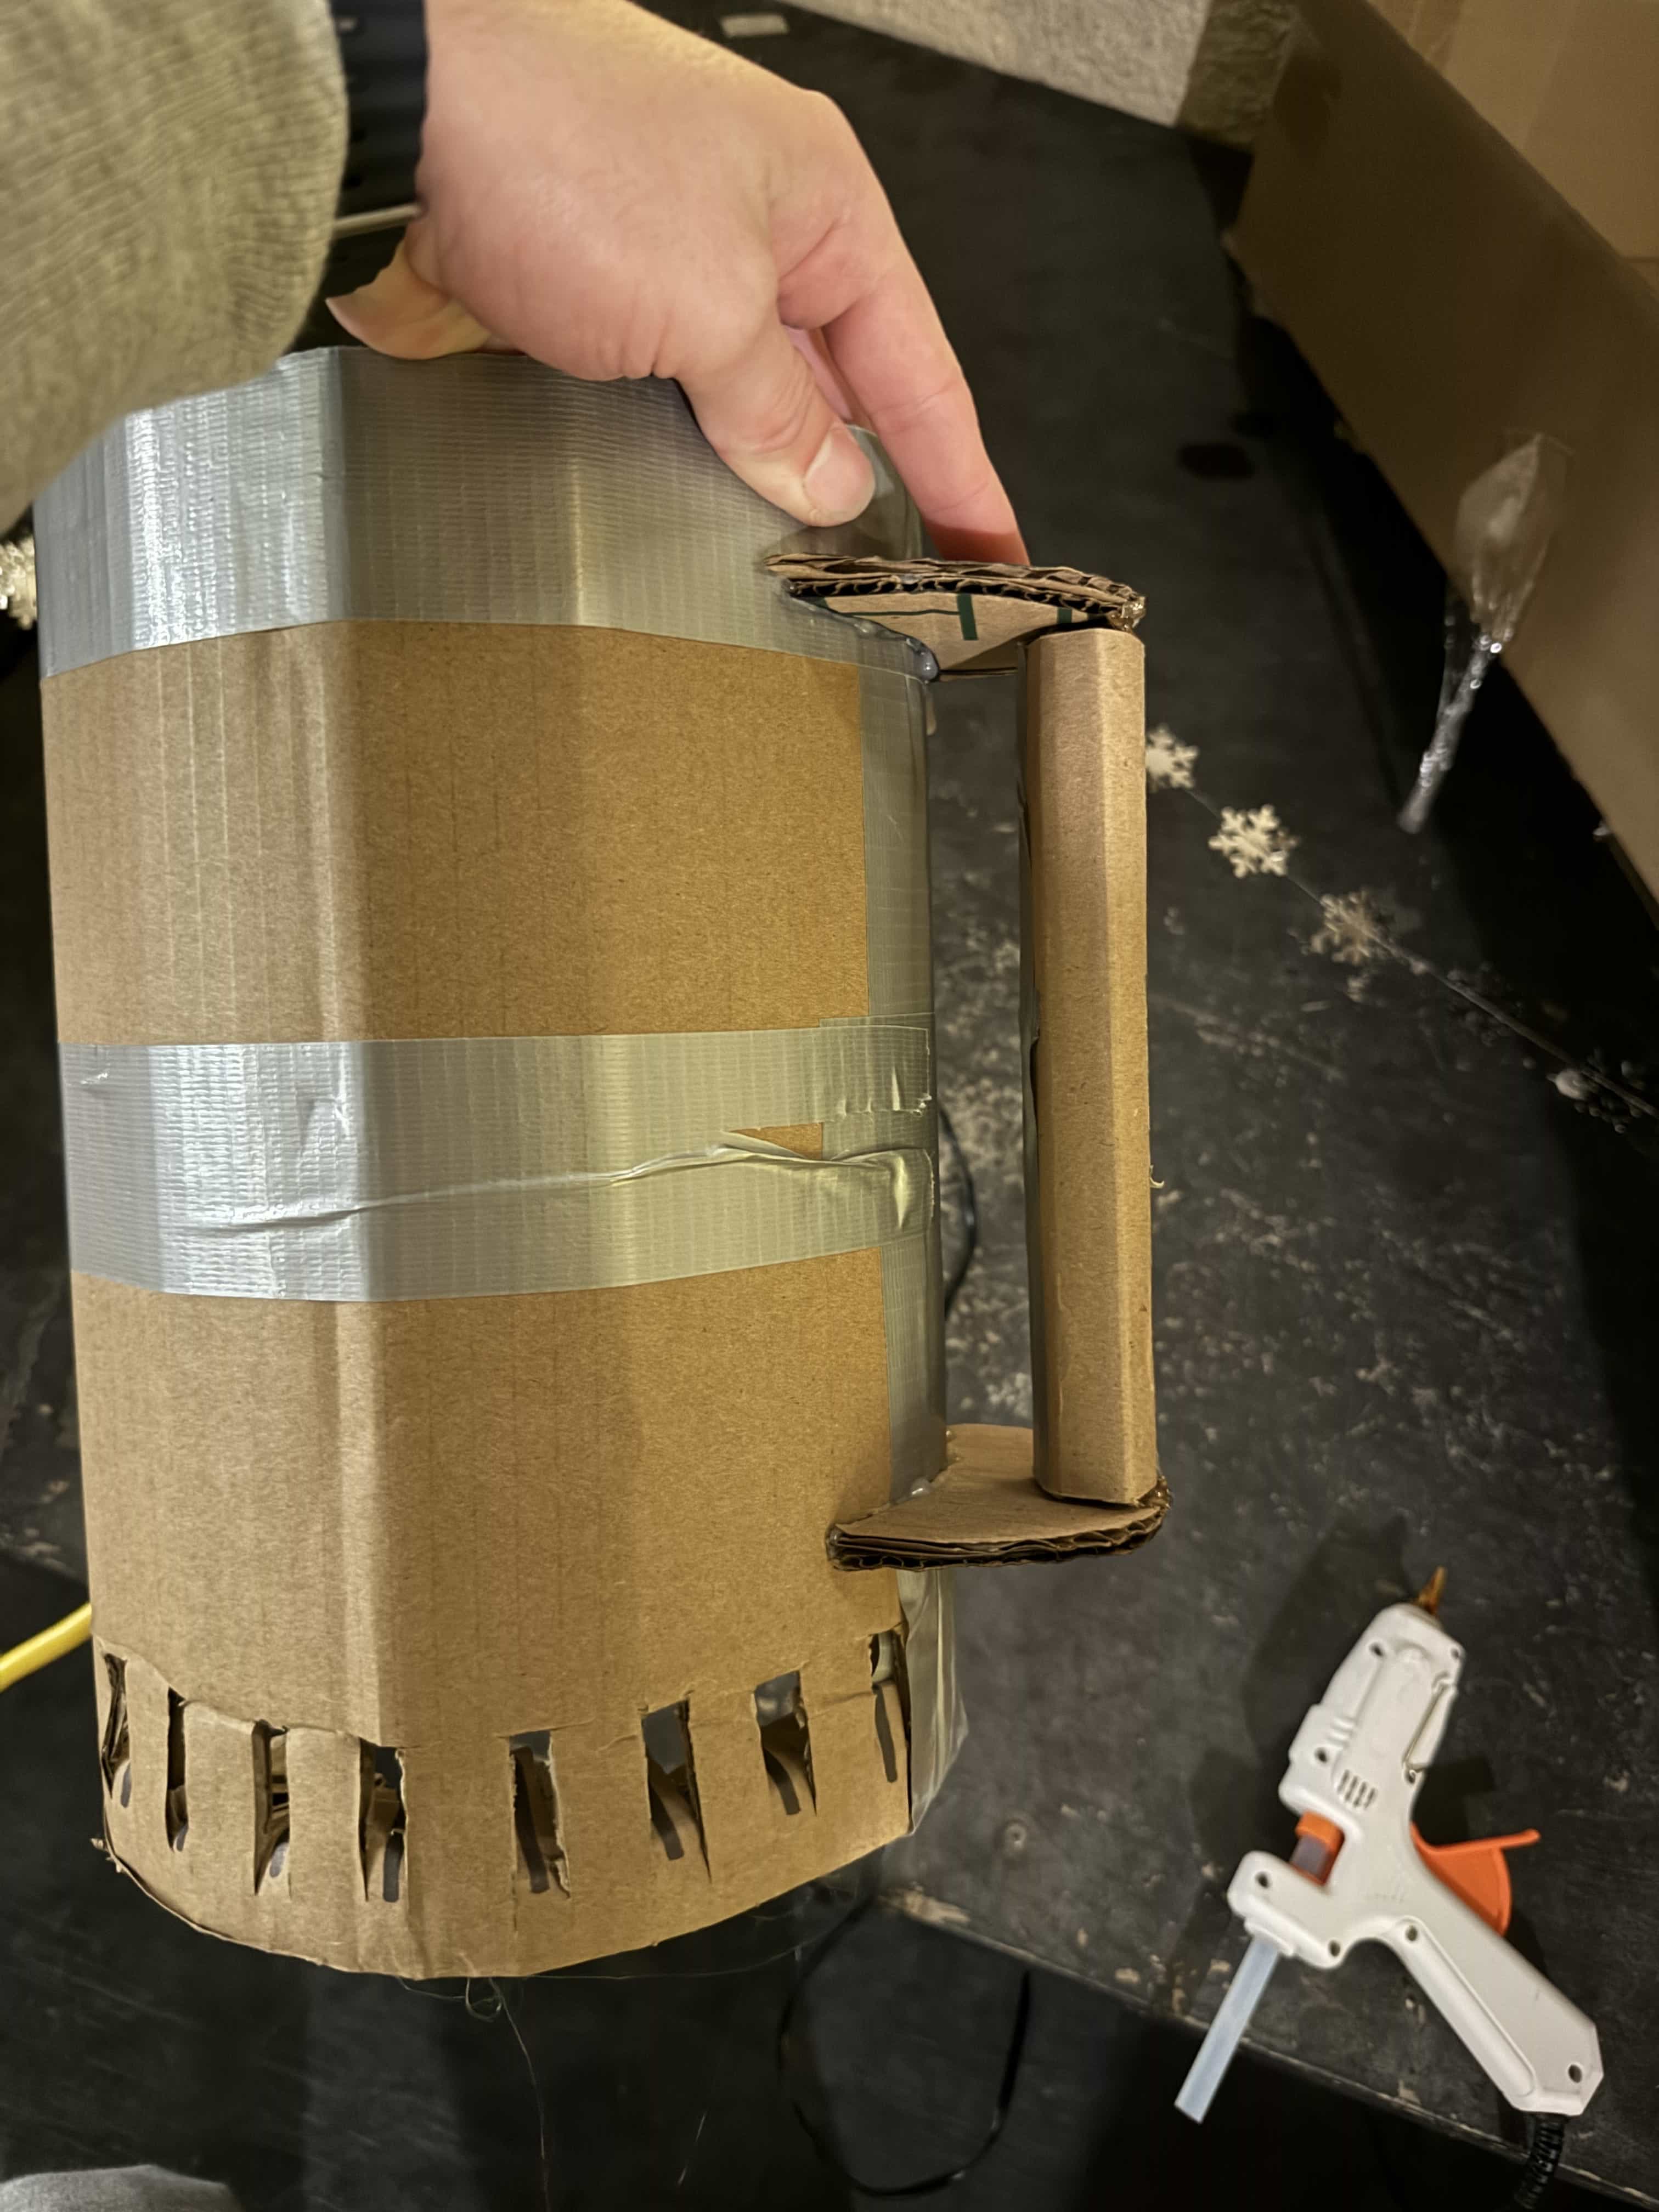
One of the requirements was a “low-fidelity prototype” made out of cardboard, foam, or some other material that is cheap and easy to work with. This was actually helpful for me to determine the overall dimensions of the starter that I wanted to make.
CAD
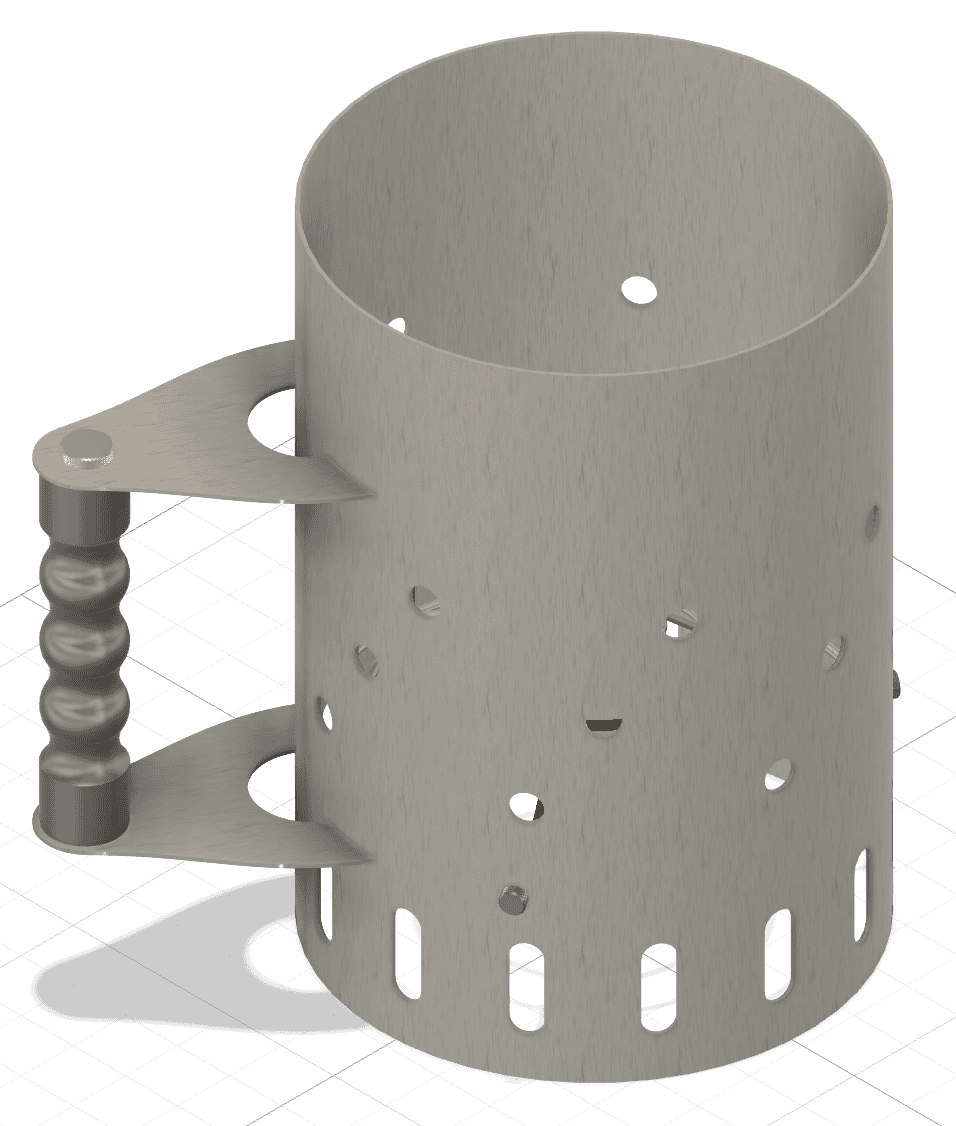
I used Fusion to CAD up a 3D model of the product. I then used the flat pattern tool to convert it into a DXF file for laser cutting.
Process Development
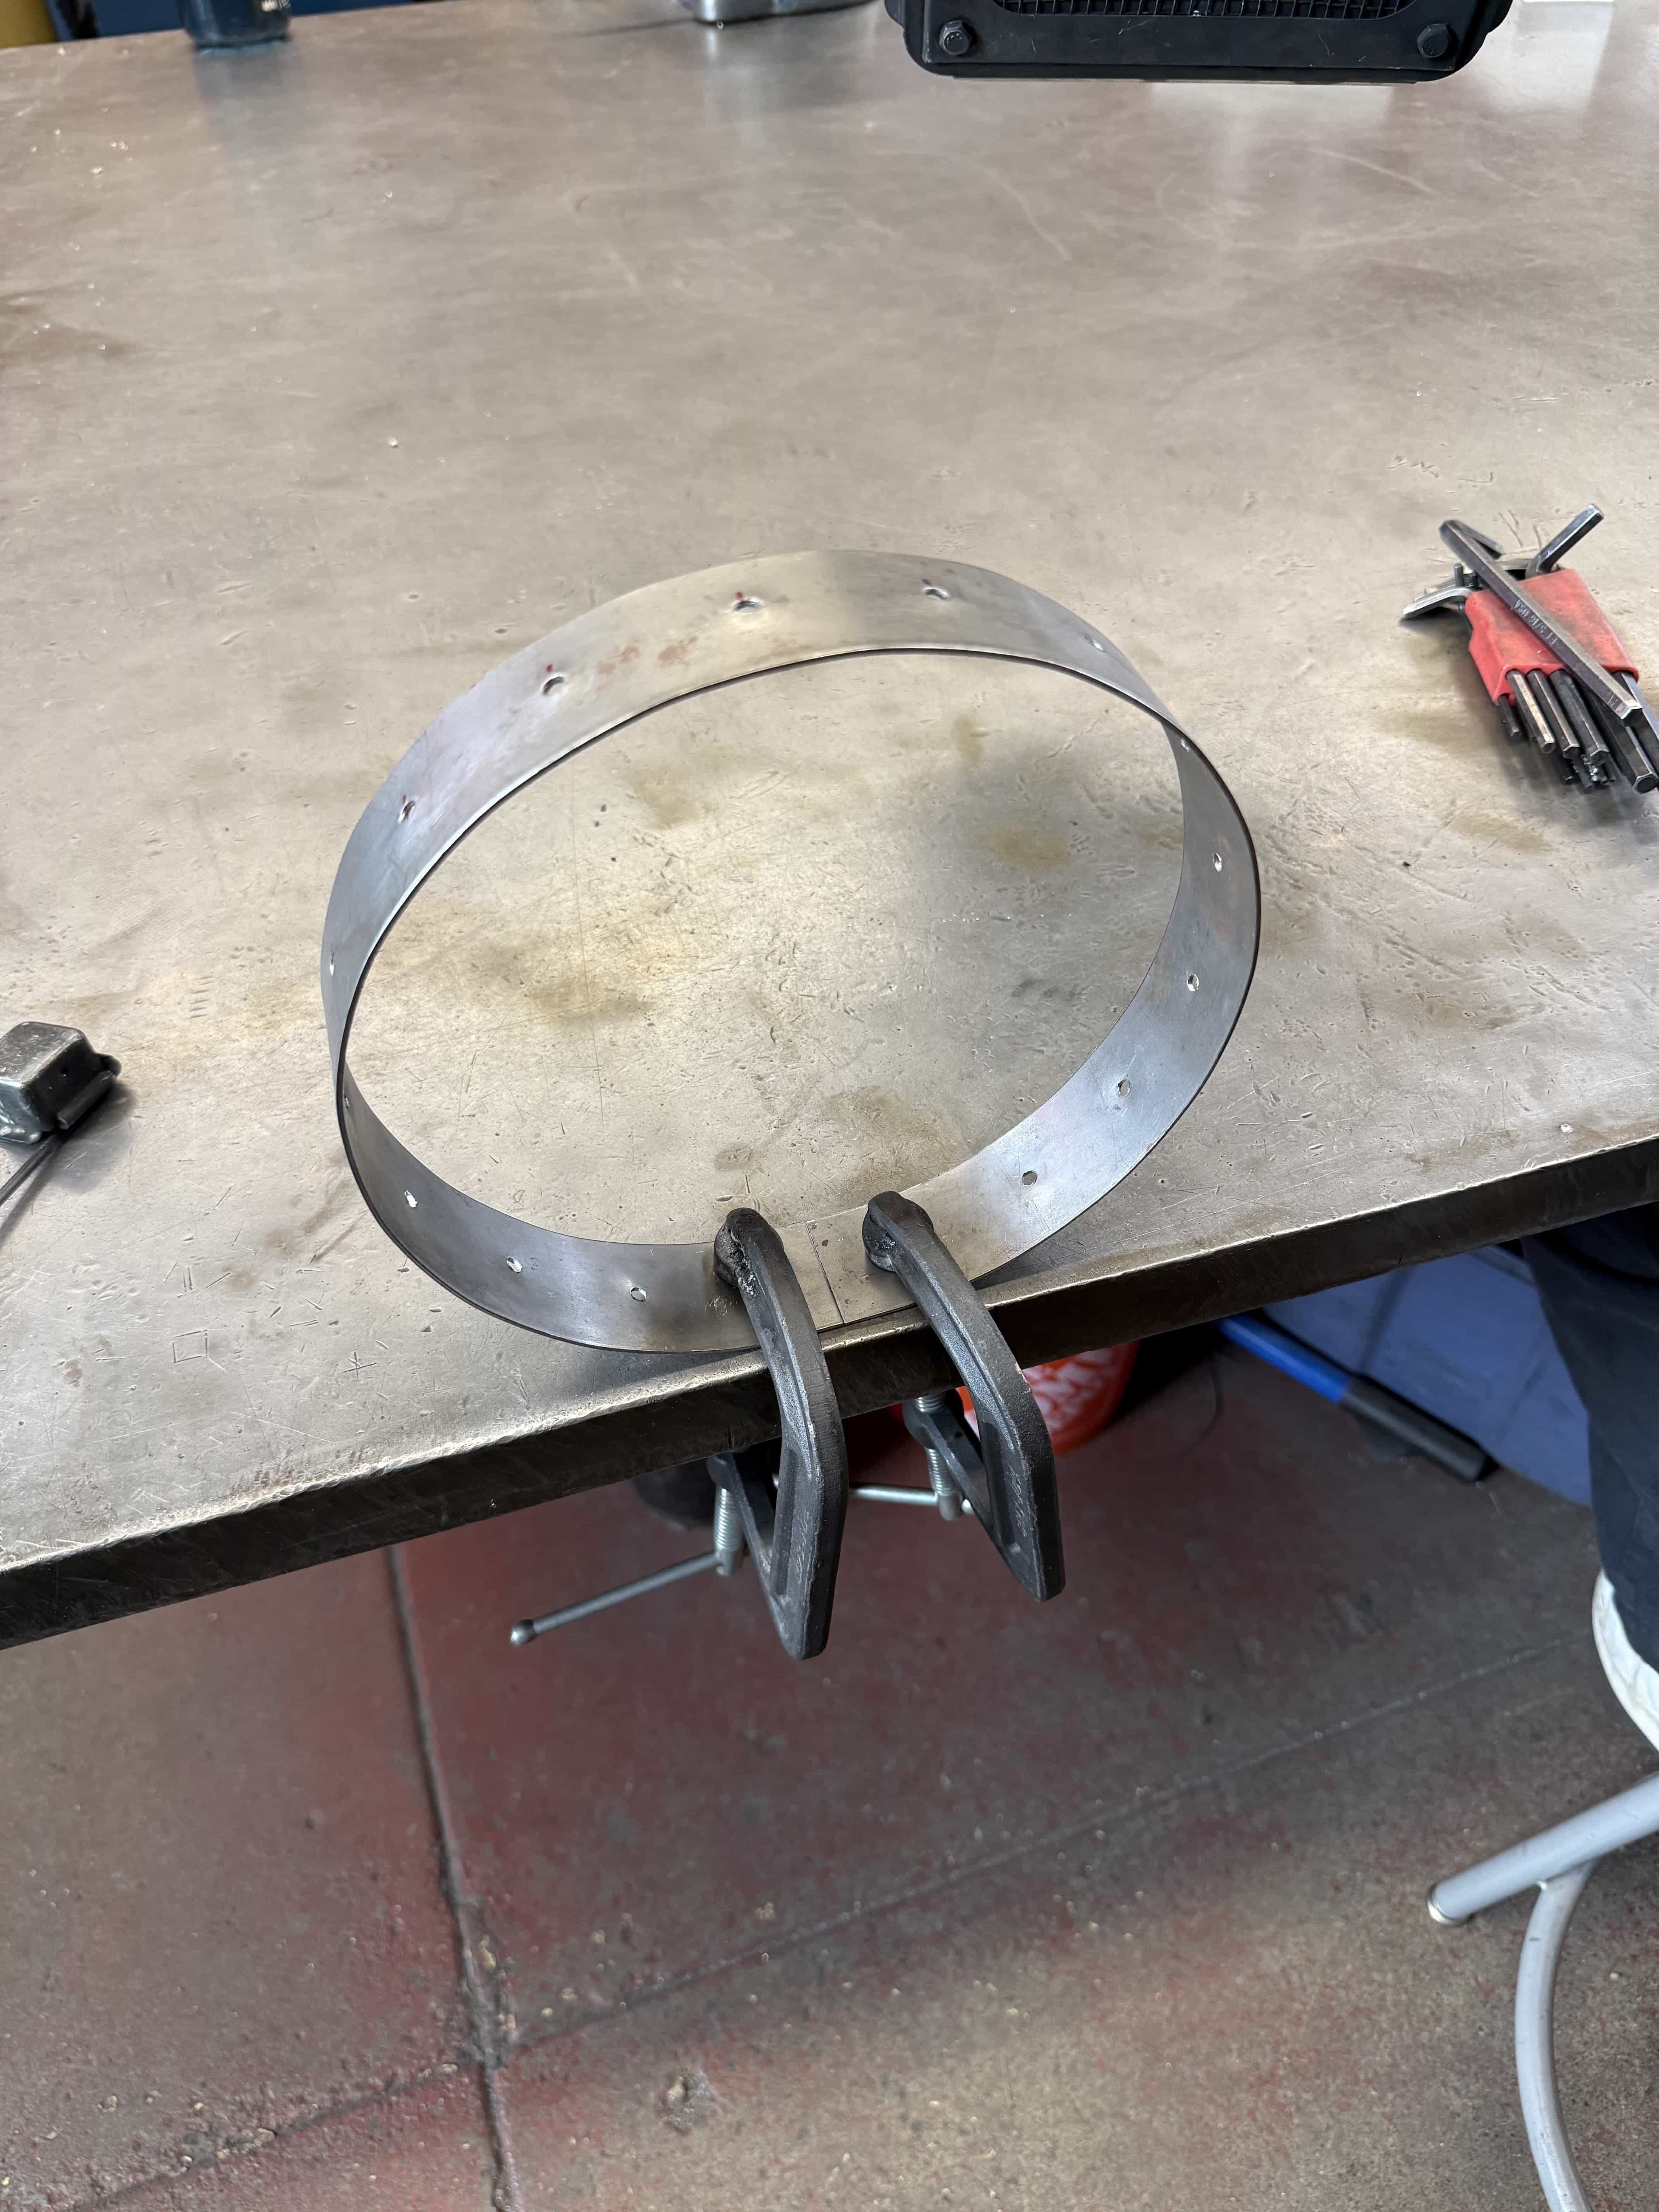
Another deliverable for the class was to test one of your processes. I tested using the slip roller and some of the welding fixtures. This really wasn’t enough for the scope of my project, but it ended up working out okay in the end.
Laser Cutting
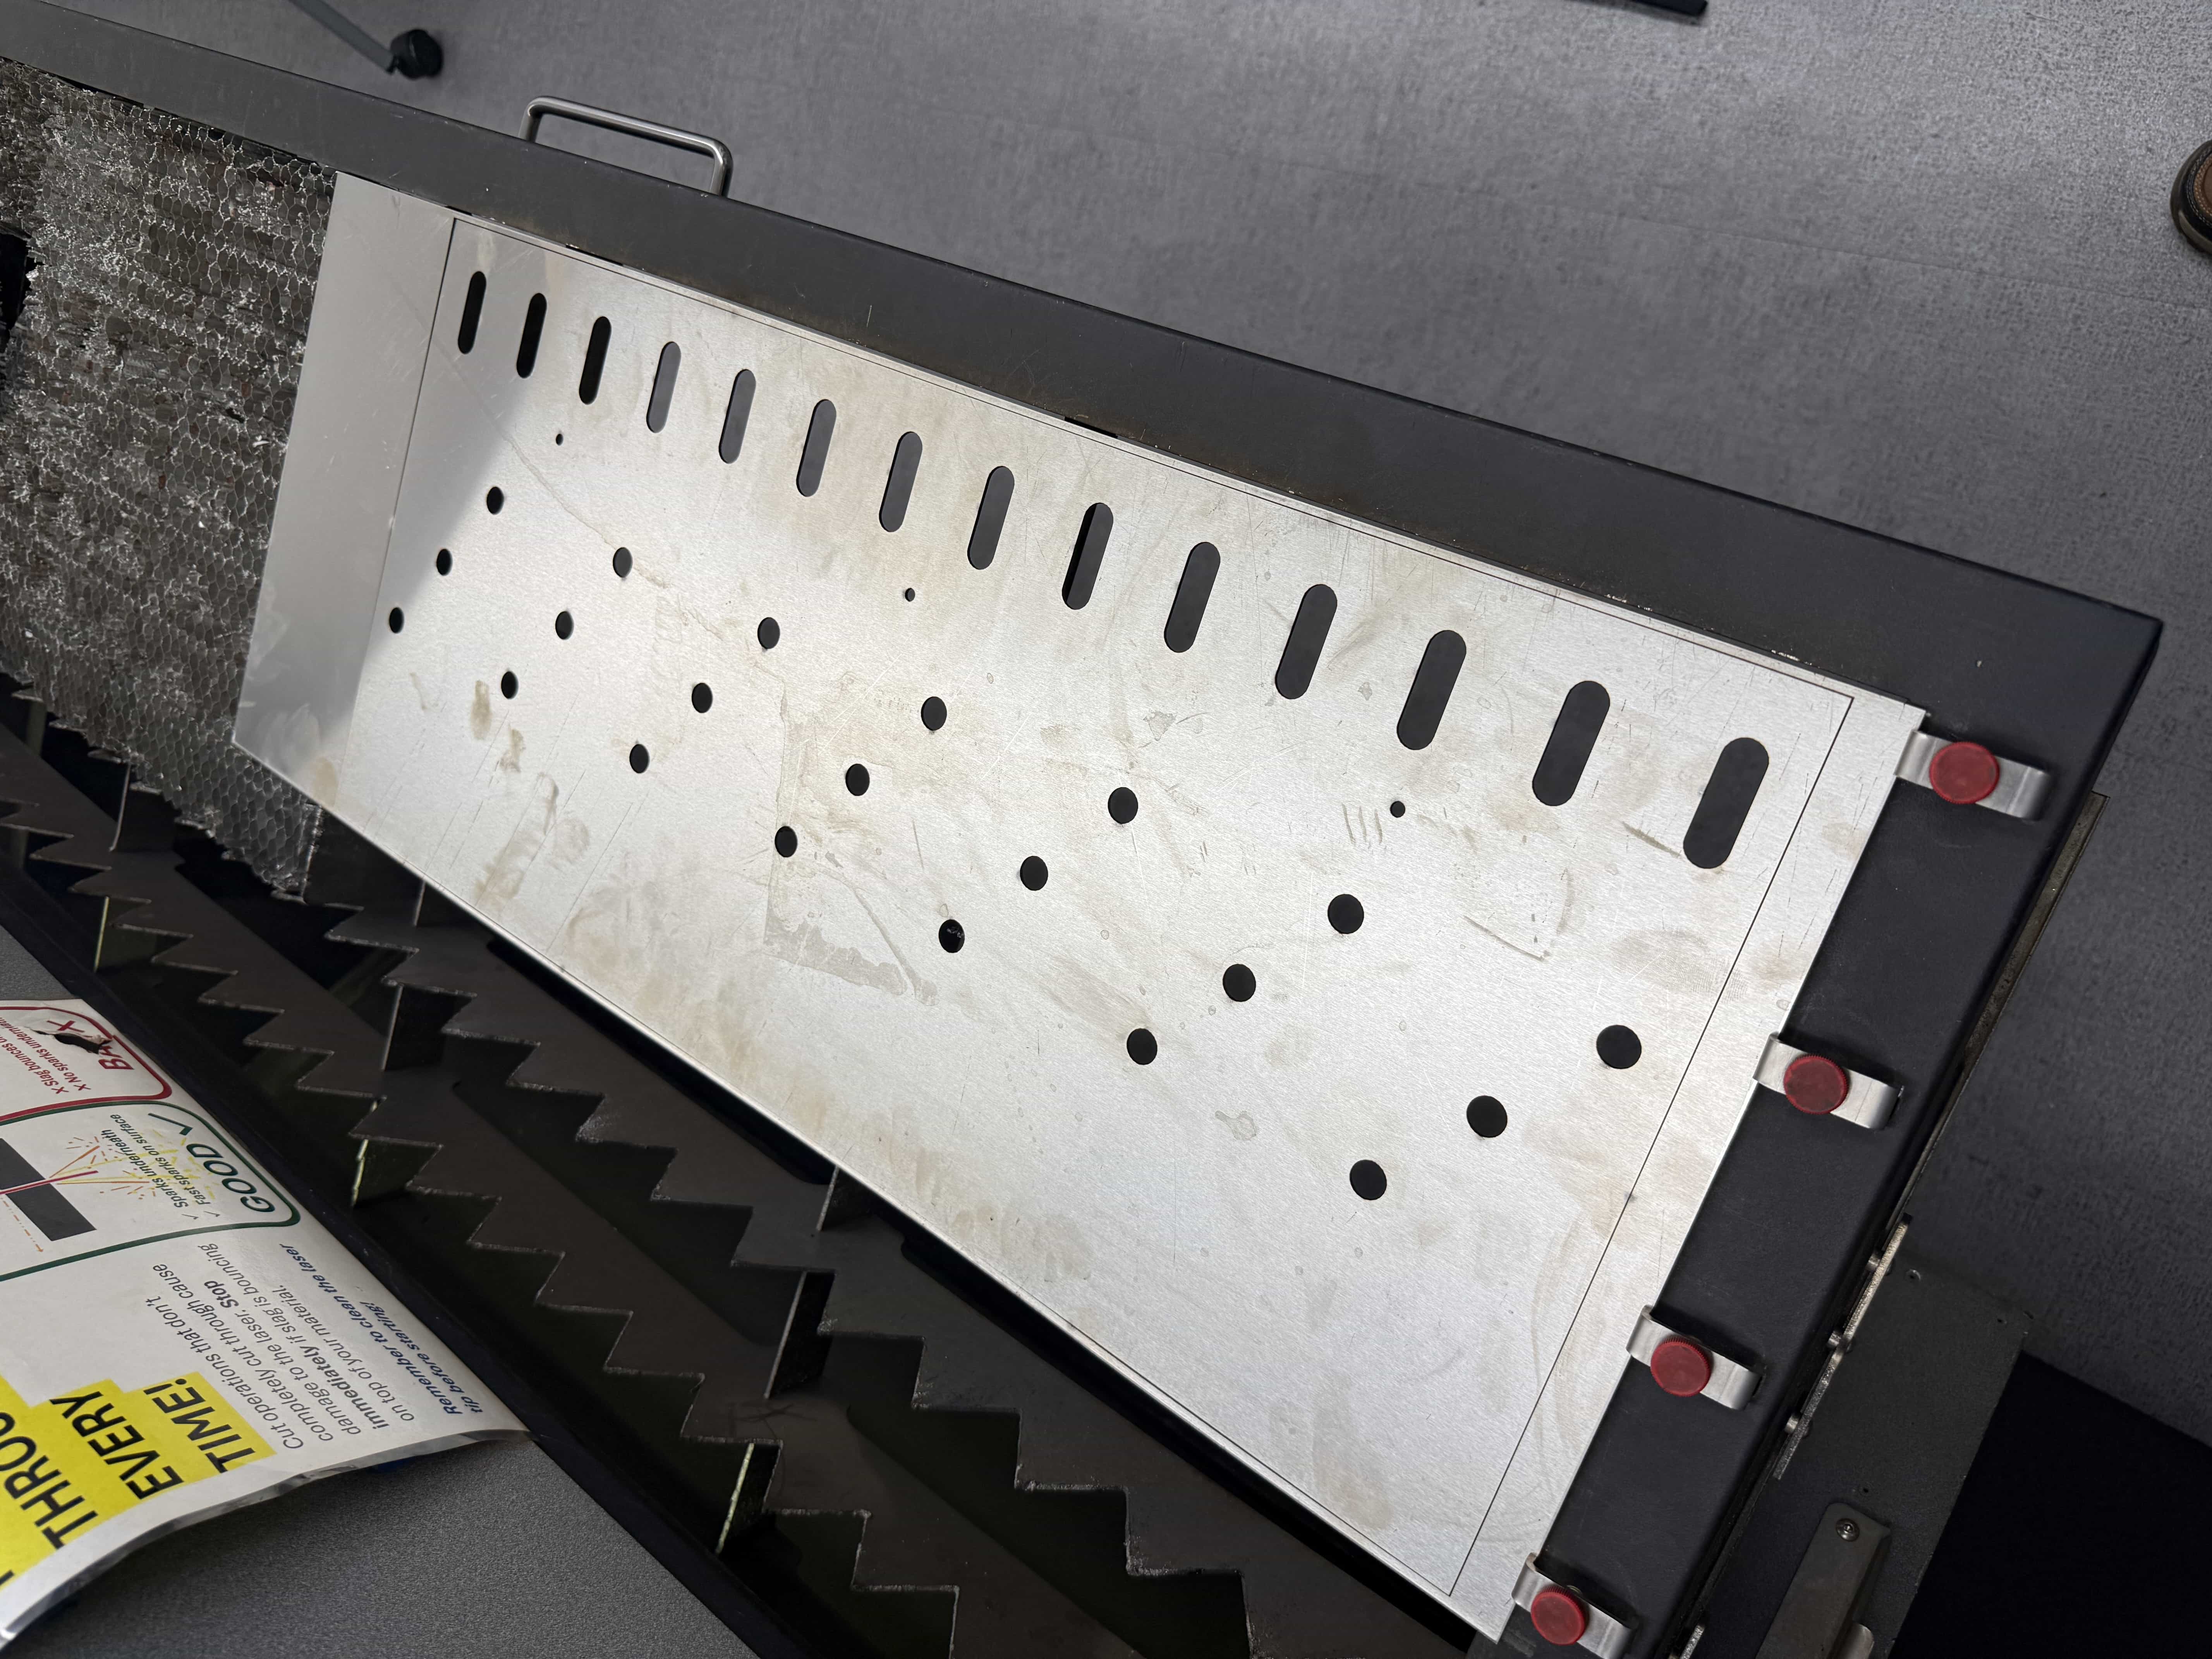
I used the FabLight laser cutter at lab64 to cut out the flat pattern from the 304 stainless steel. I purchased all of the metal for this project from Alan Steel, and the hardware from McMaster-Carr.
Slip Rolling
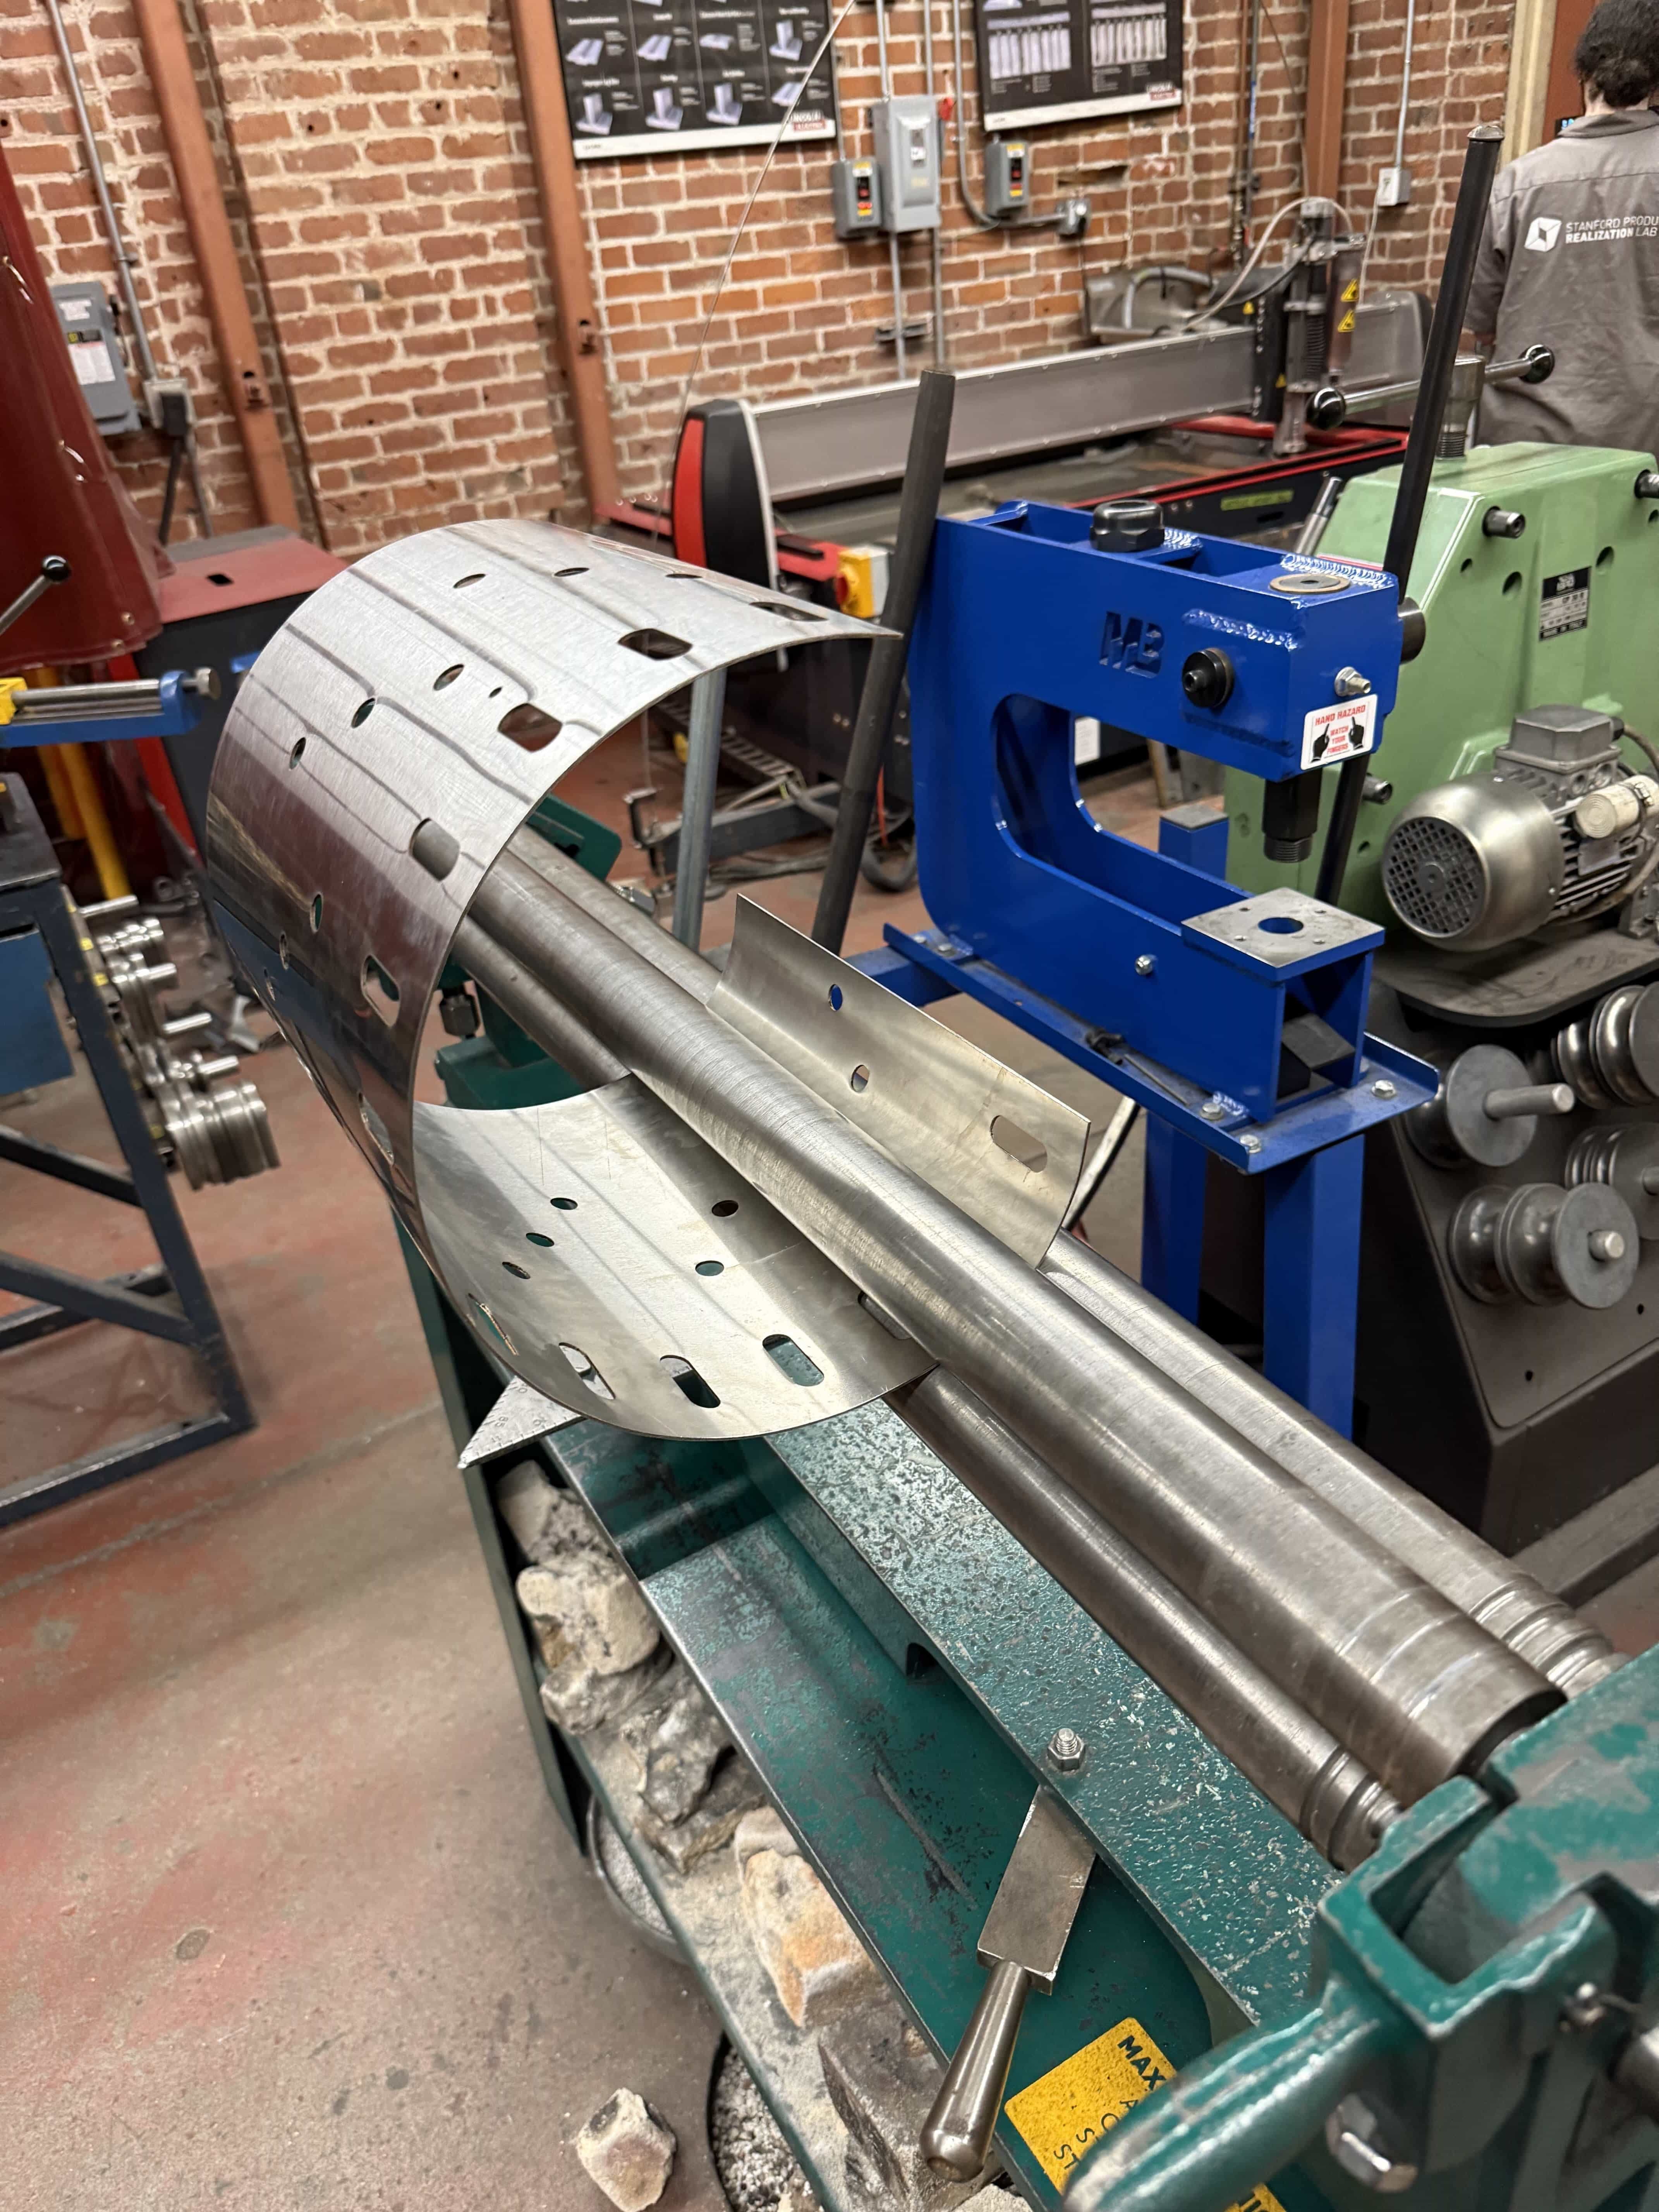
Once I had cleaned up the edges from the laser cutter, I used the slip roller to form it into a cylinder. I was initially concerned about getting the edges to match up perfectly, so I did numerous iterations, increasing the bend amount slightly each time.
Fixturing and Tack Welds
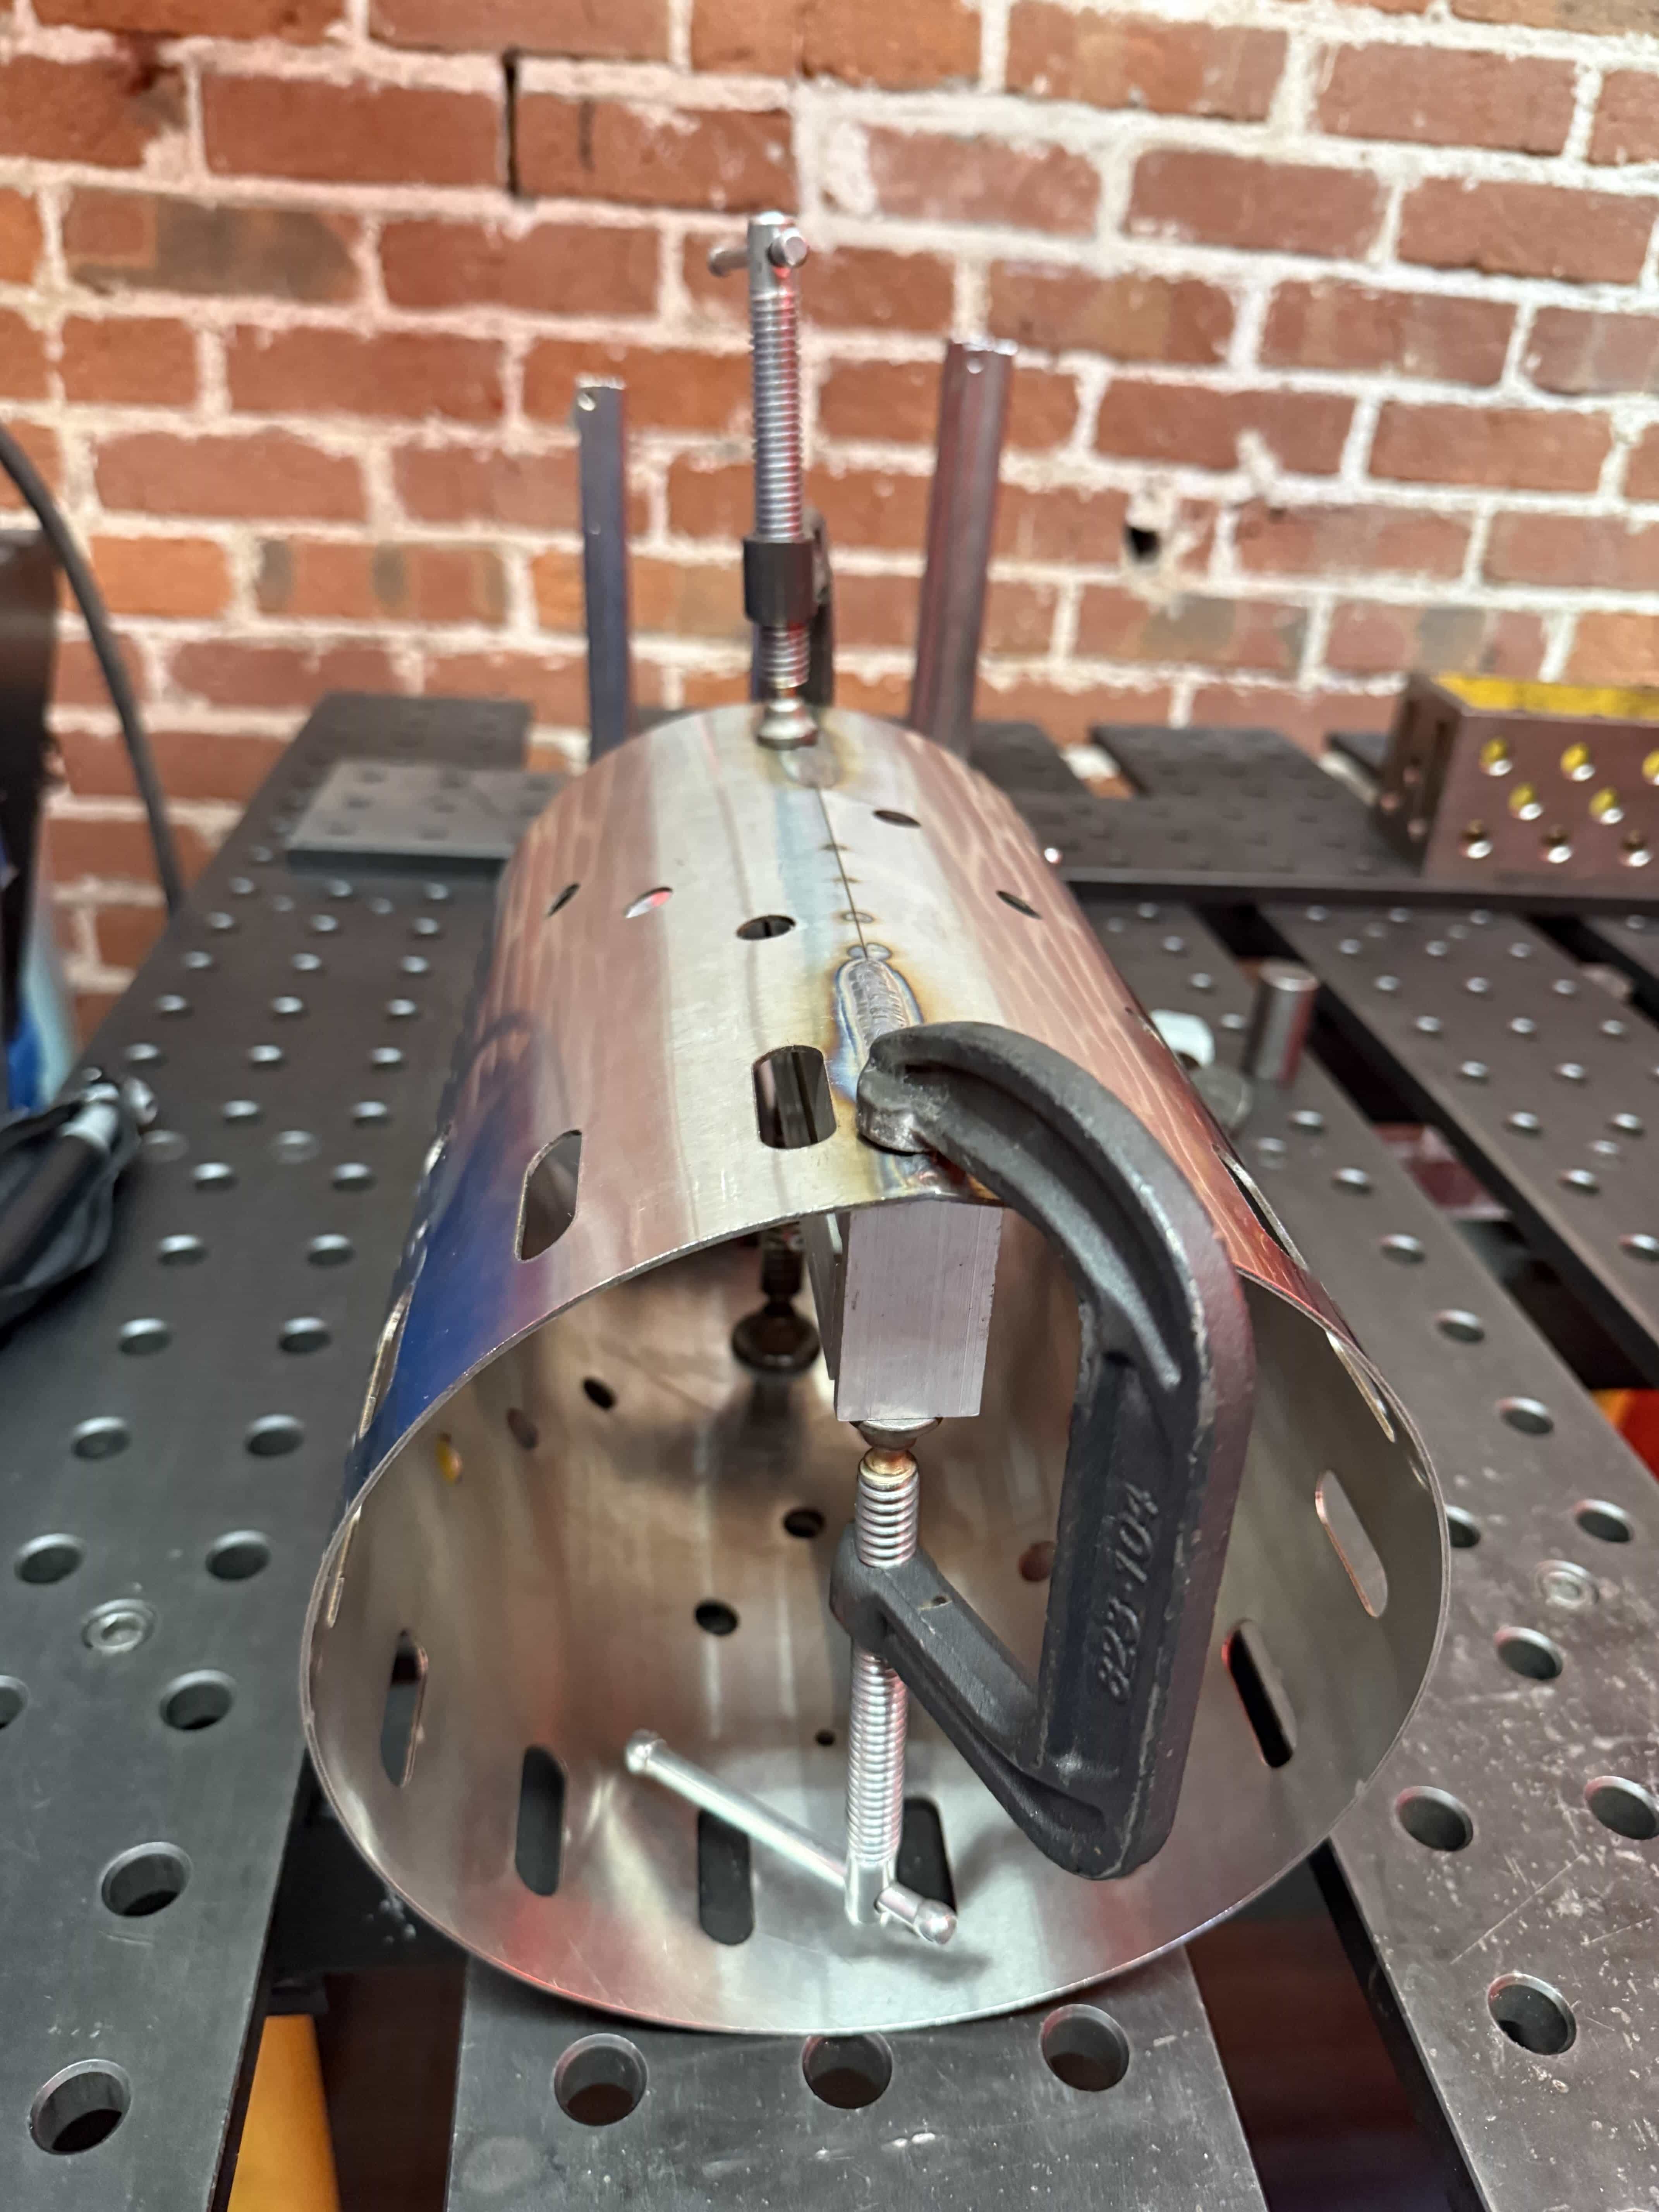
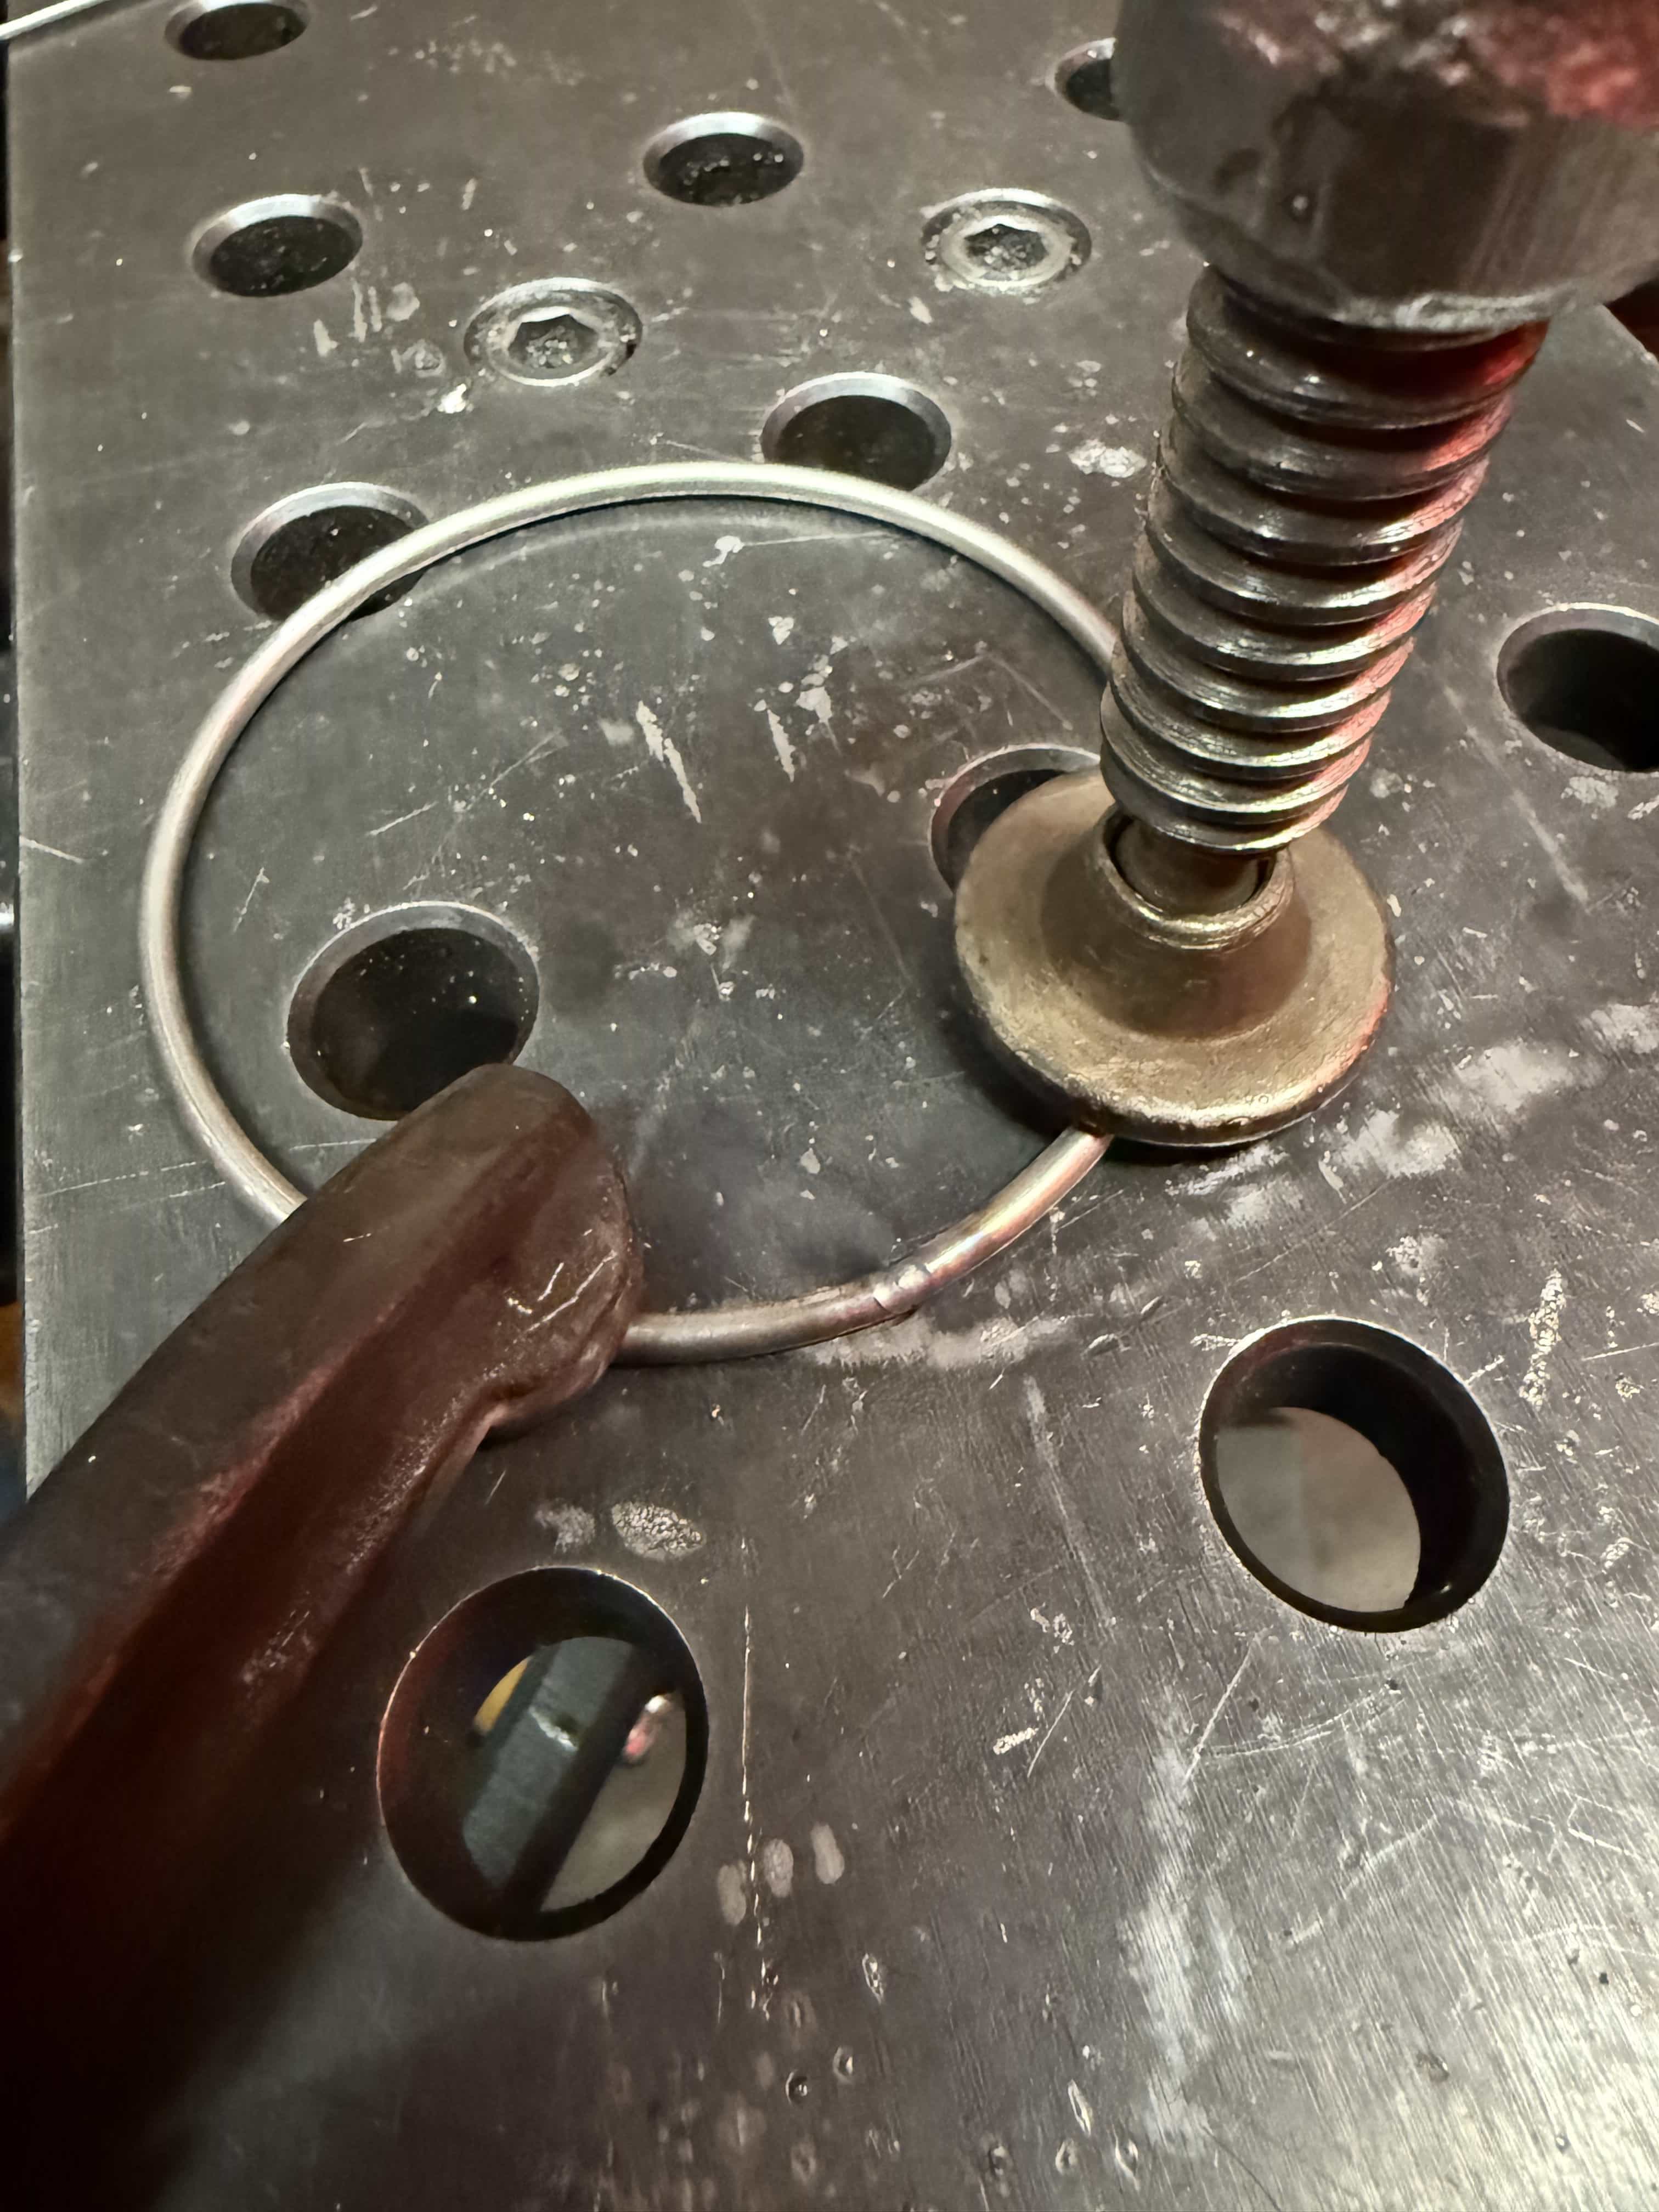
I clamped the surround to the table to do the tack welds, before doing the final weld on the exterior. Everything was TIG-welded.
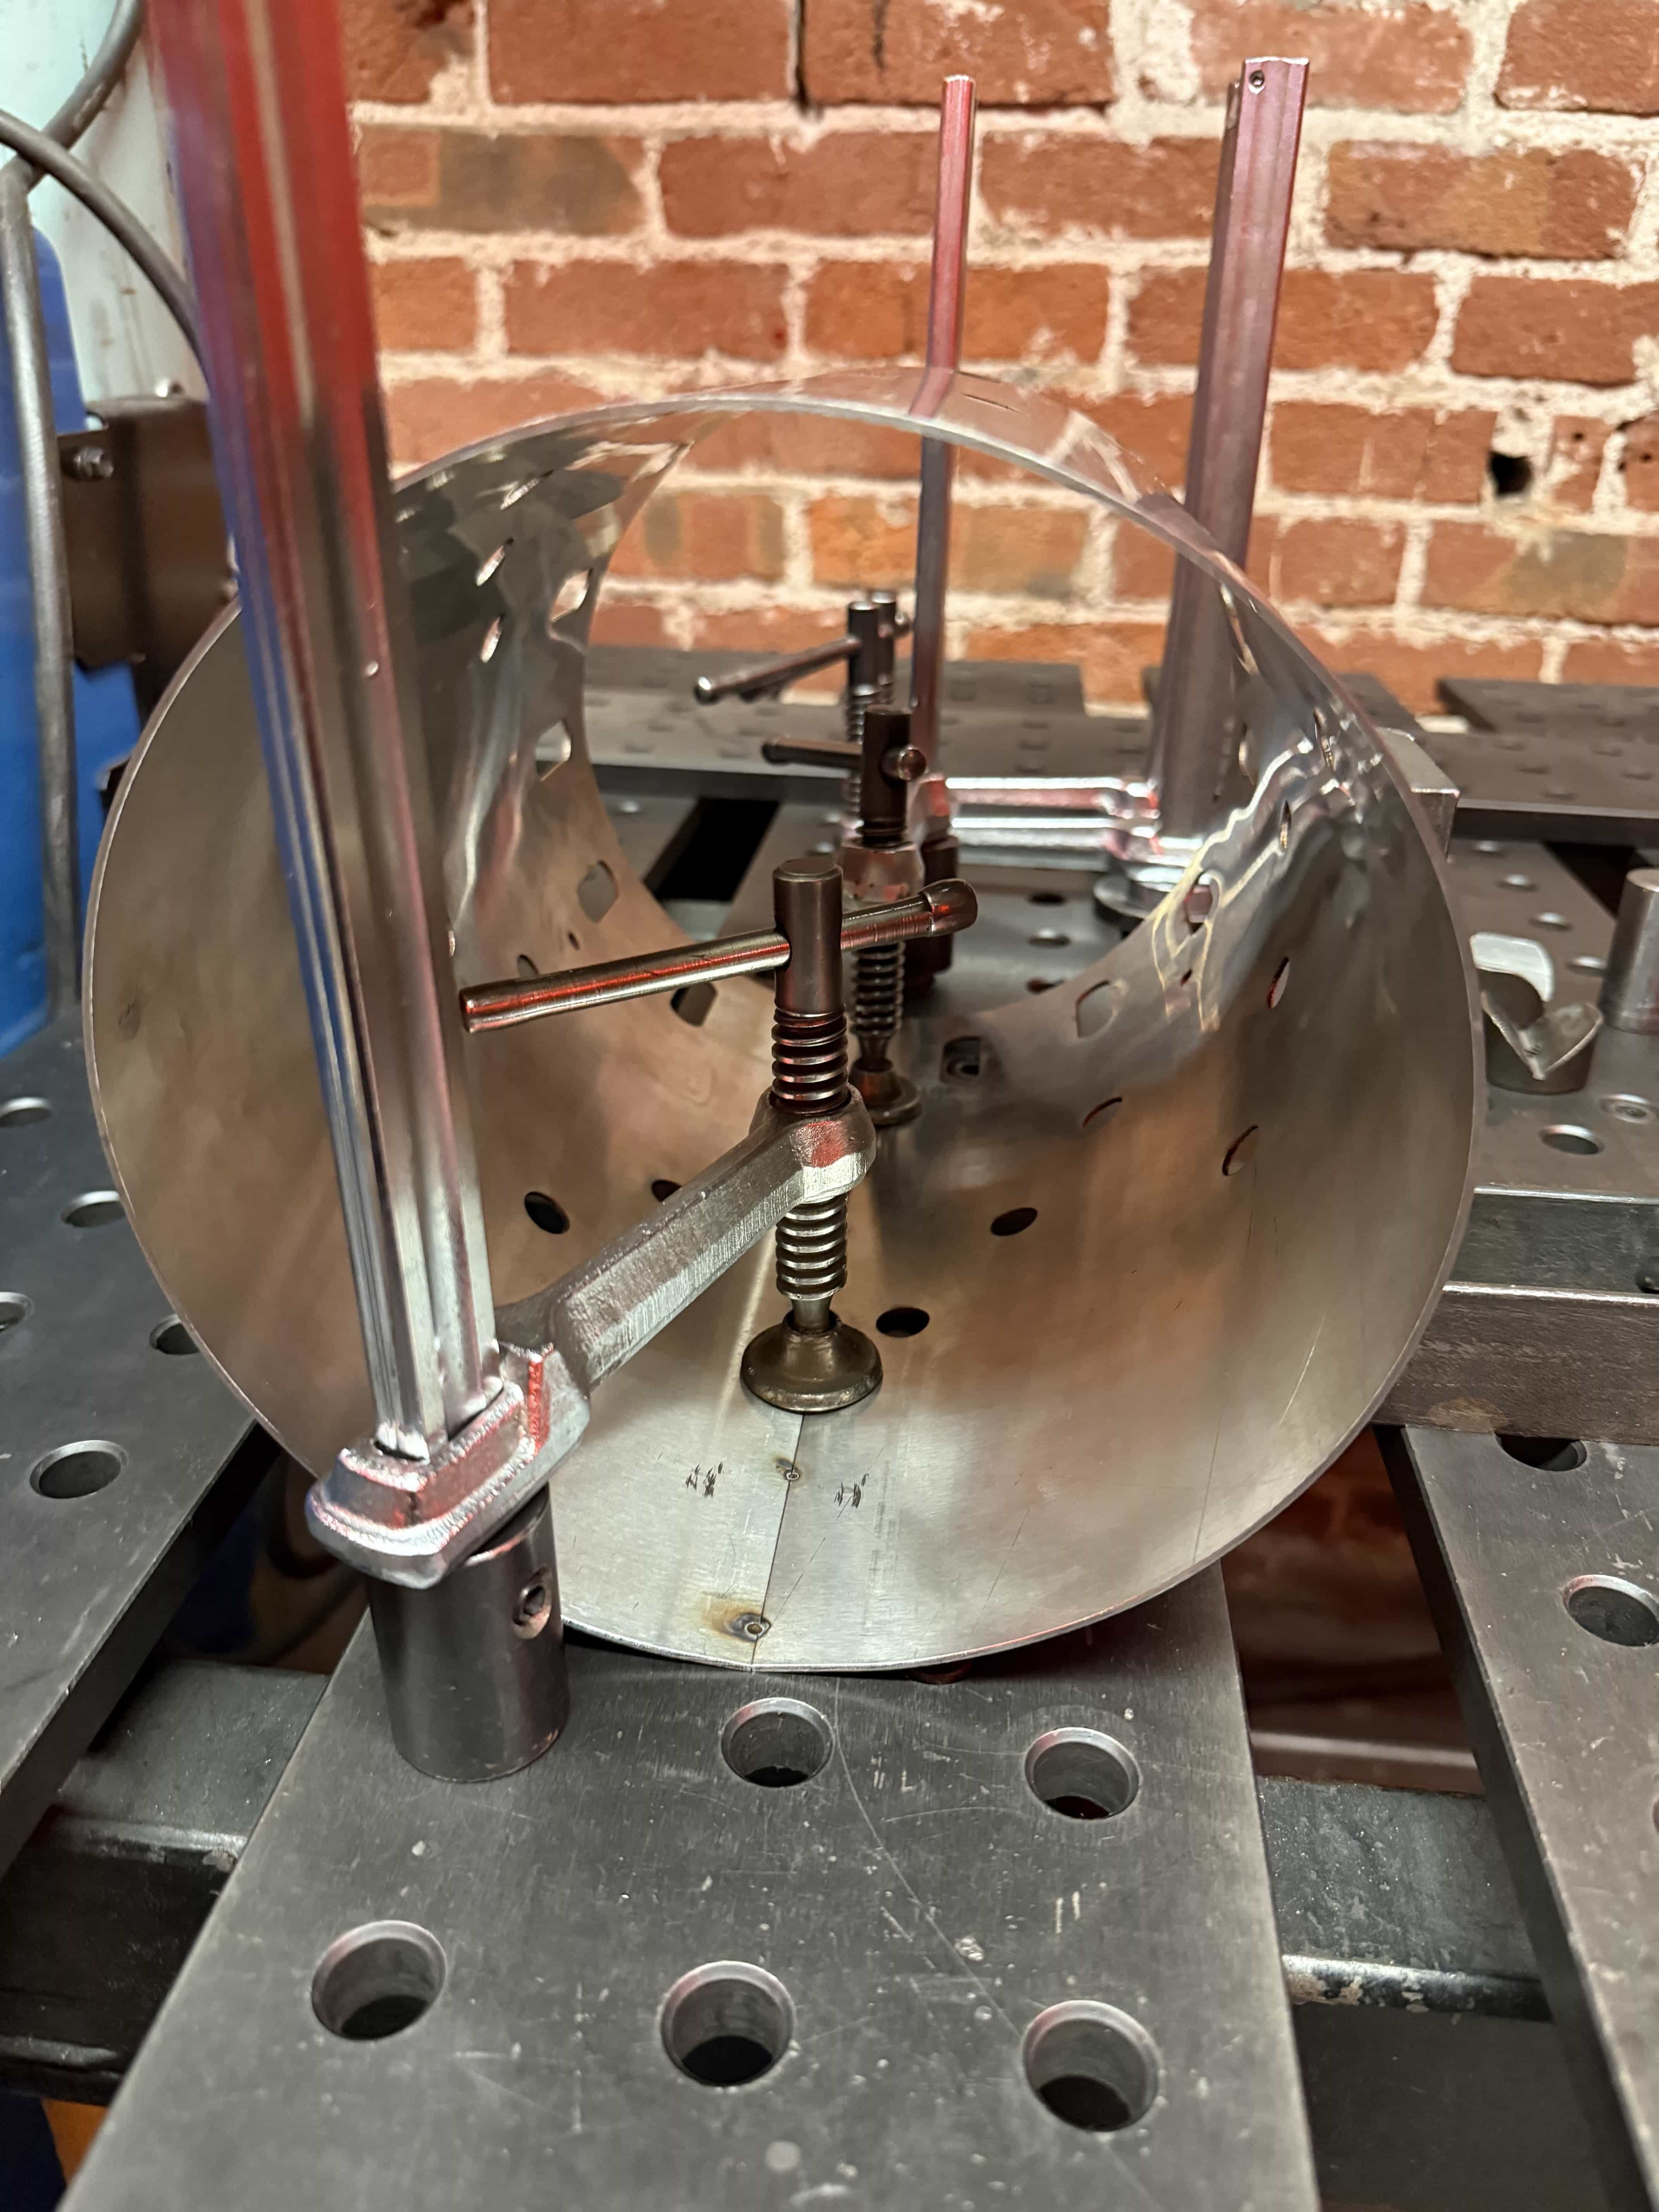
As you can see, I clamped an aluminum block beneath the weld to act as a heat sink. I was very concerned about melting through the stainless.
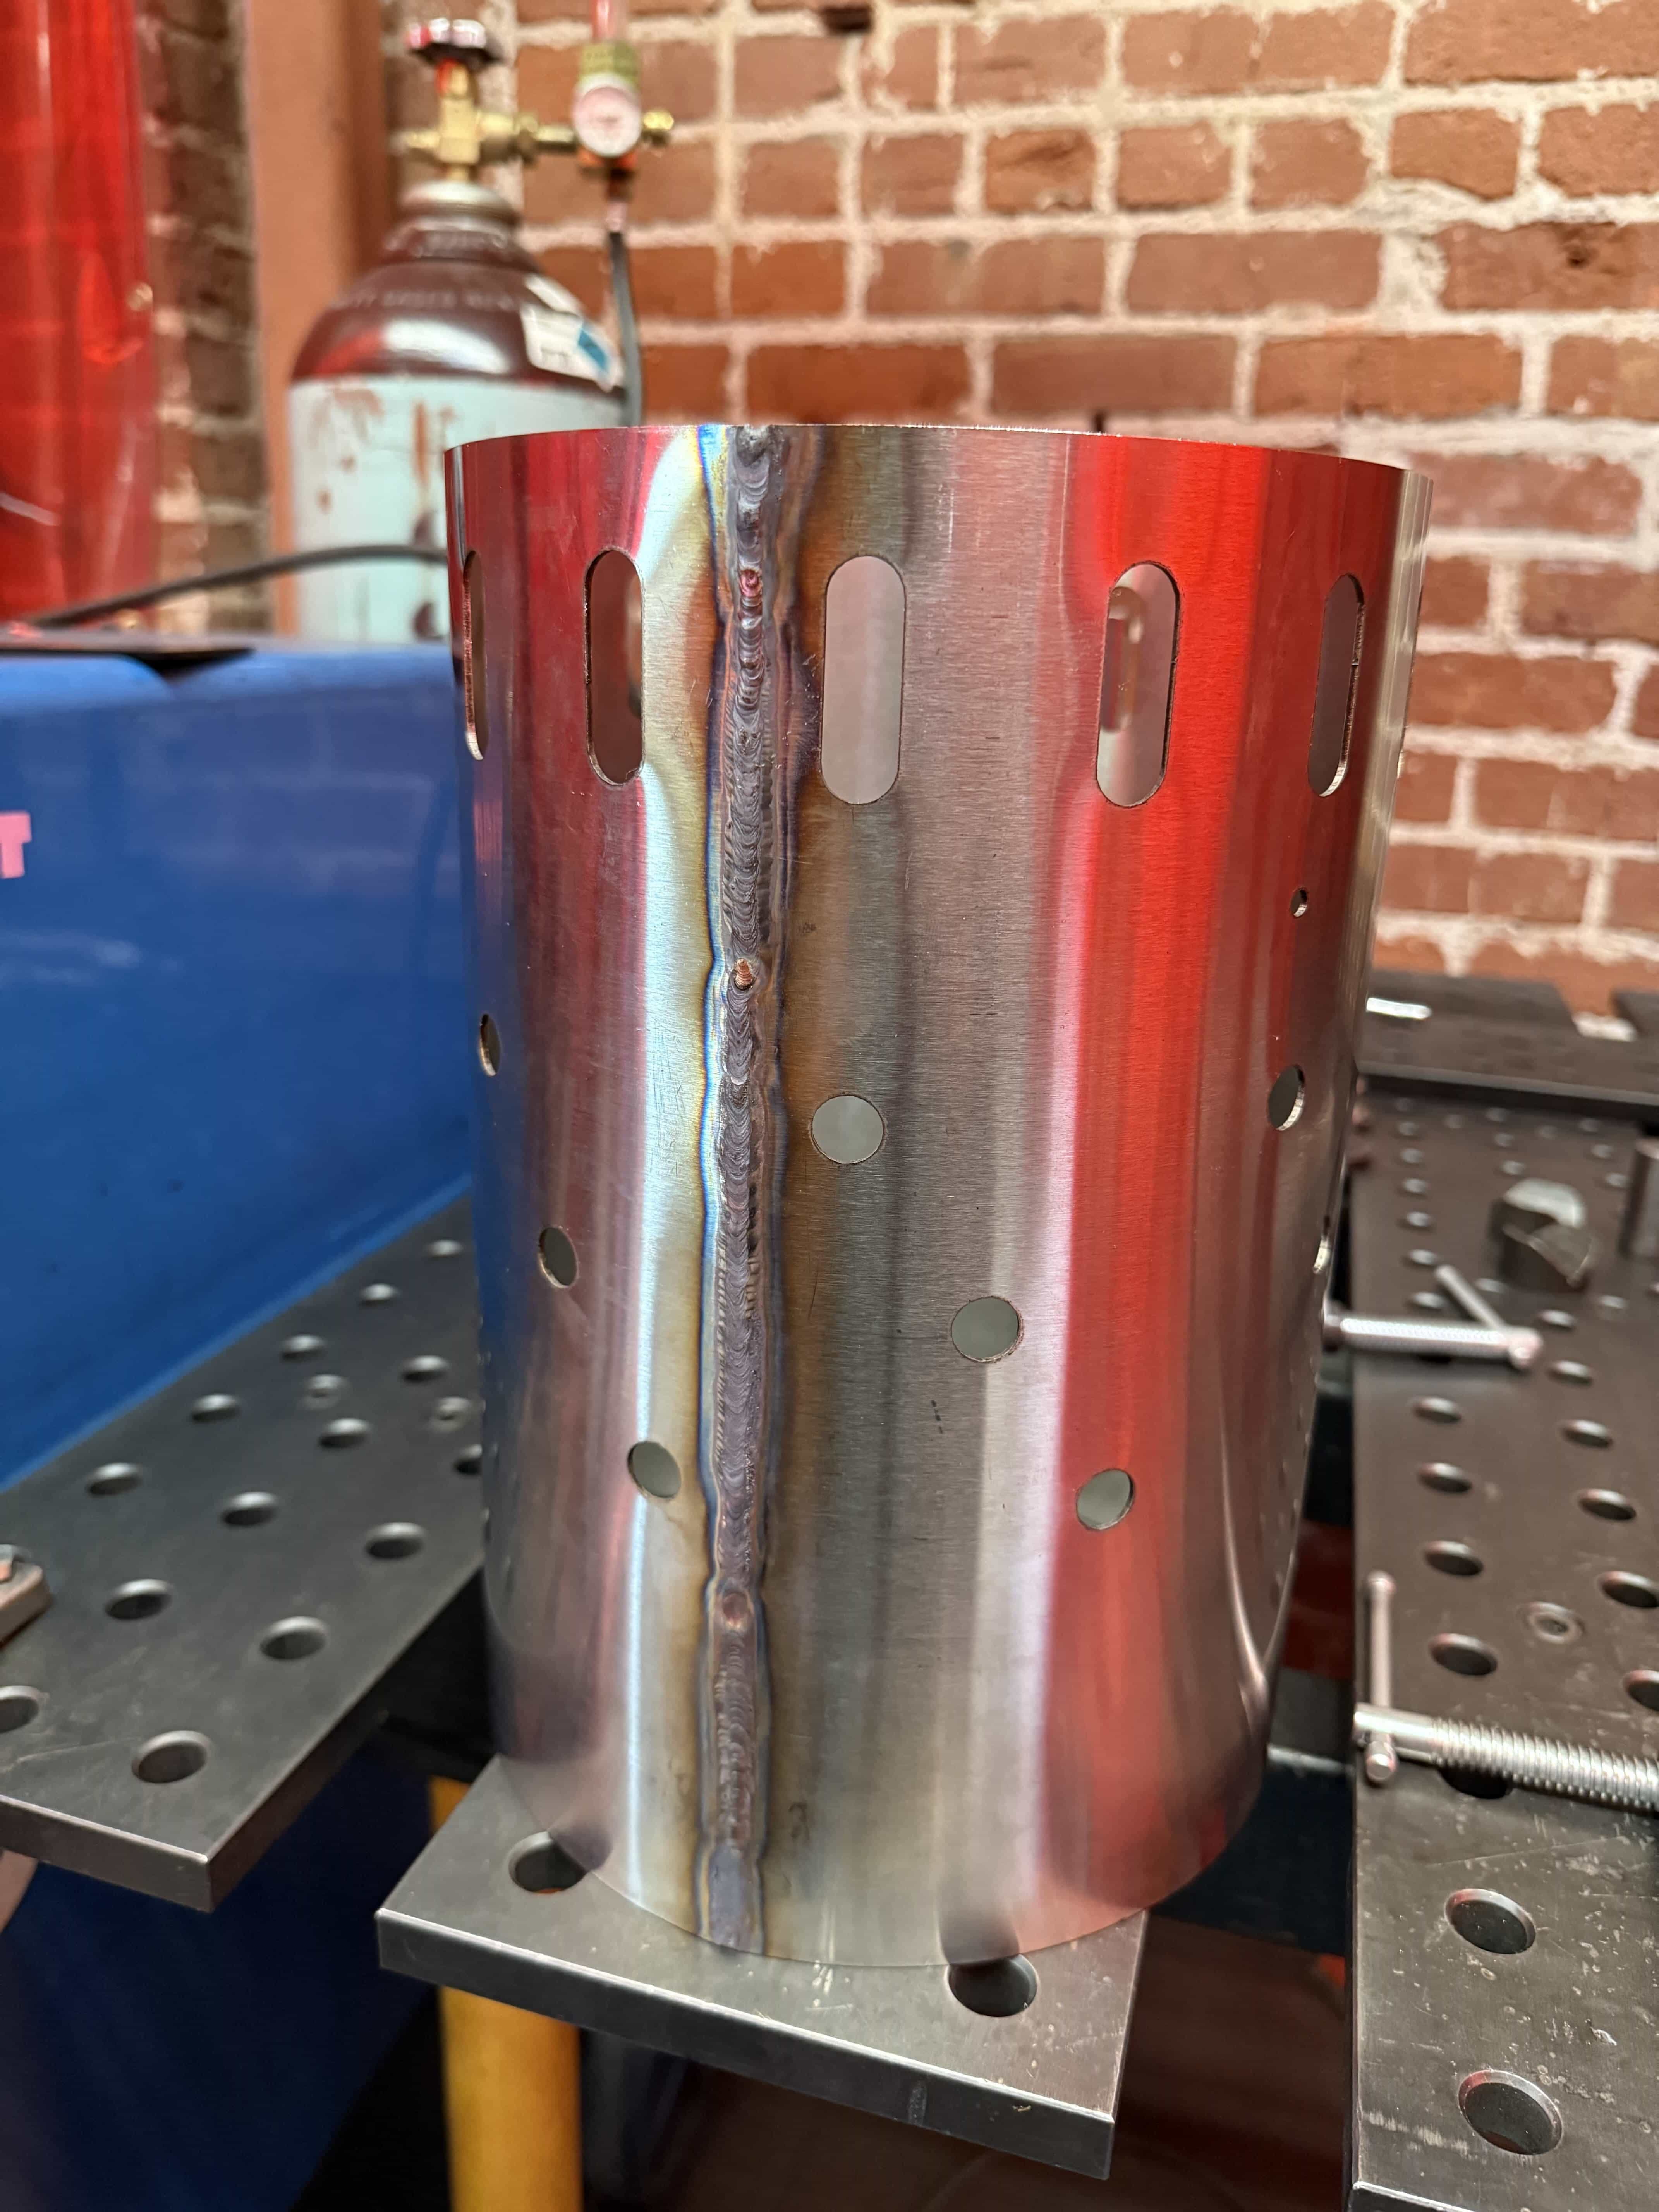
Completed Weld
For my first time TIG welding with stainless (and second time ever TIG welding), I think it turned out alright. Plus, I was going to clean it up and hide the weld anyway.
The Basket
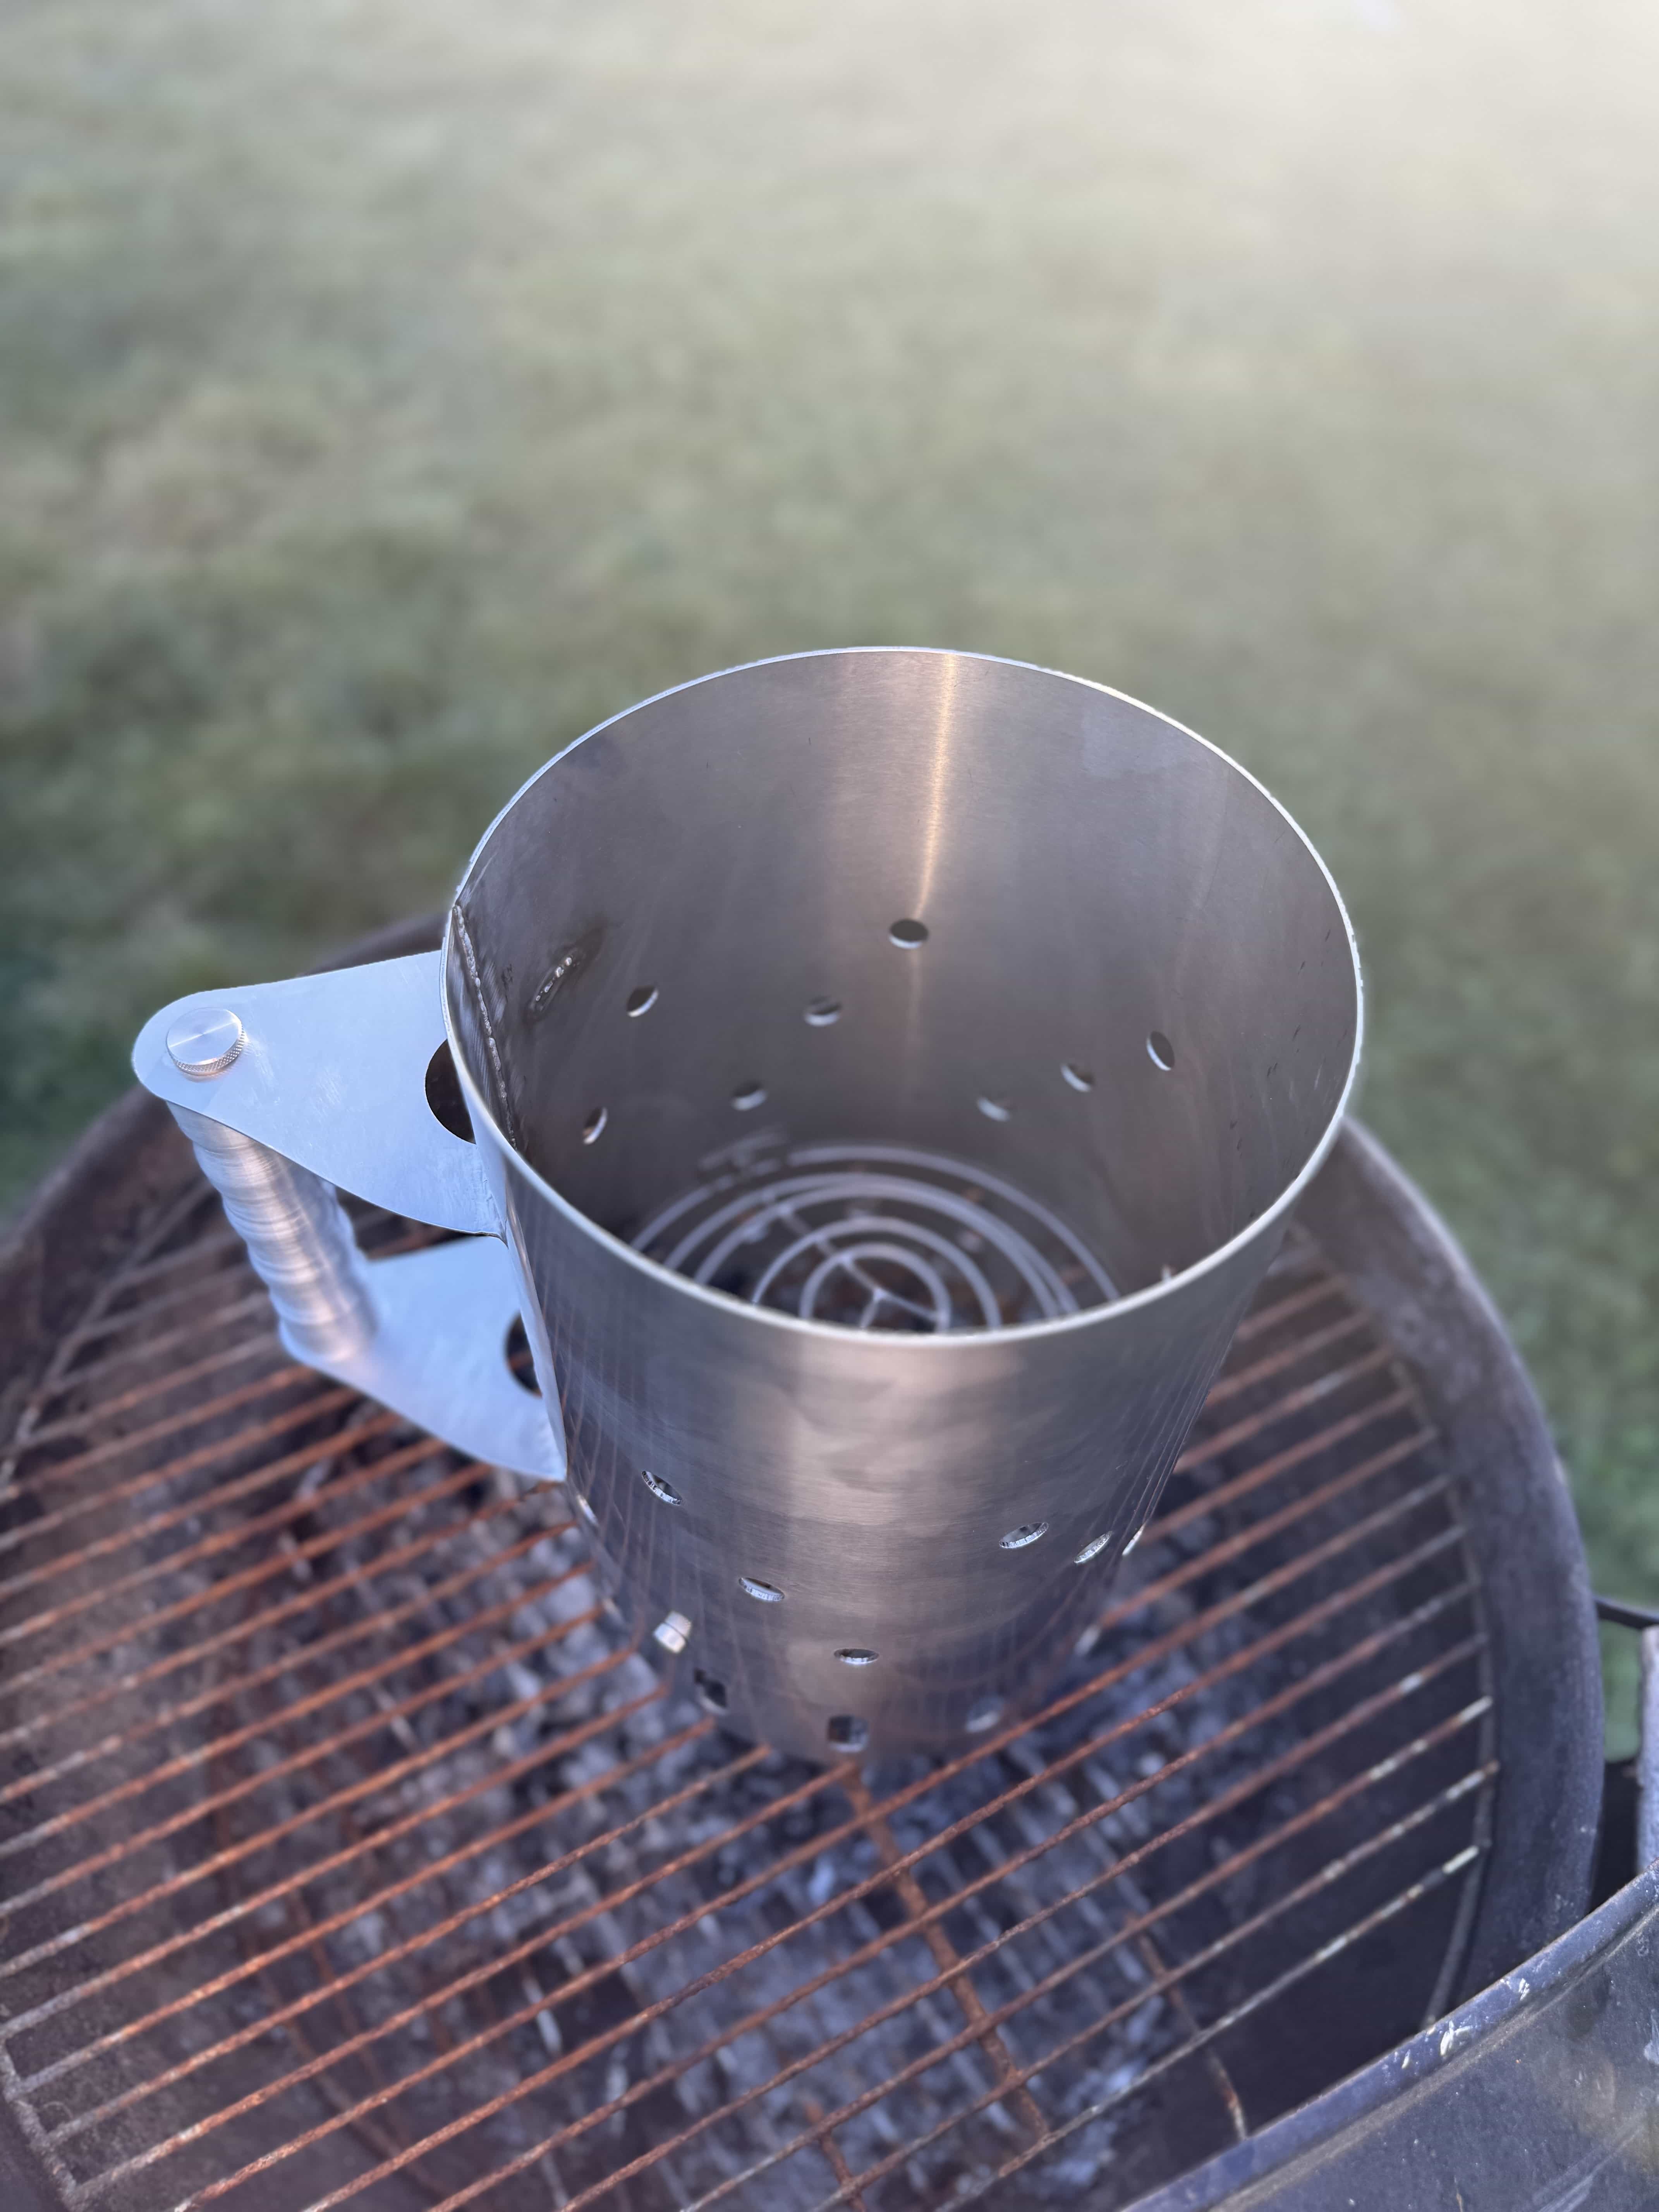
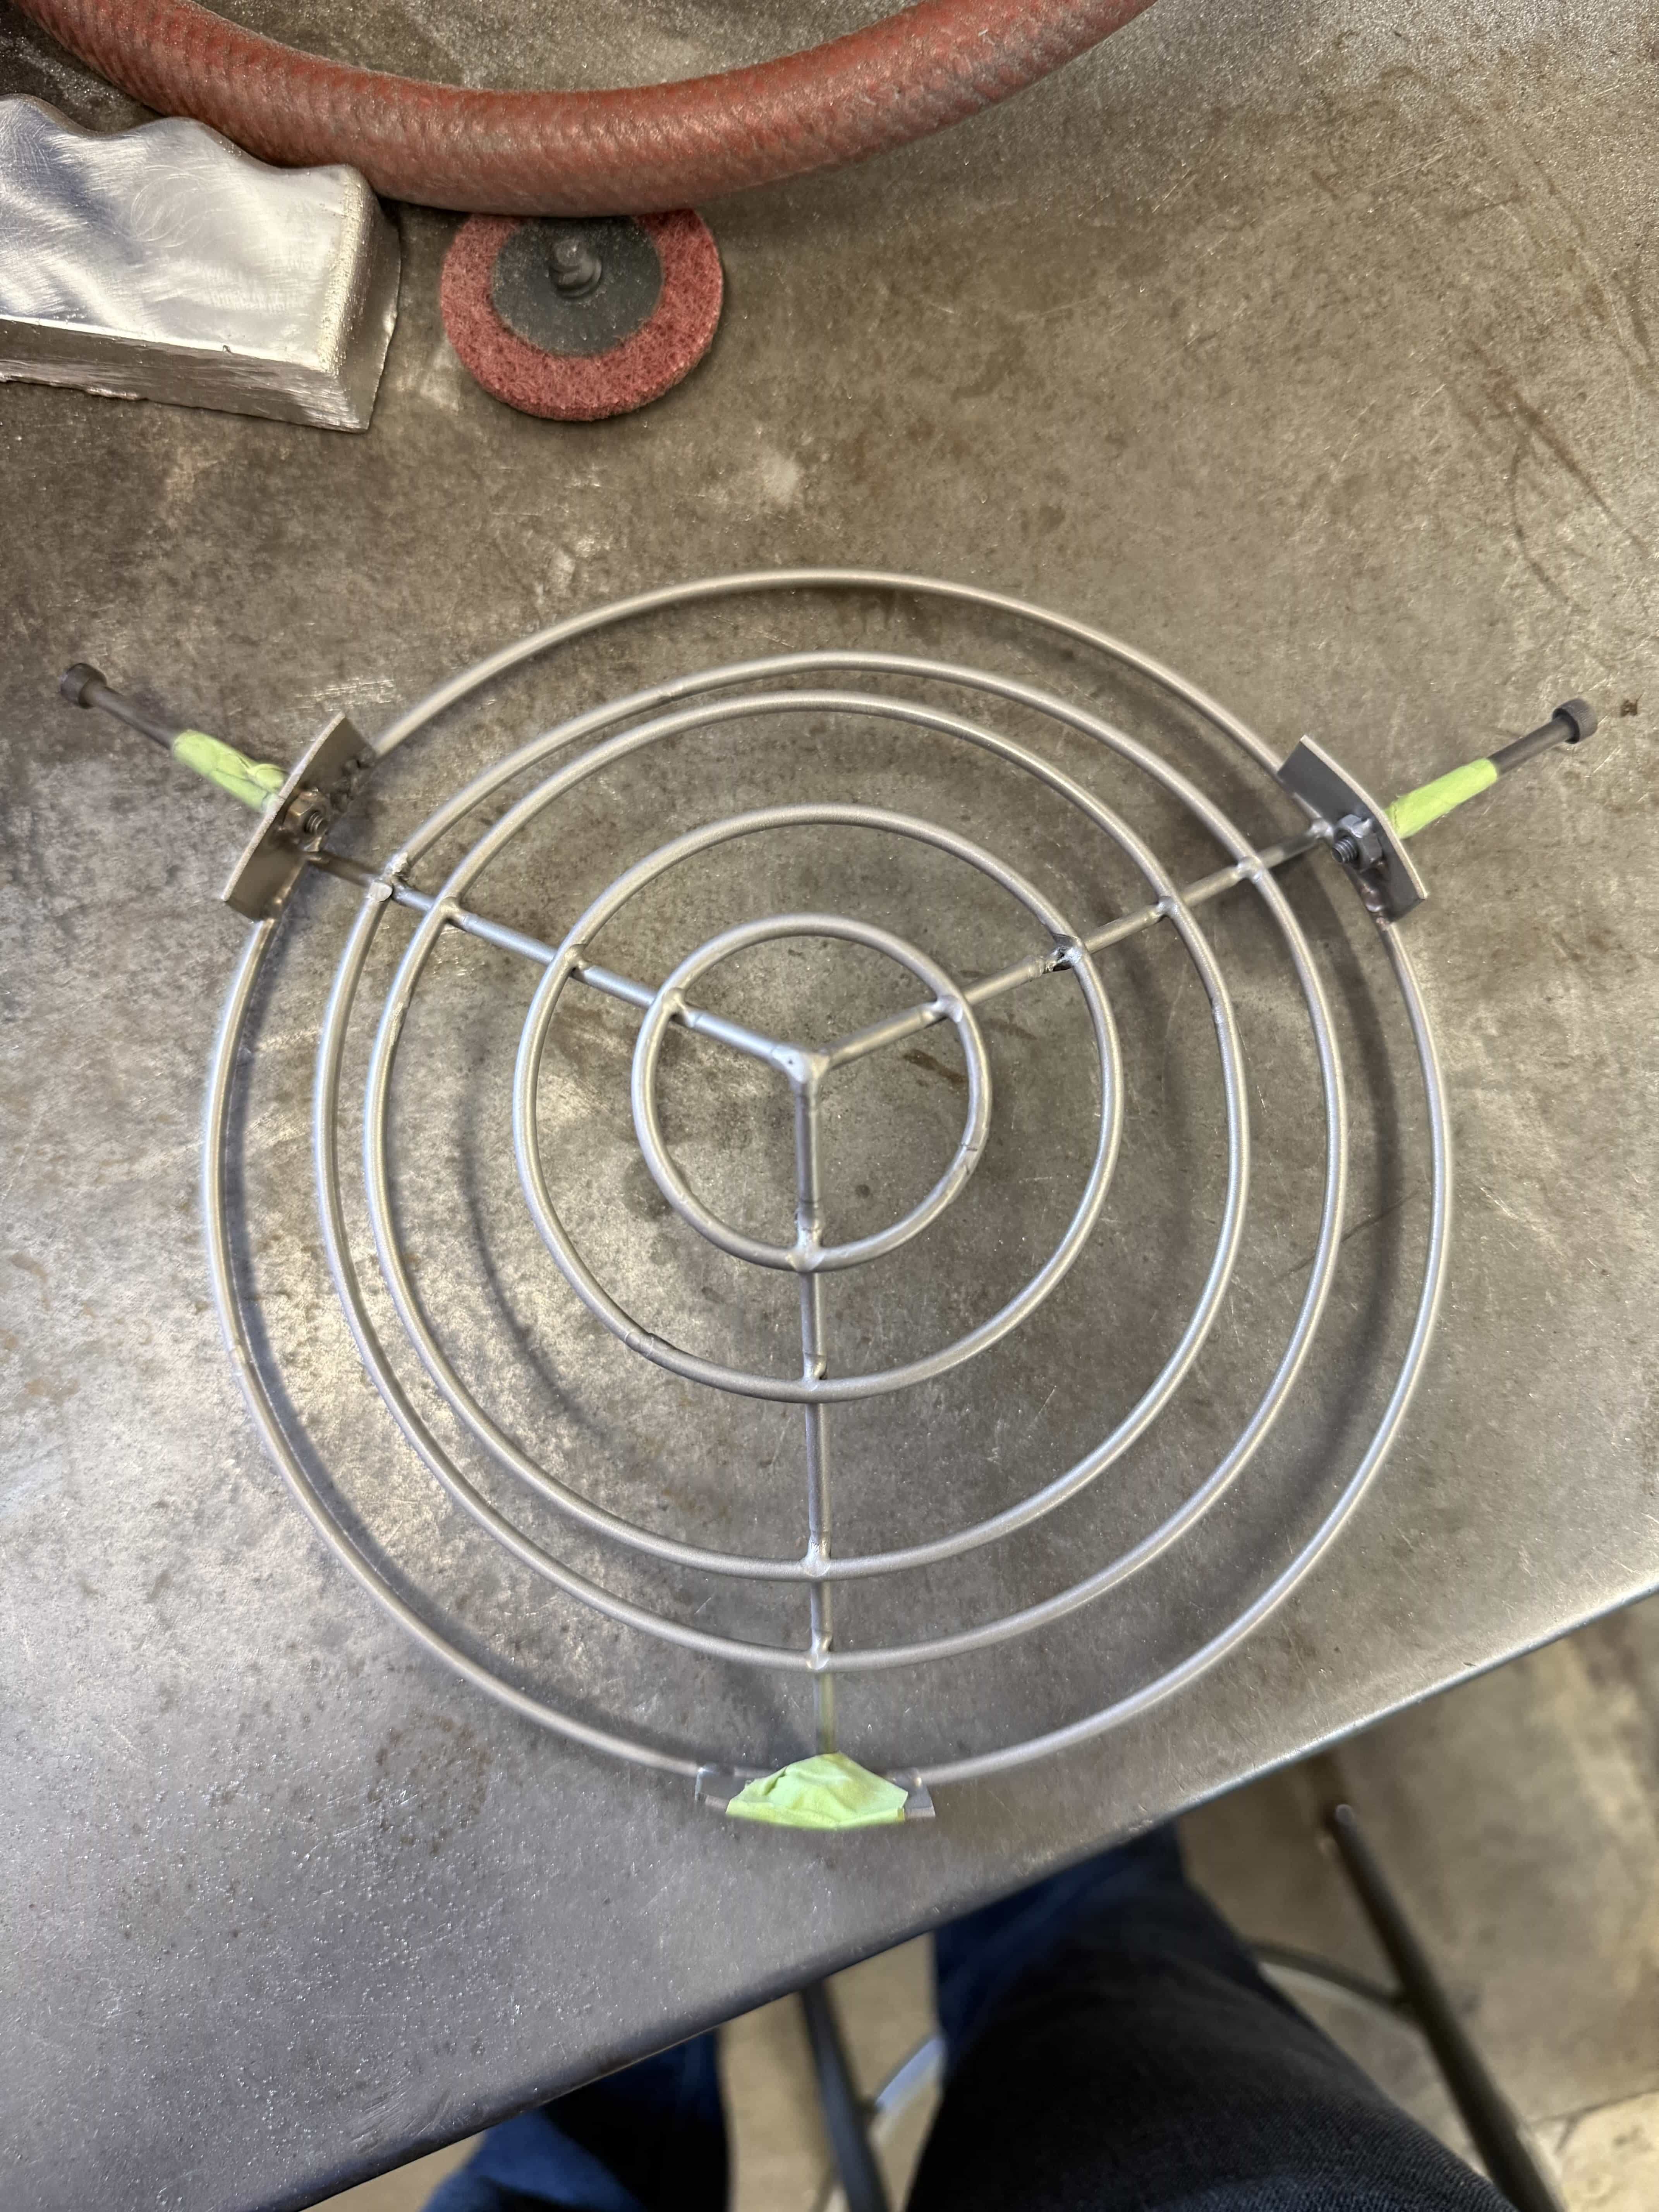
The charcoal basket consisted of a series of concentric rings arranged in a conical pattern. I used 316 stainless steel rod and slip rolled each ring.
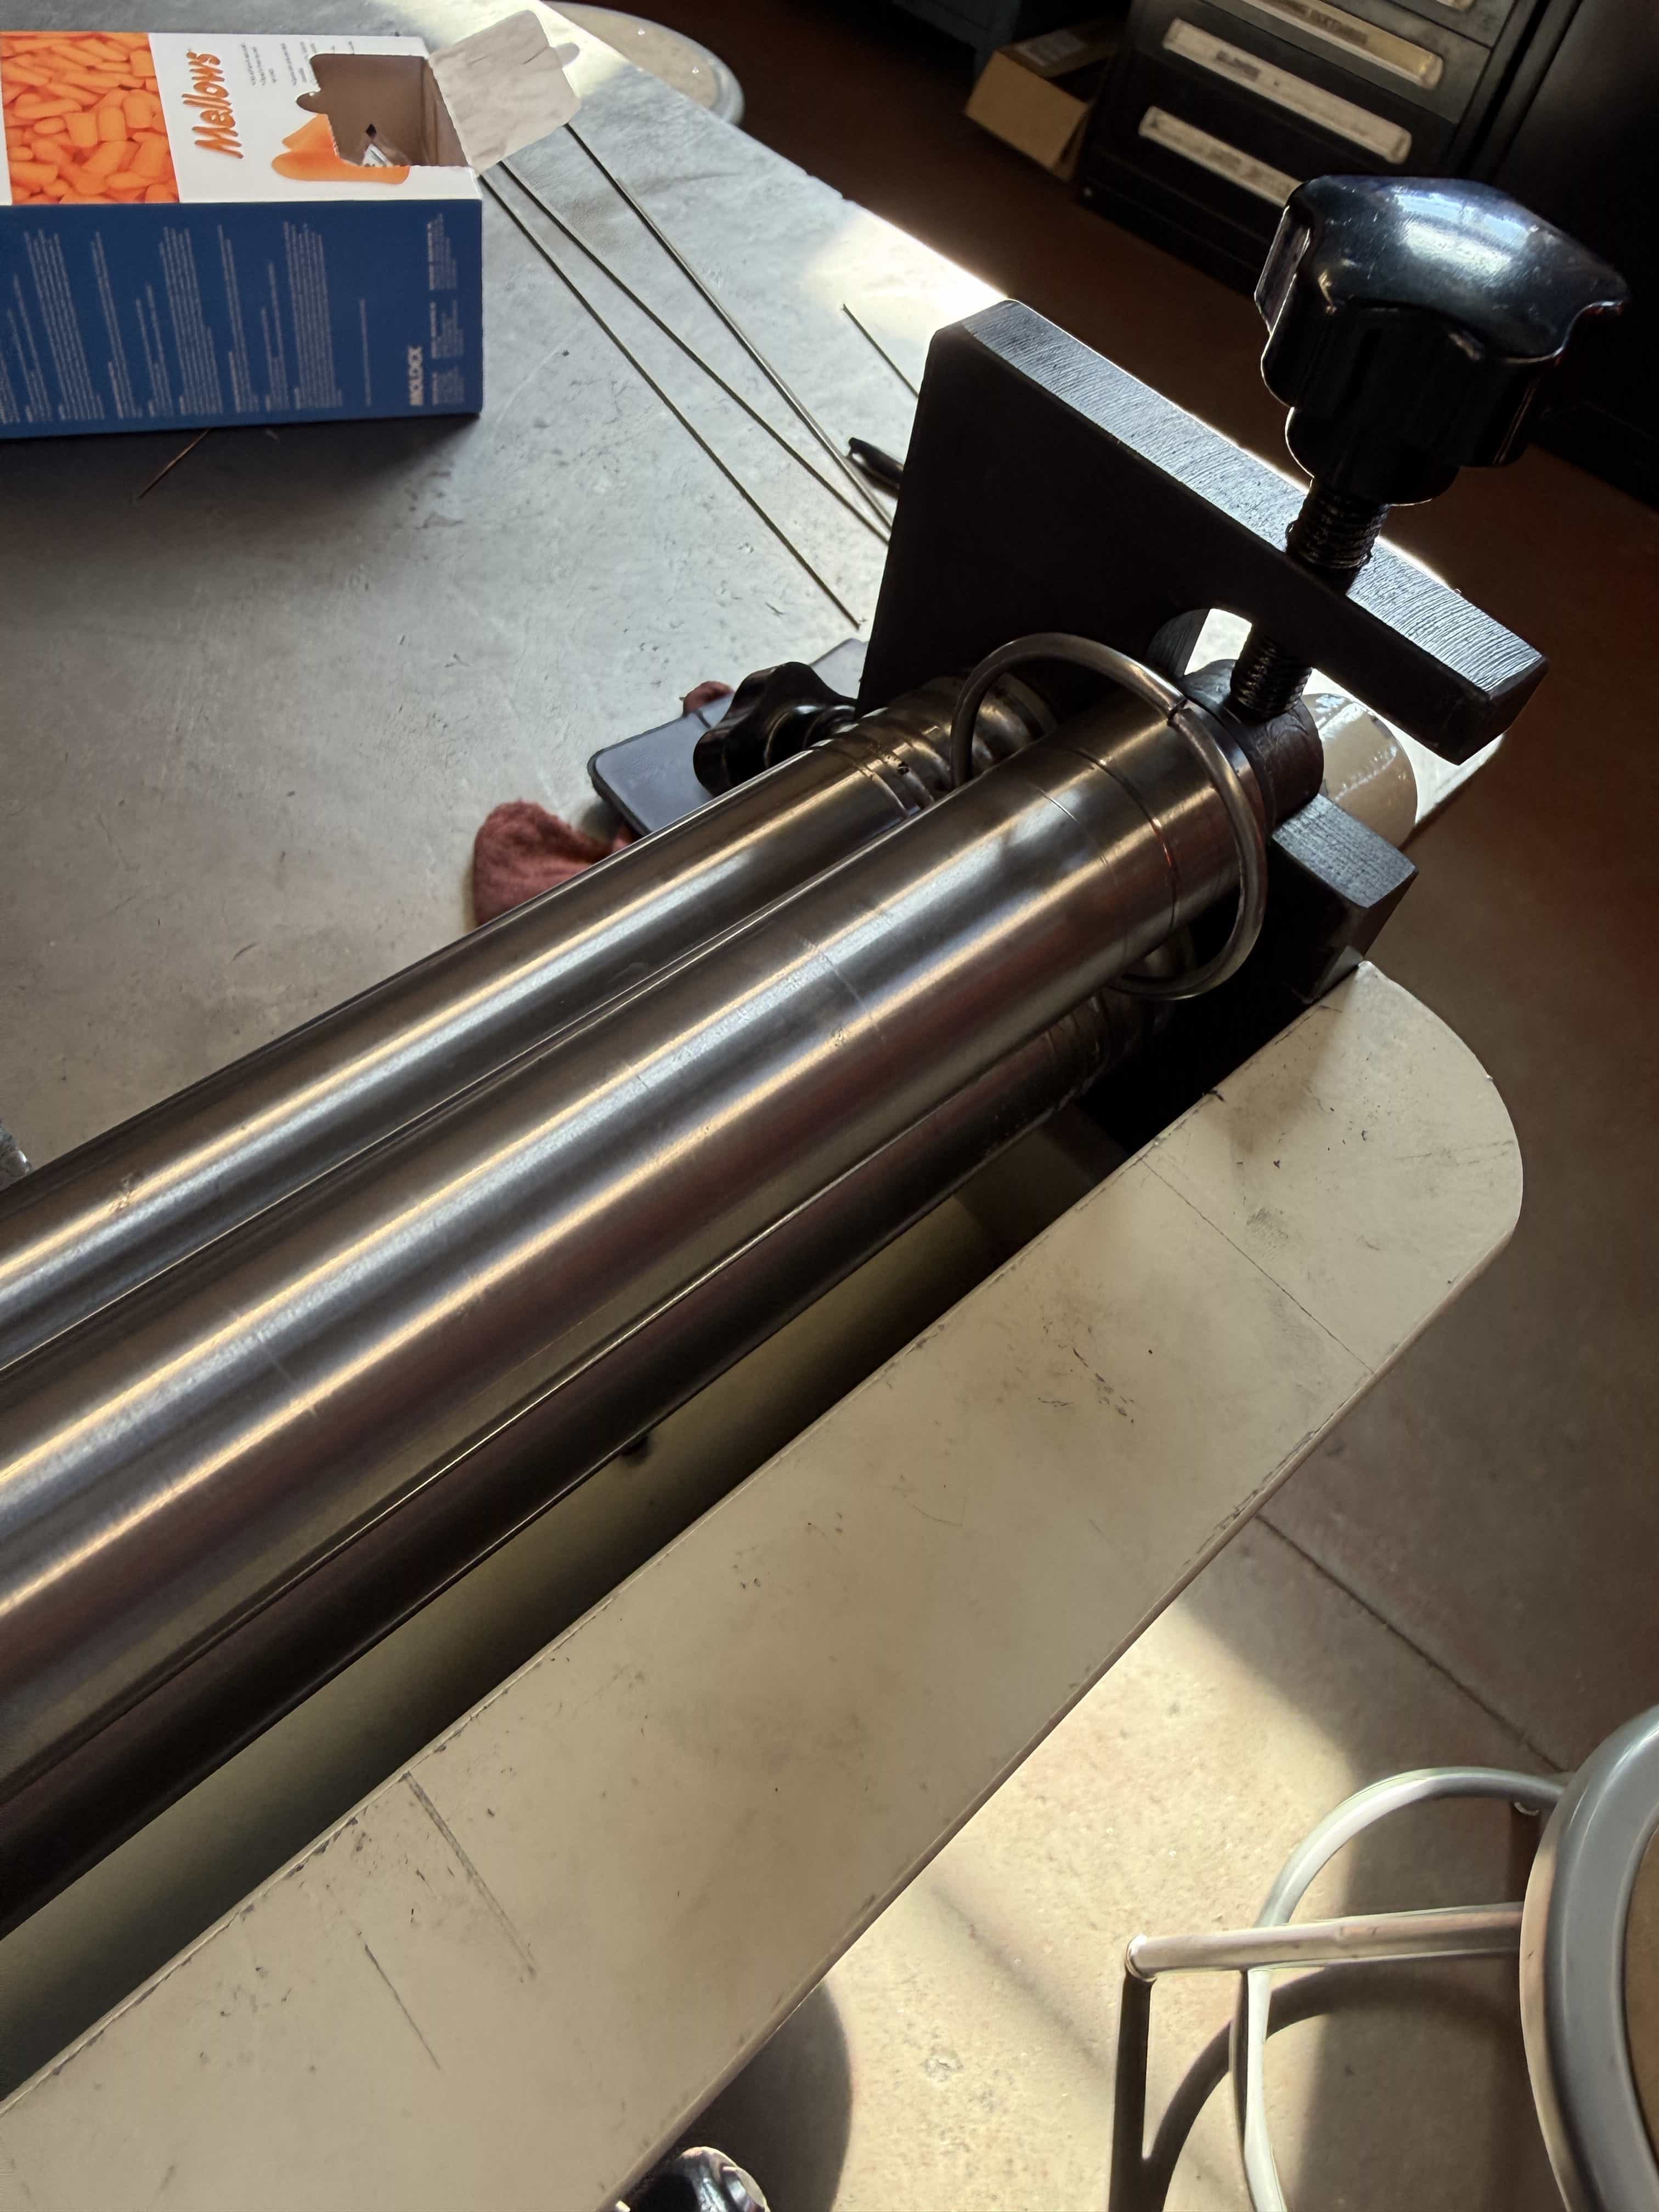
Here’s how I fixtured each ring when welding them closed.
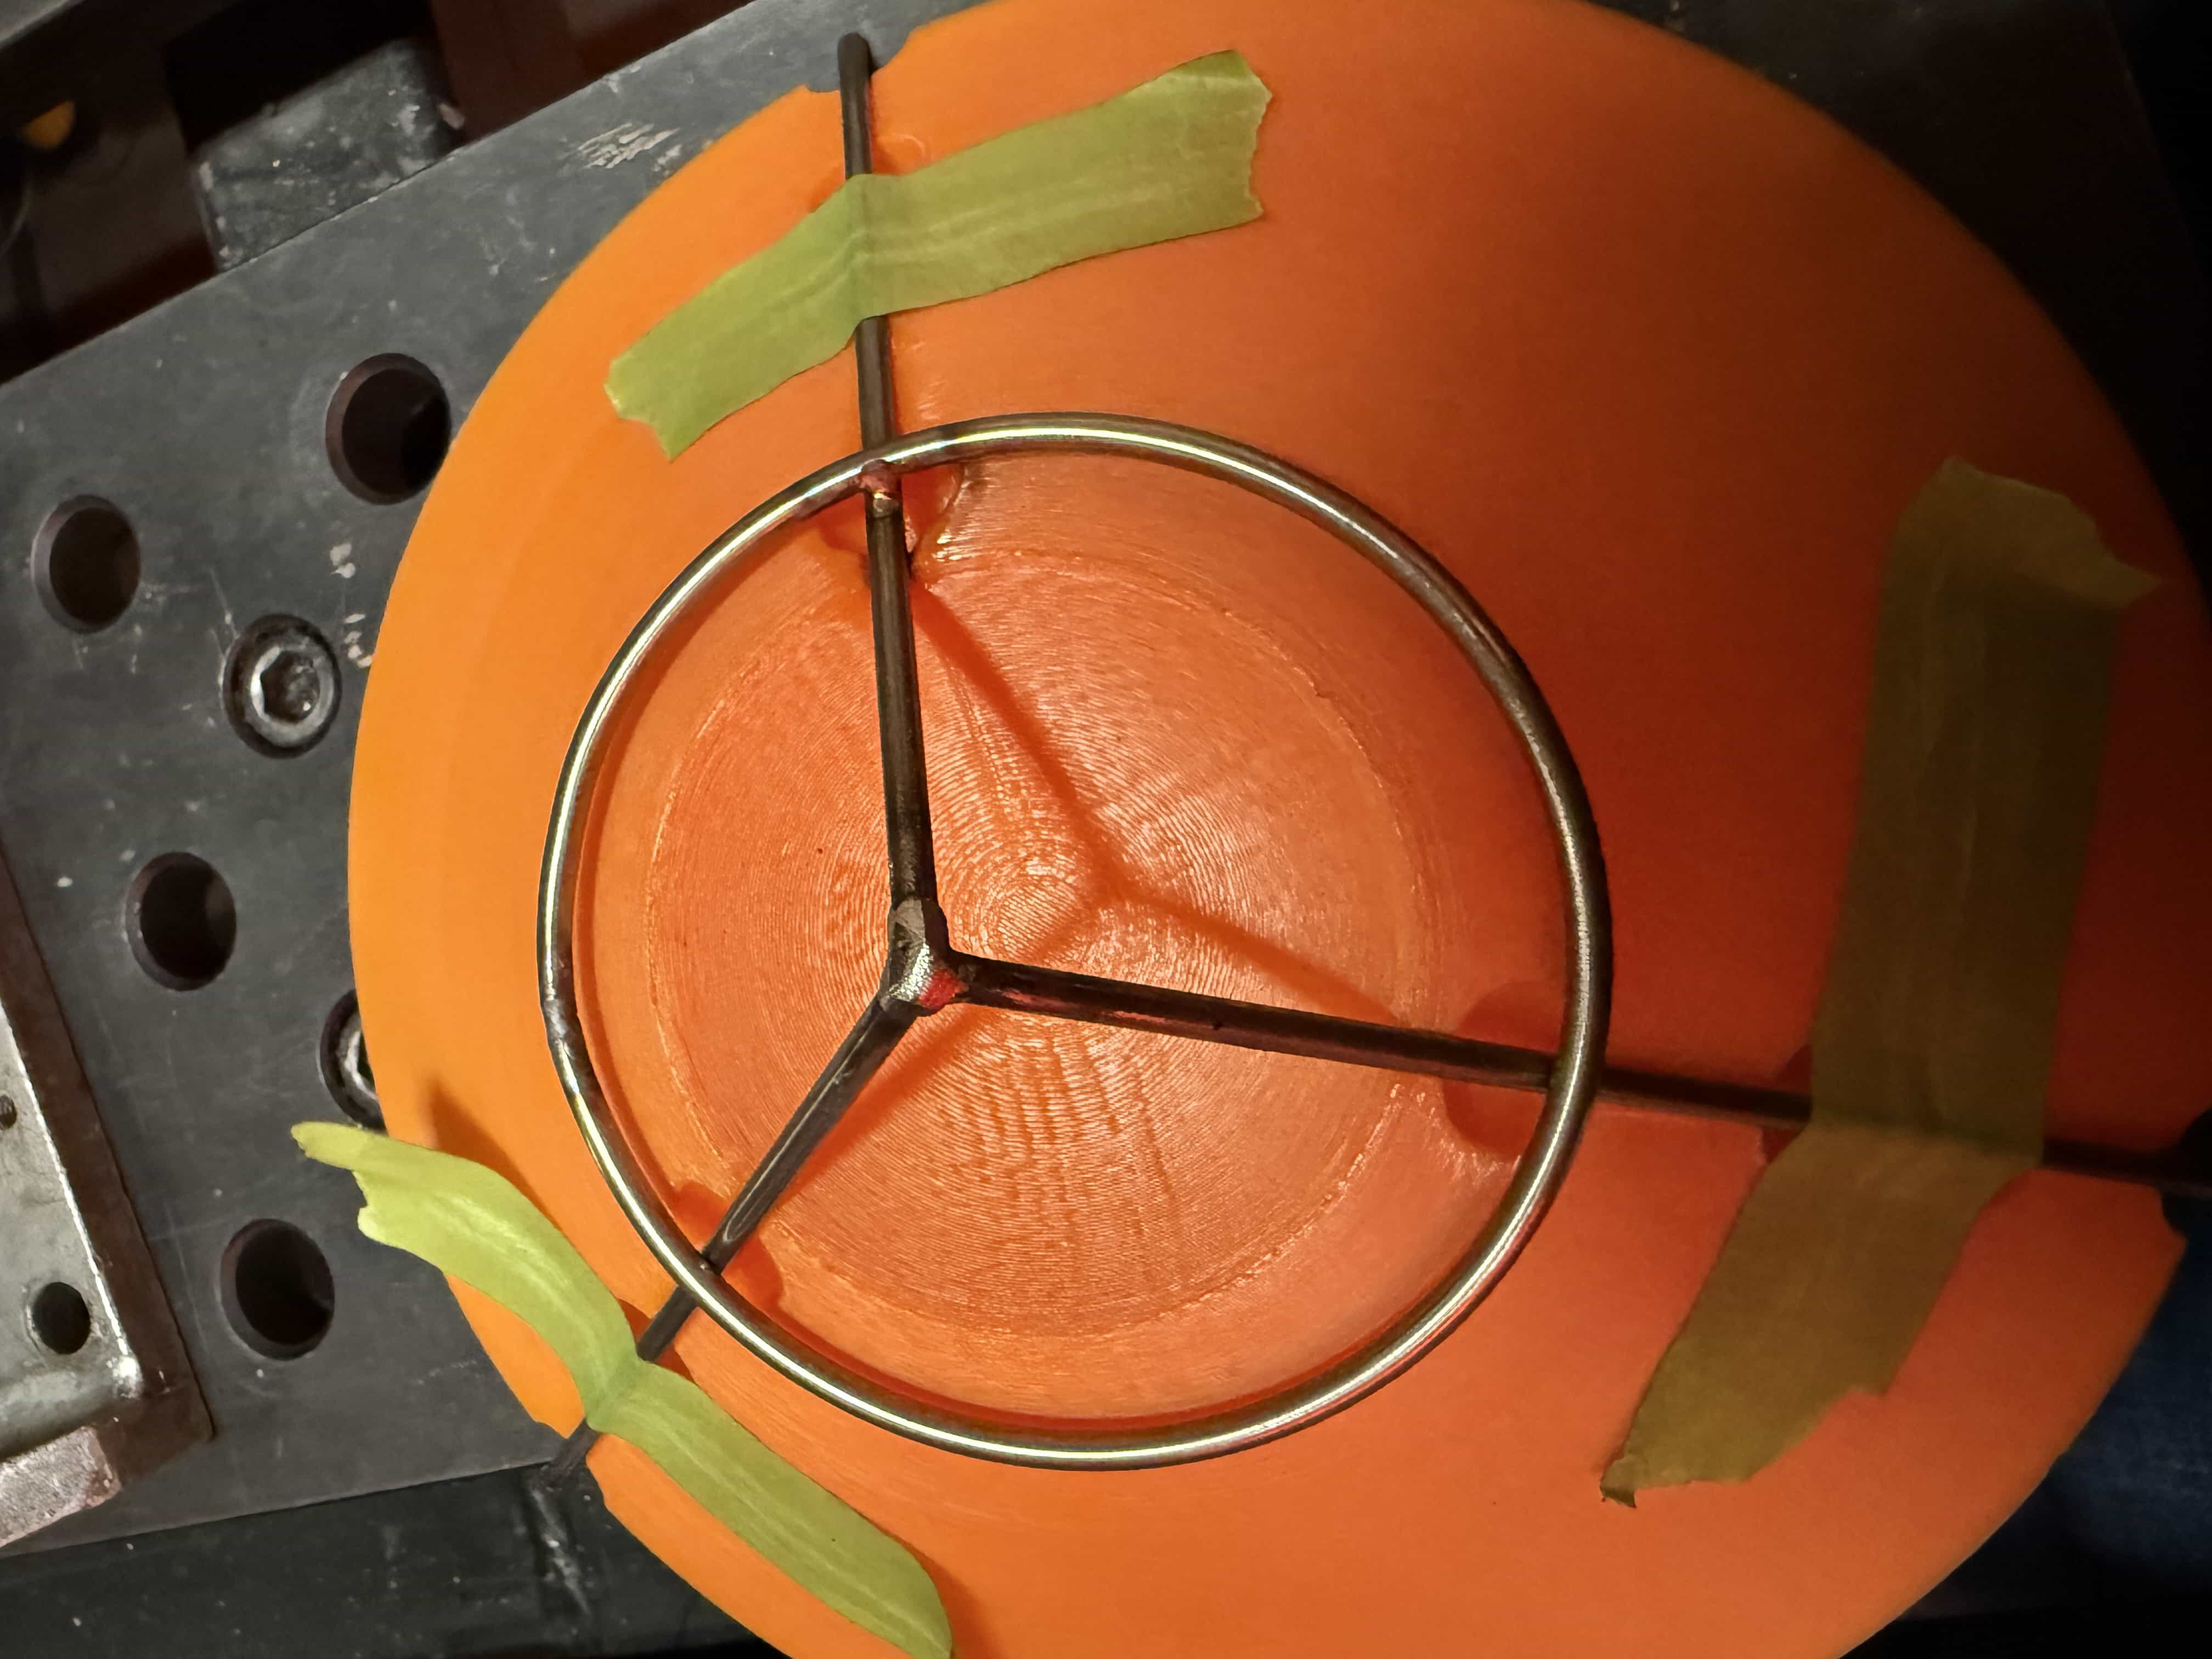
Basket Jig
I 3D-printed a jig to hold each rod in place, then welded the point where they all meet. At this point, I could remove the jig and weld each ring on. This was the trickiest part, as the rod melted very quickly.
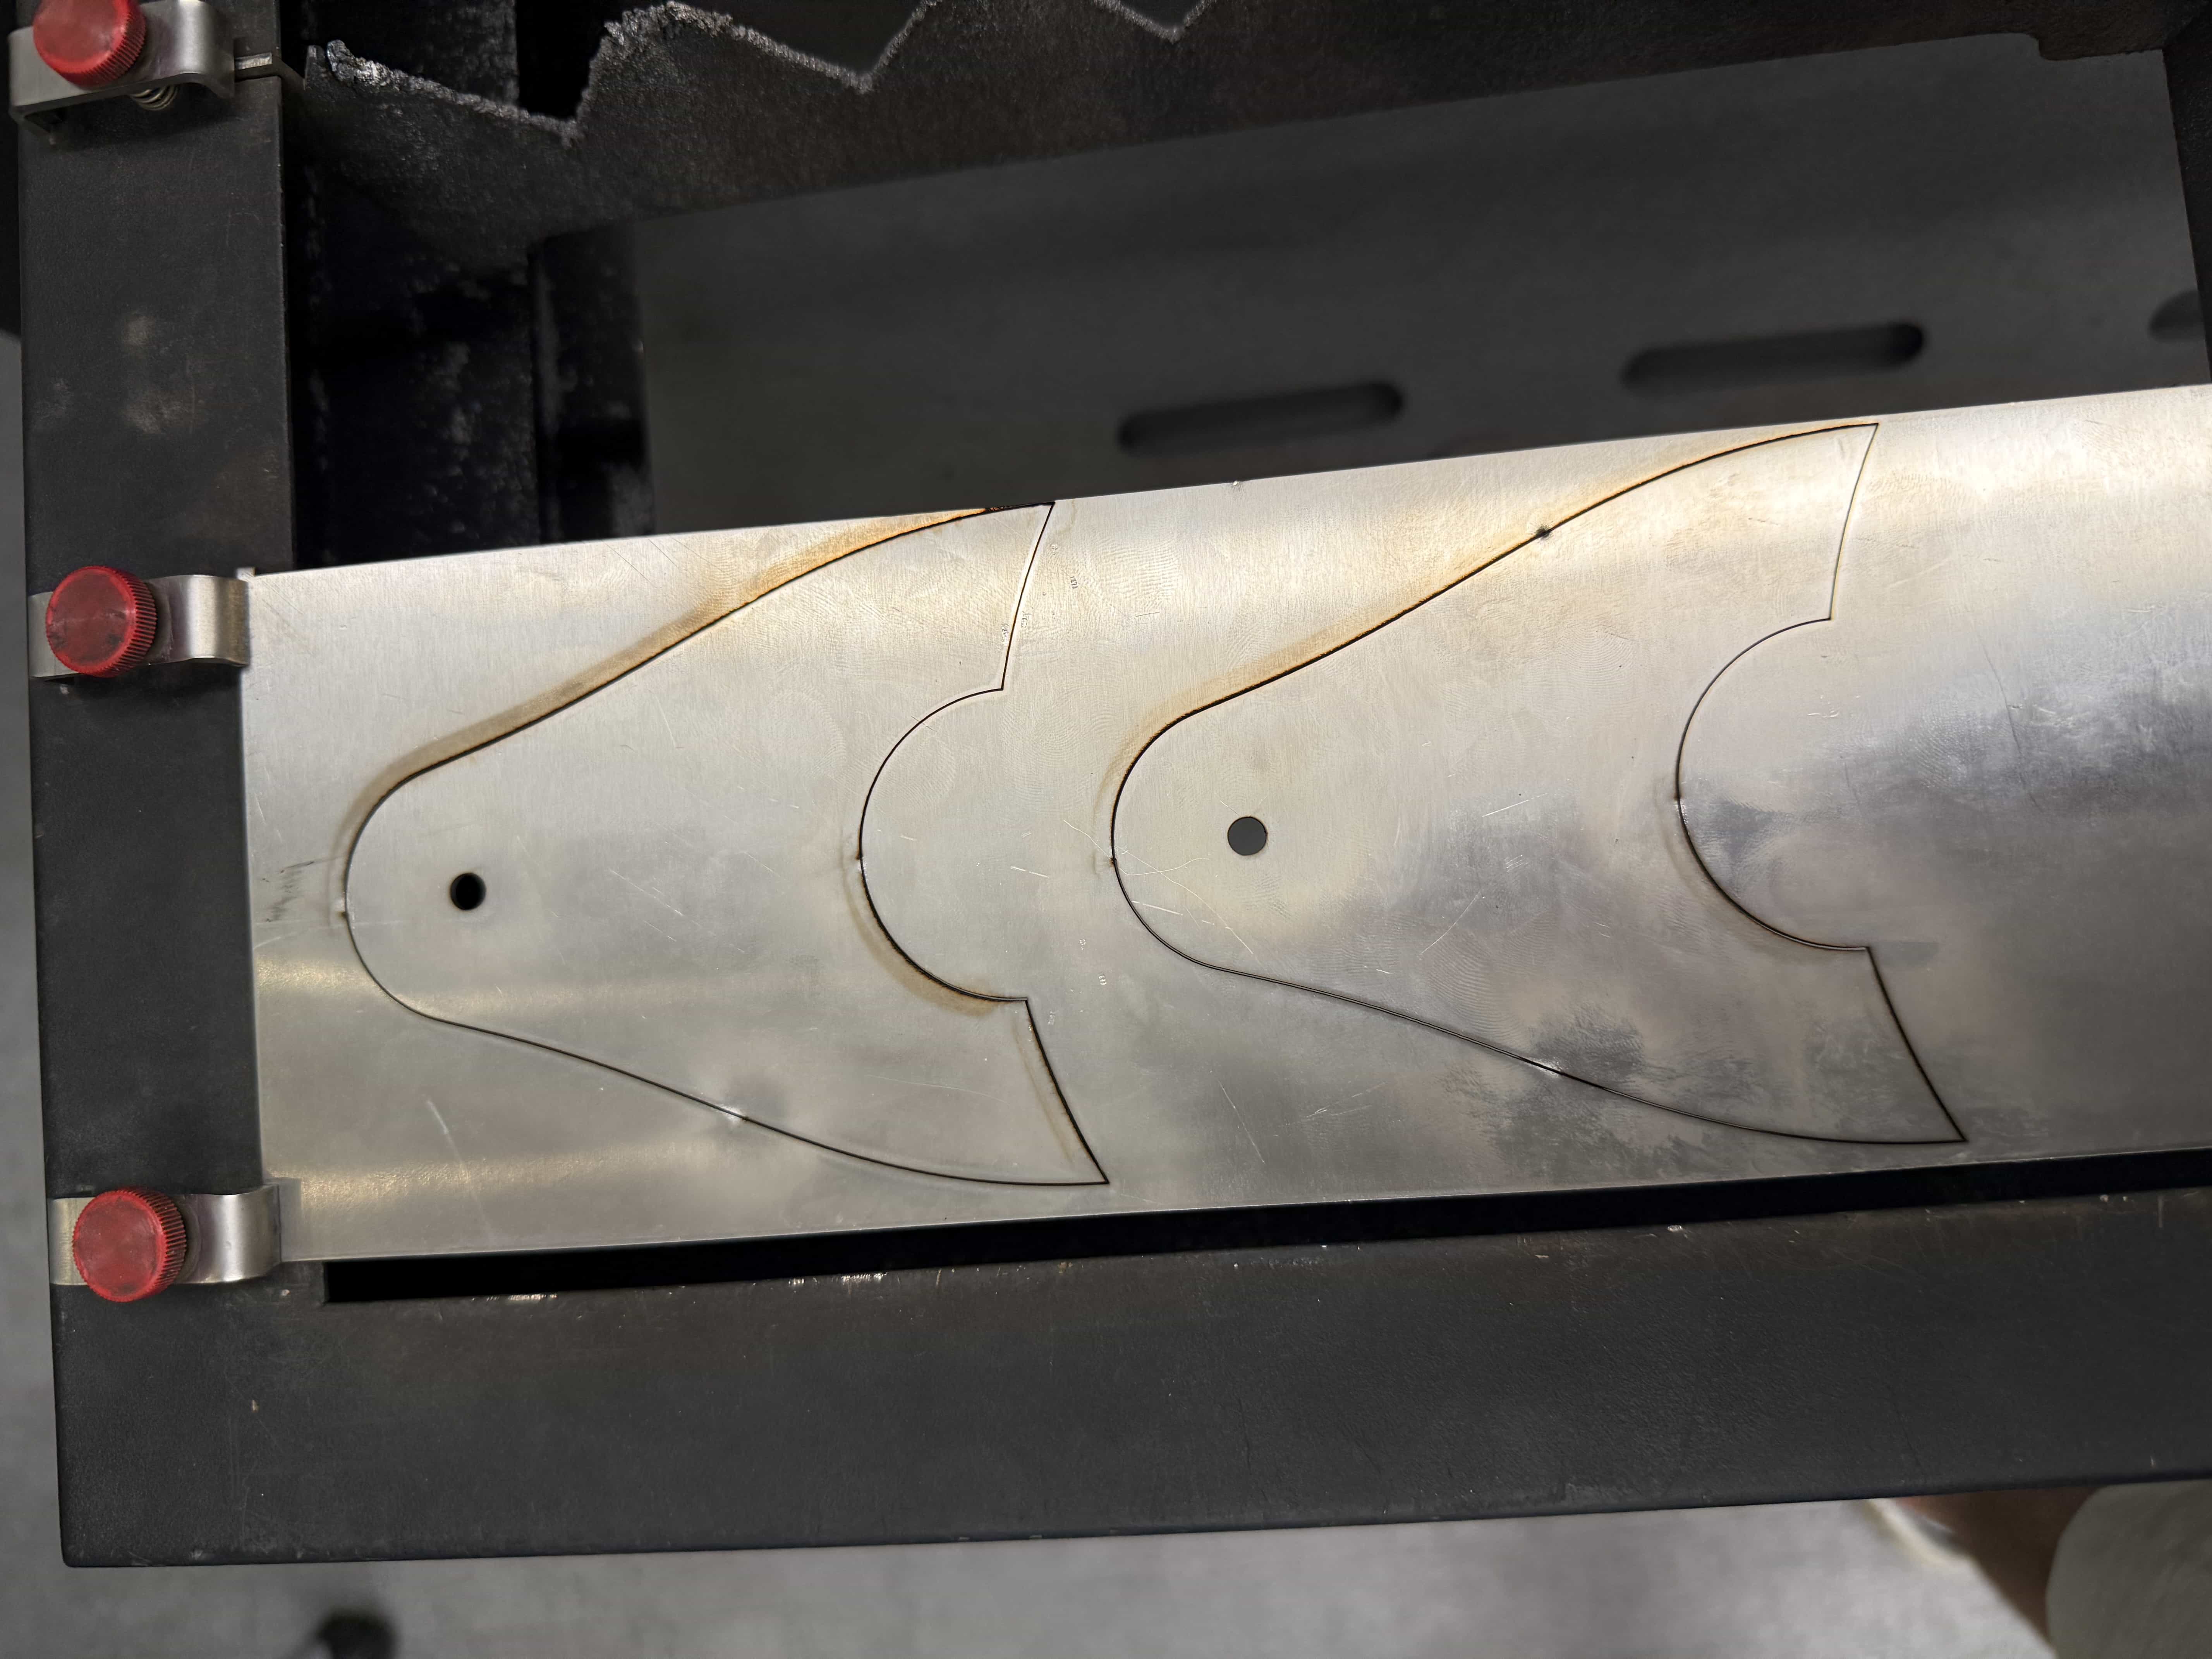
The Handle
I used the laser cutter once again to cut out the handle mounting plates.
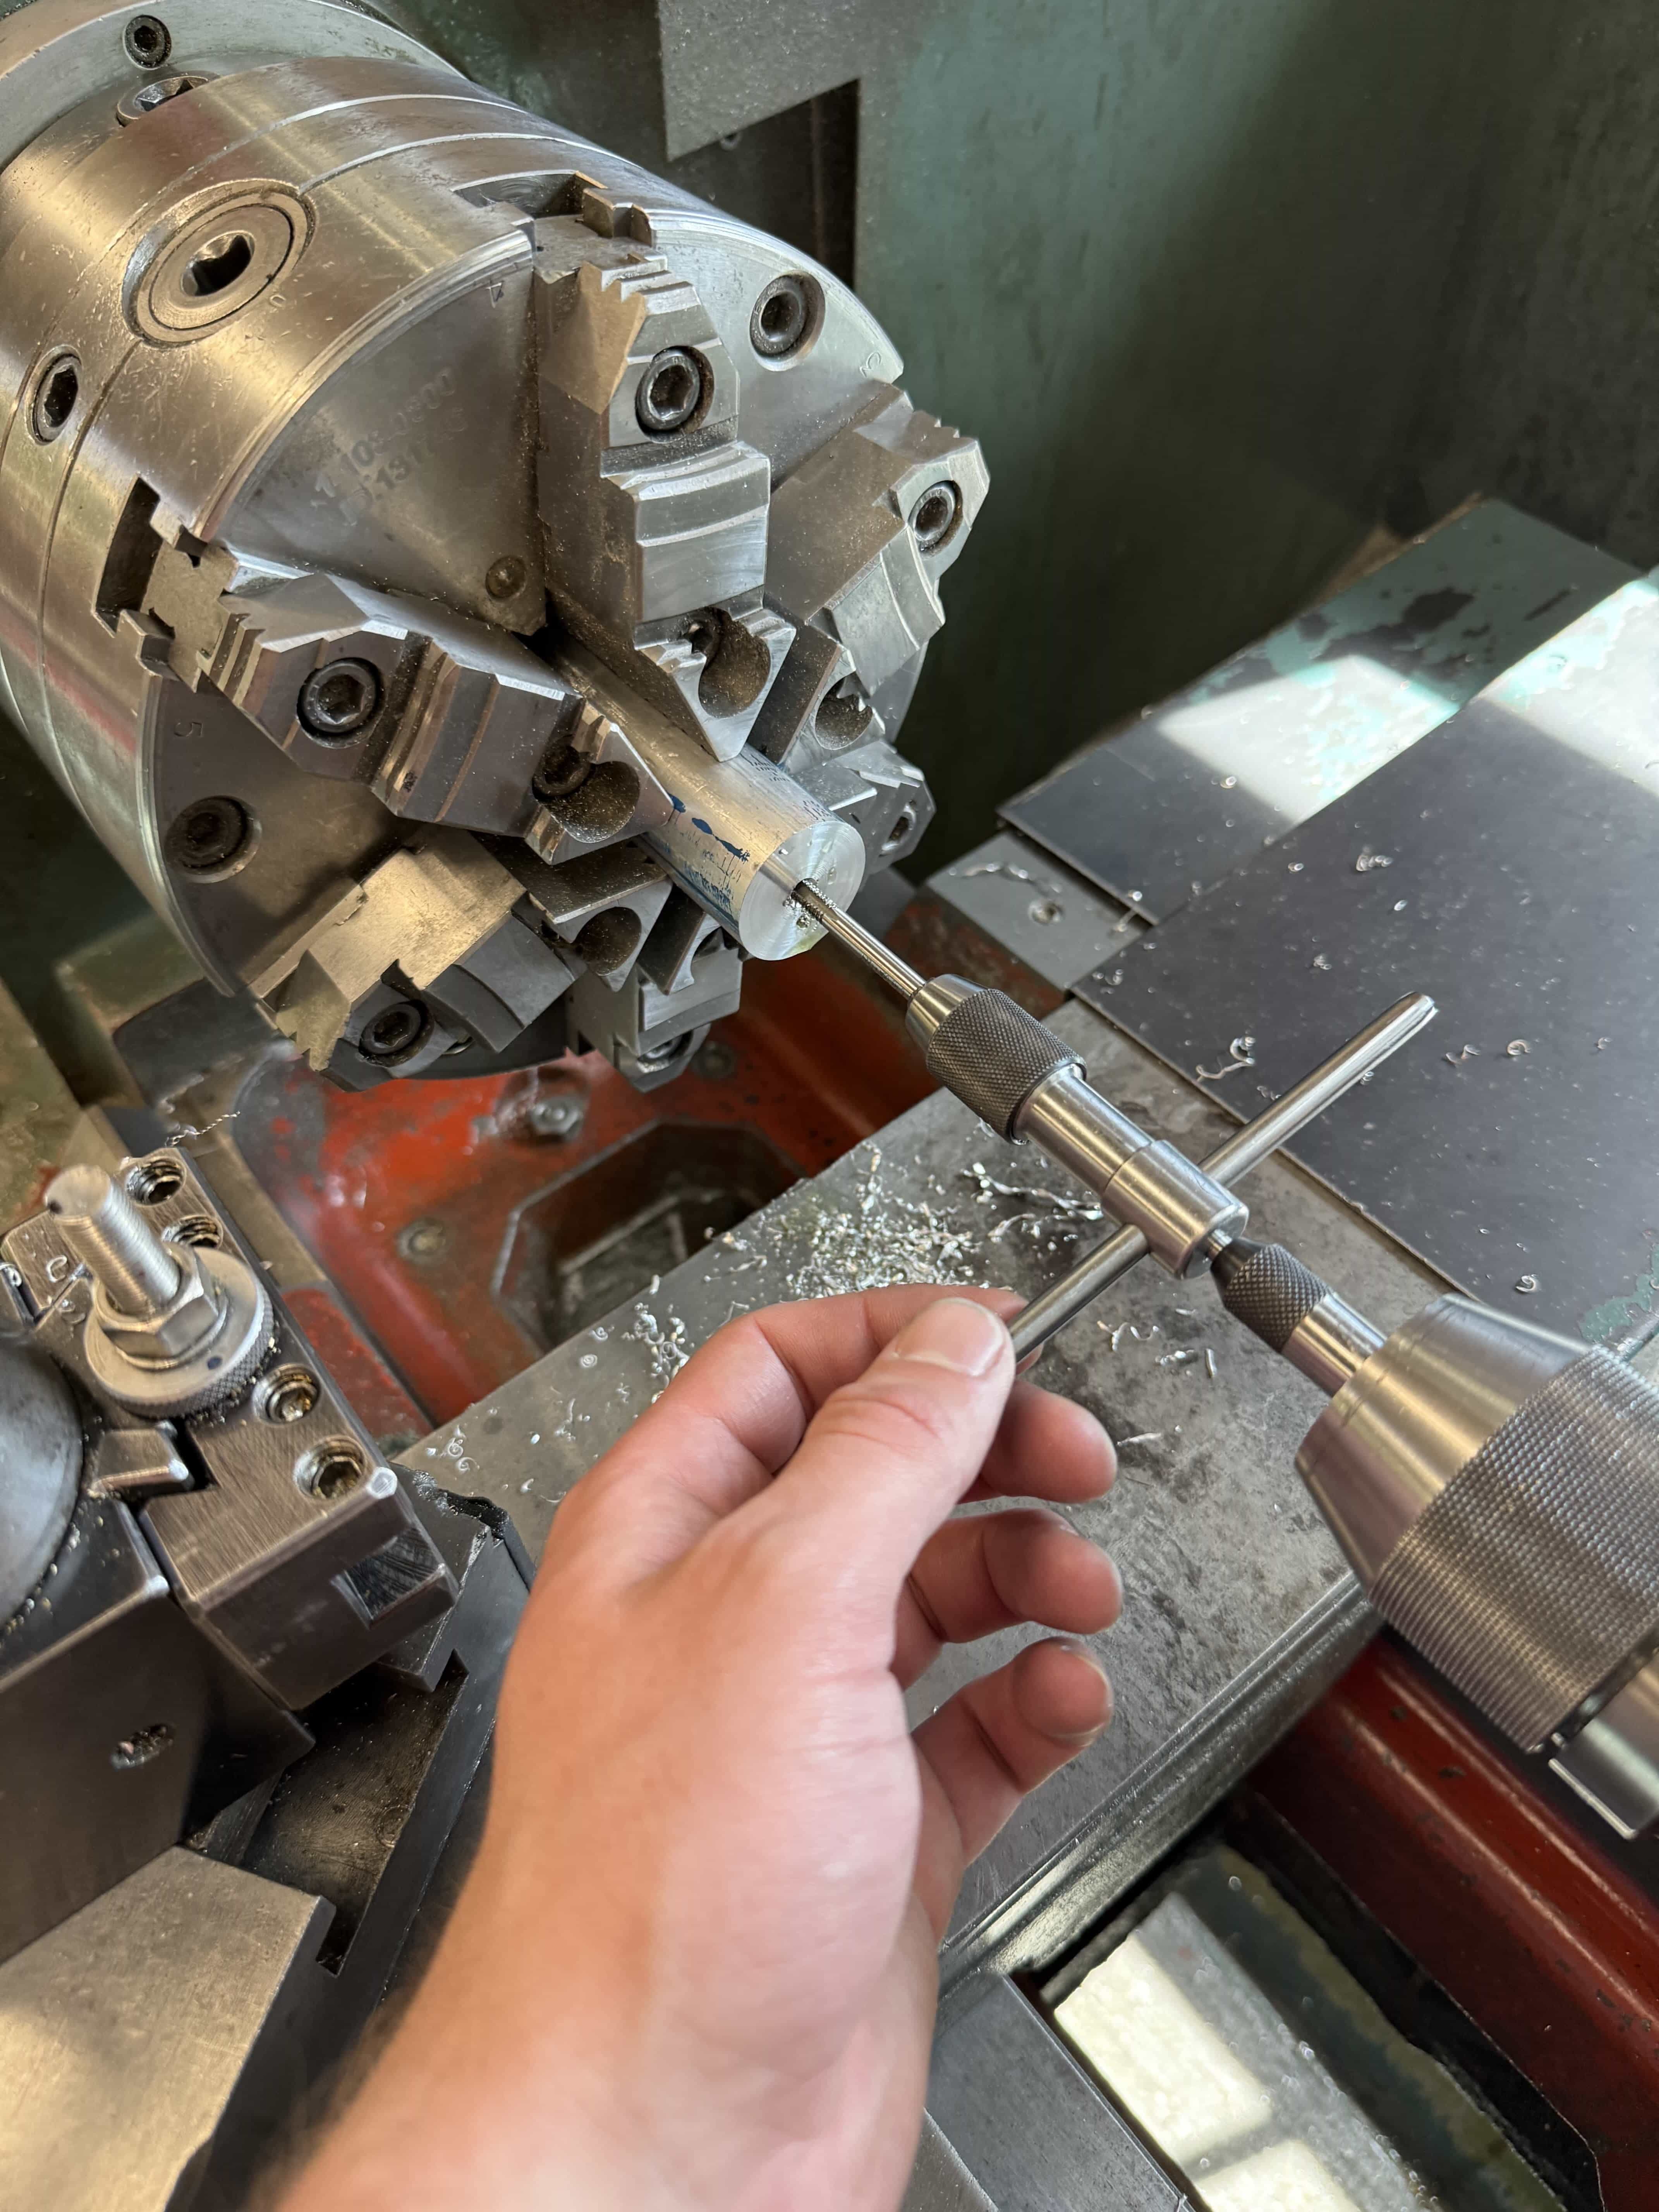
Turning
I faced, drilled, and threaded both sides of aluminum stock. Then, I began the radius cuts.
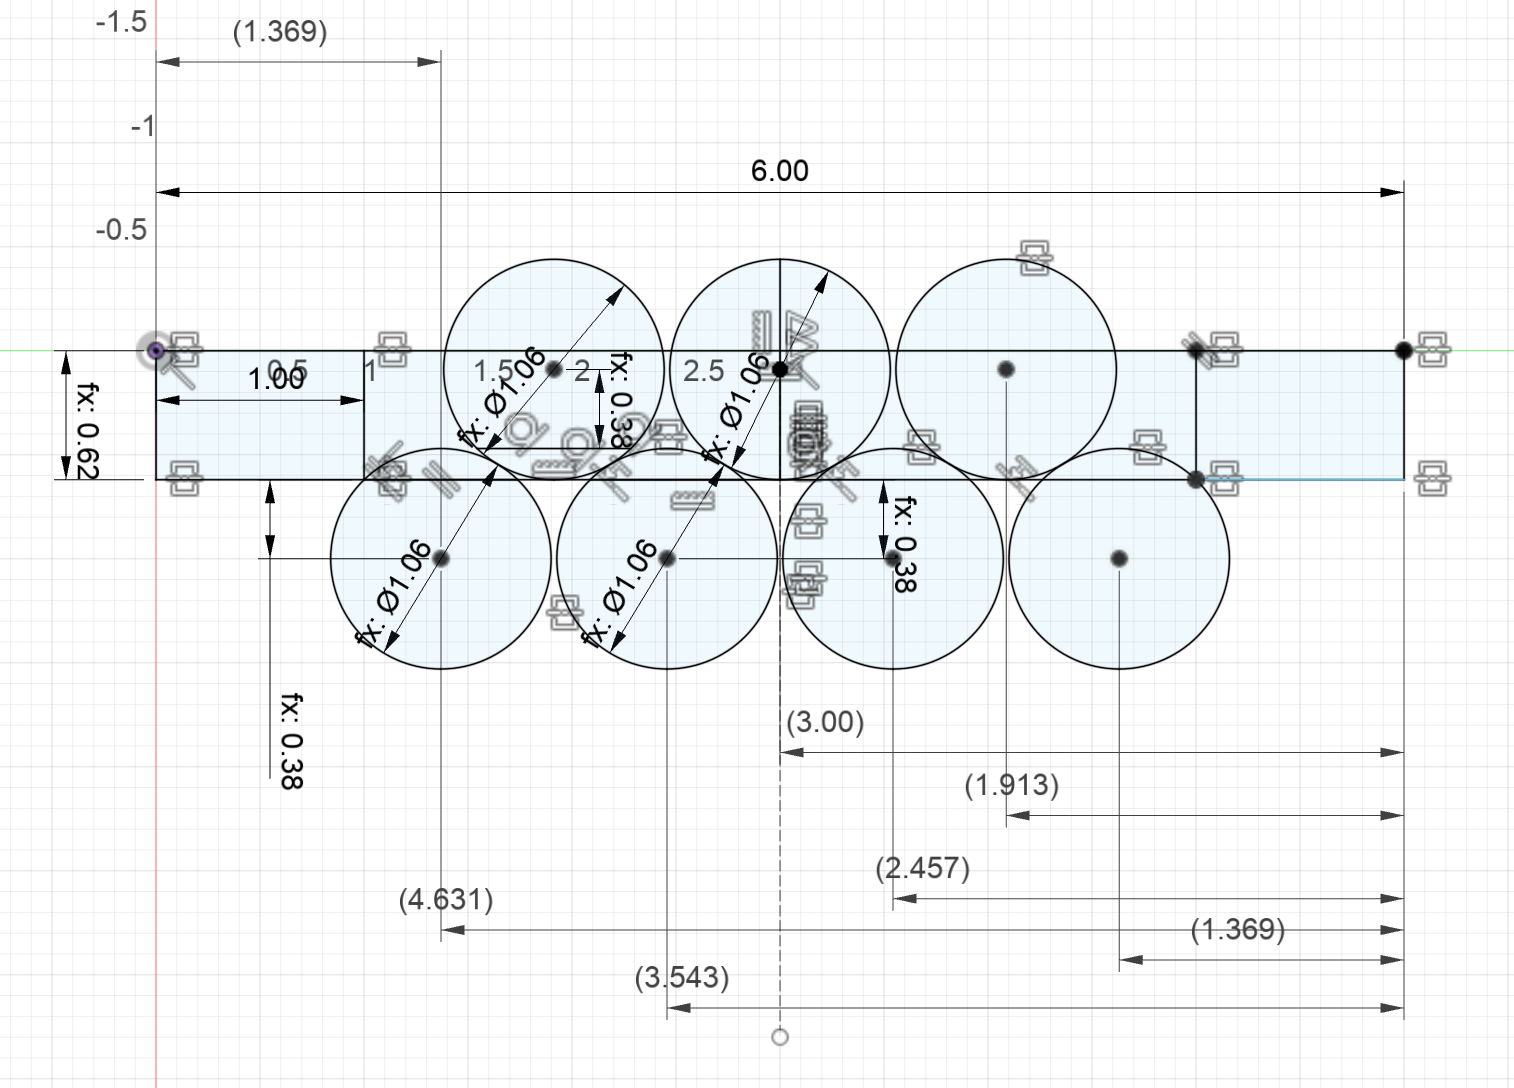
Radius Cut Plan
I made a quick sketch in Fusion to help plan out my radius cuts. This was one of the trickiest parts to get right, but also not a very crucial detail on the final product. It was difficult to line up the concave and convex cuts. Using this sketch, I knew how far I needed to move the radius cutter along the aluminum stock. It worked alright, but there’s gotta be a better way to do it.
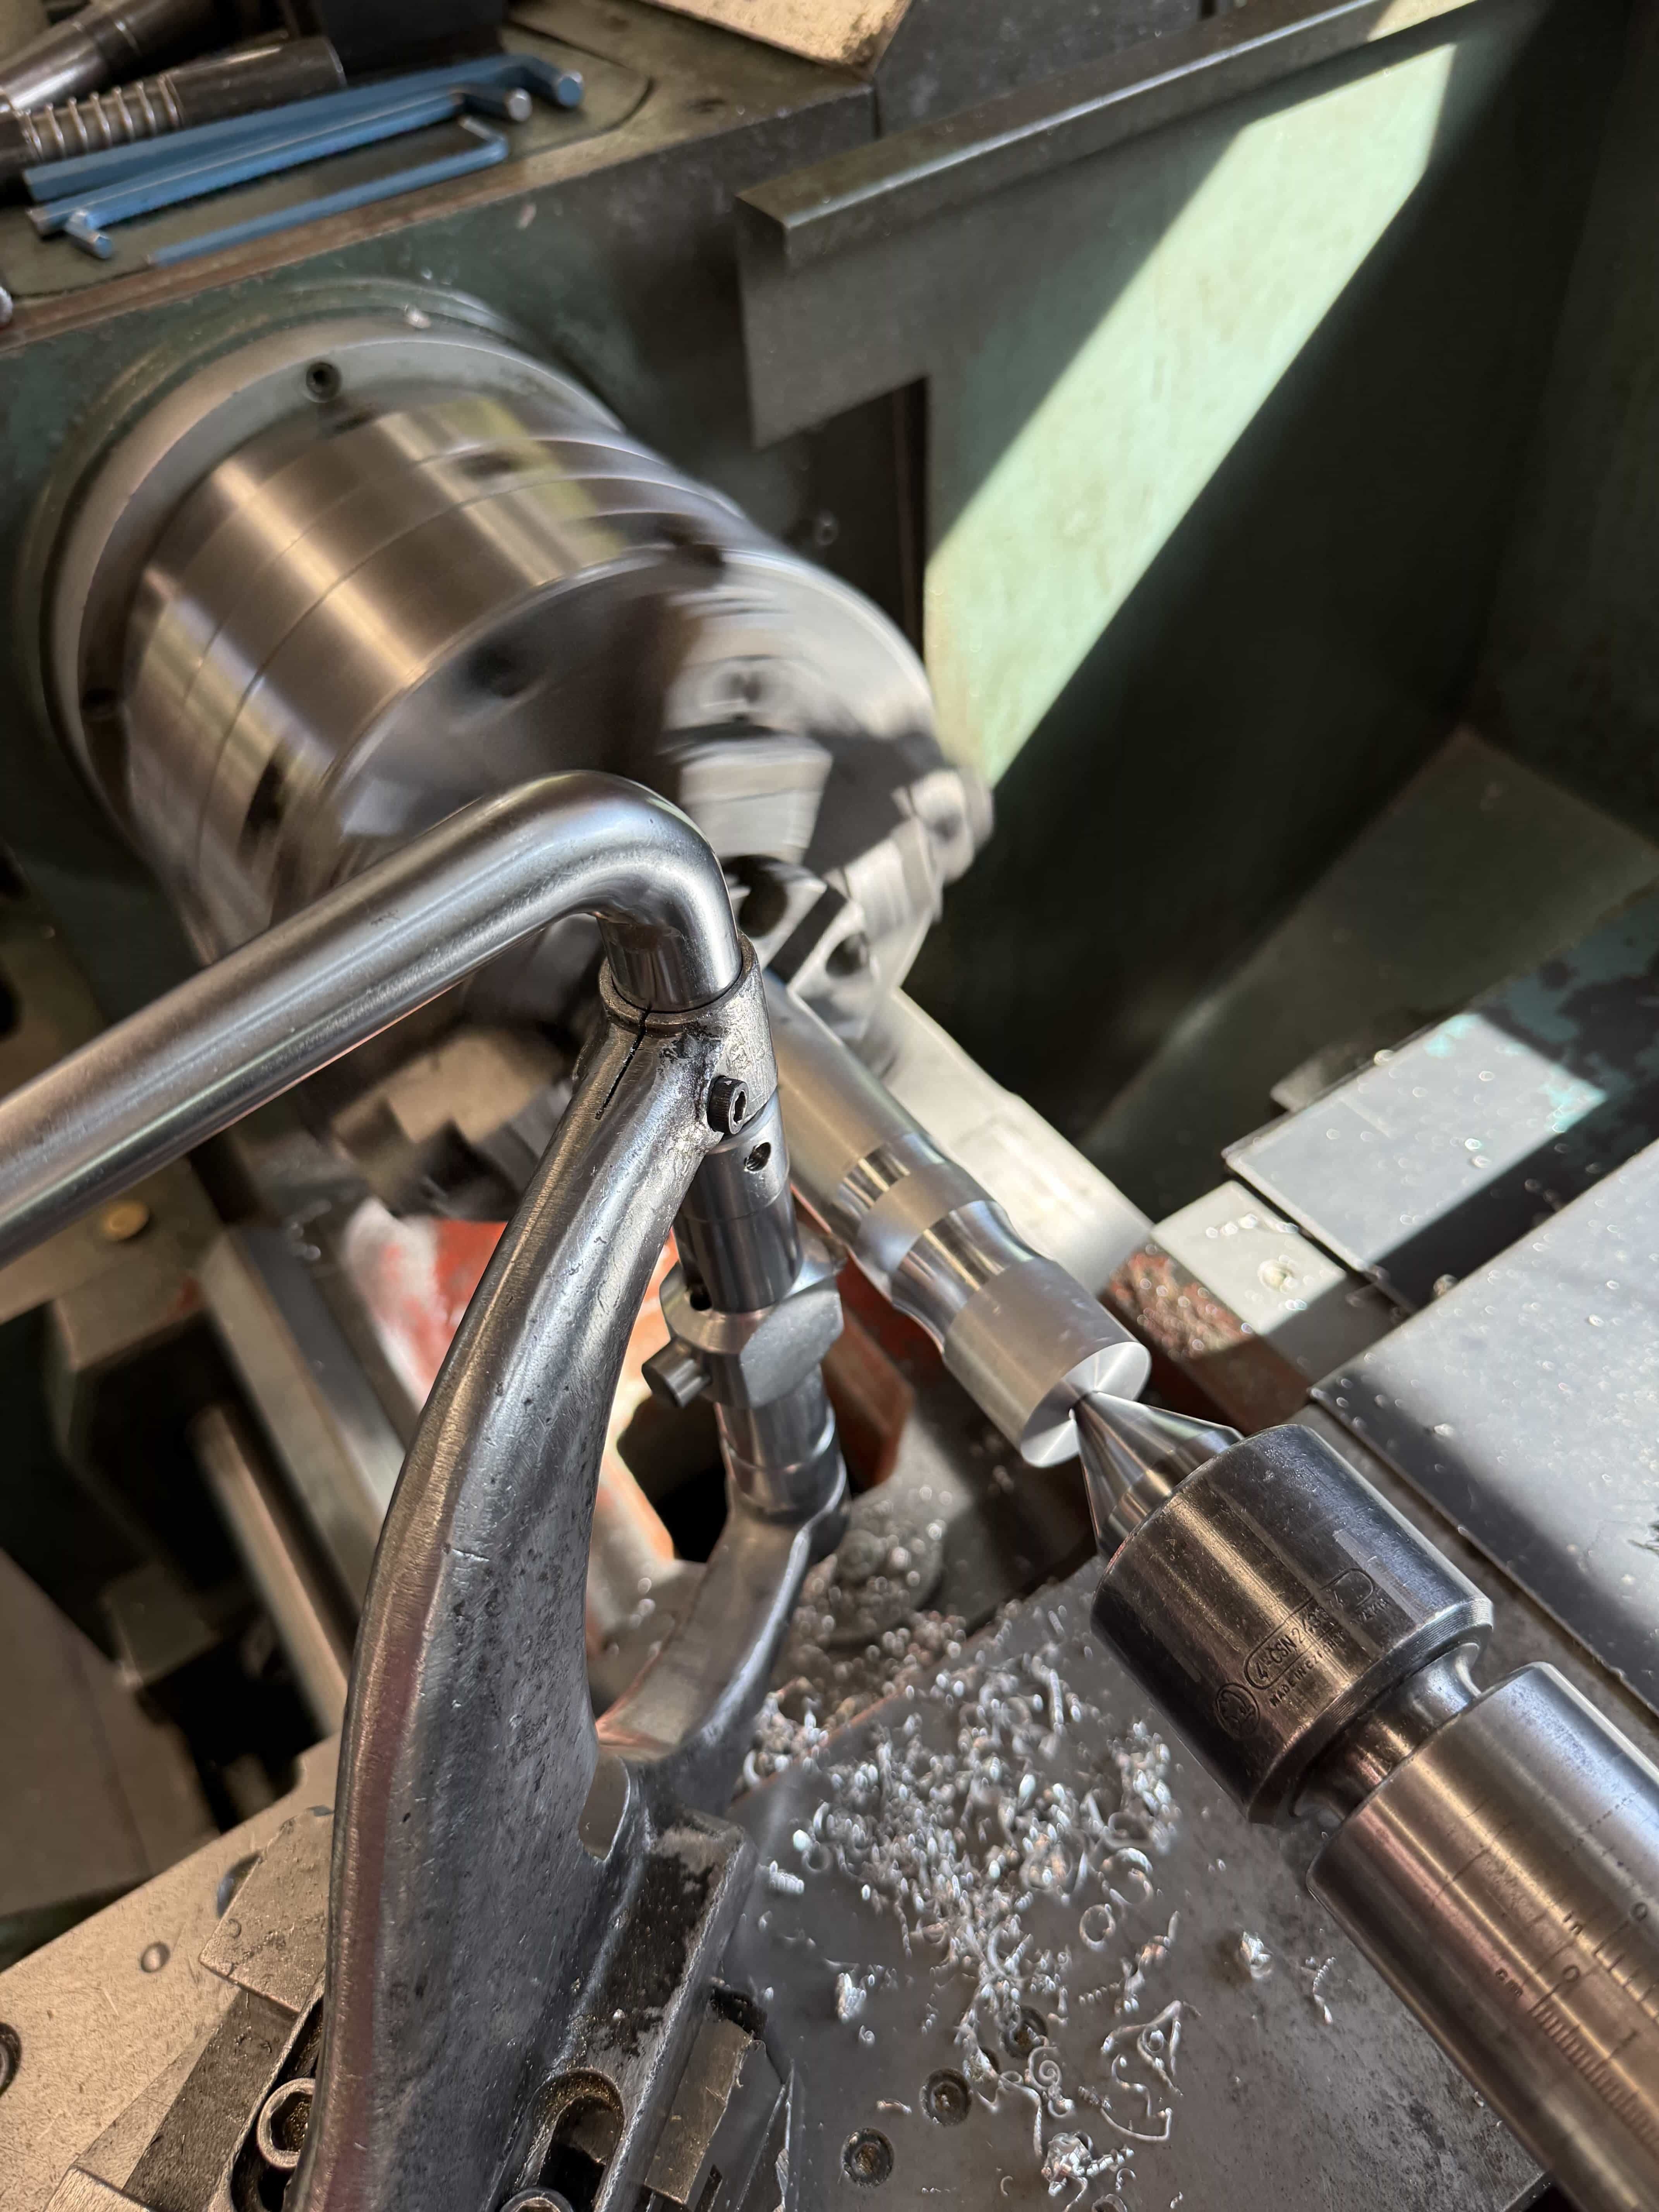
Here is the radius cutter doing a concave cut.
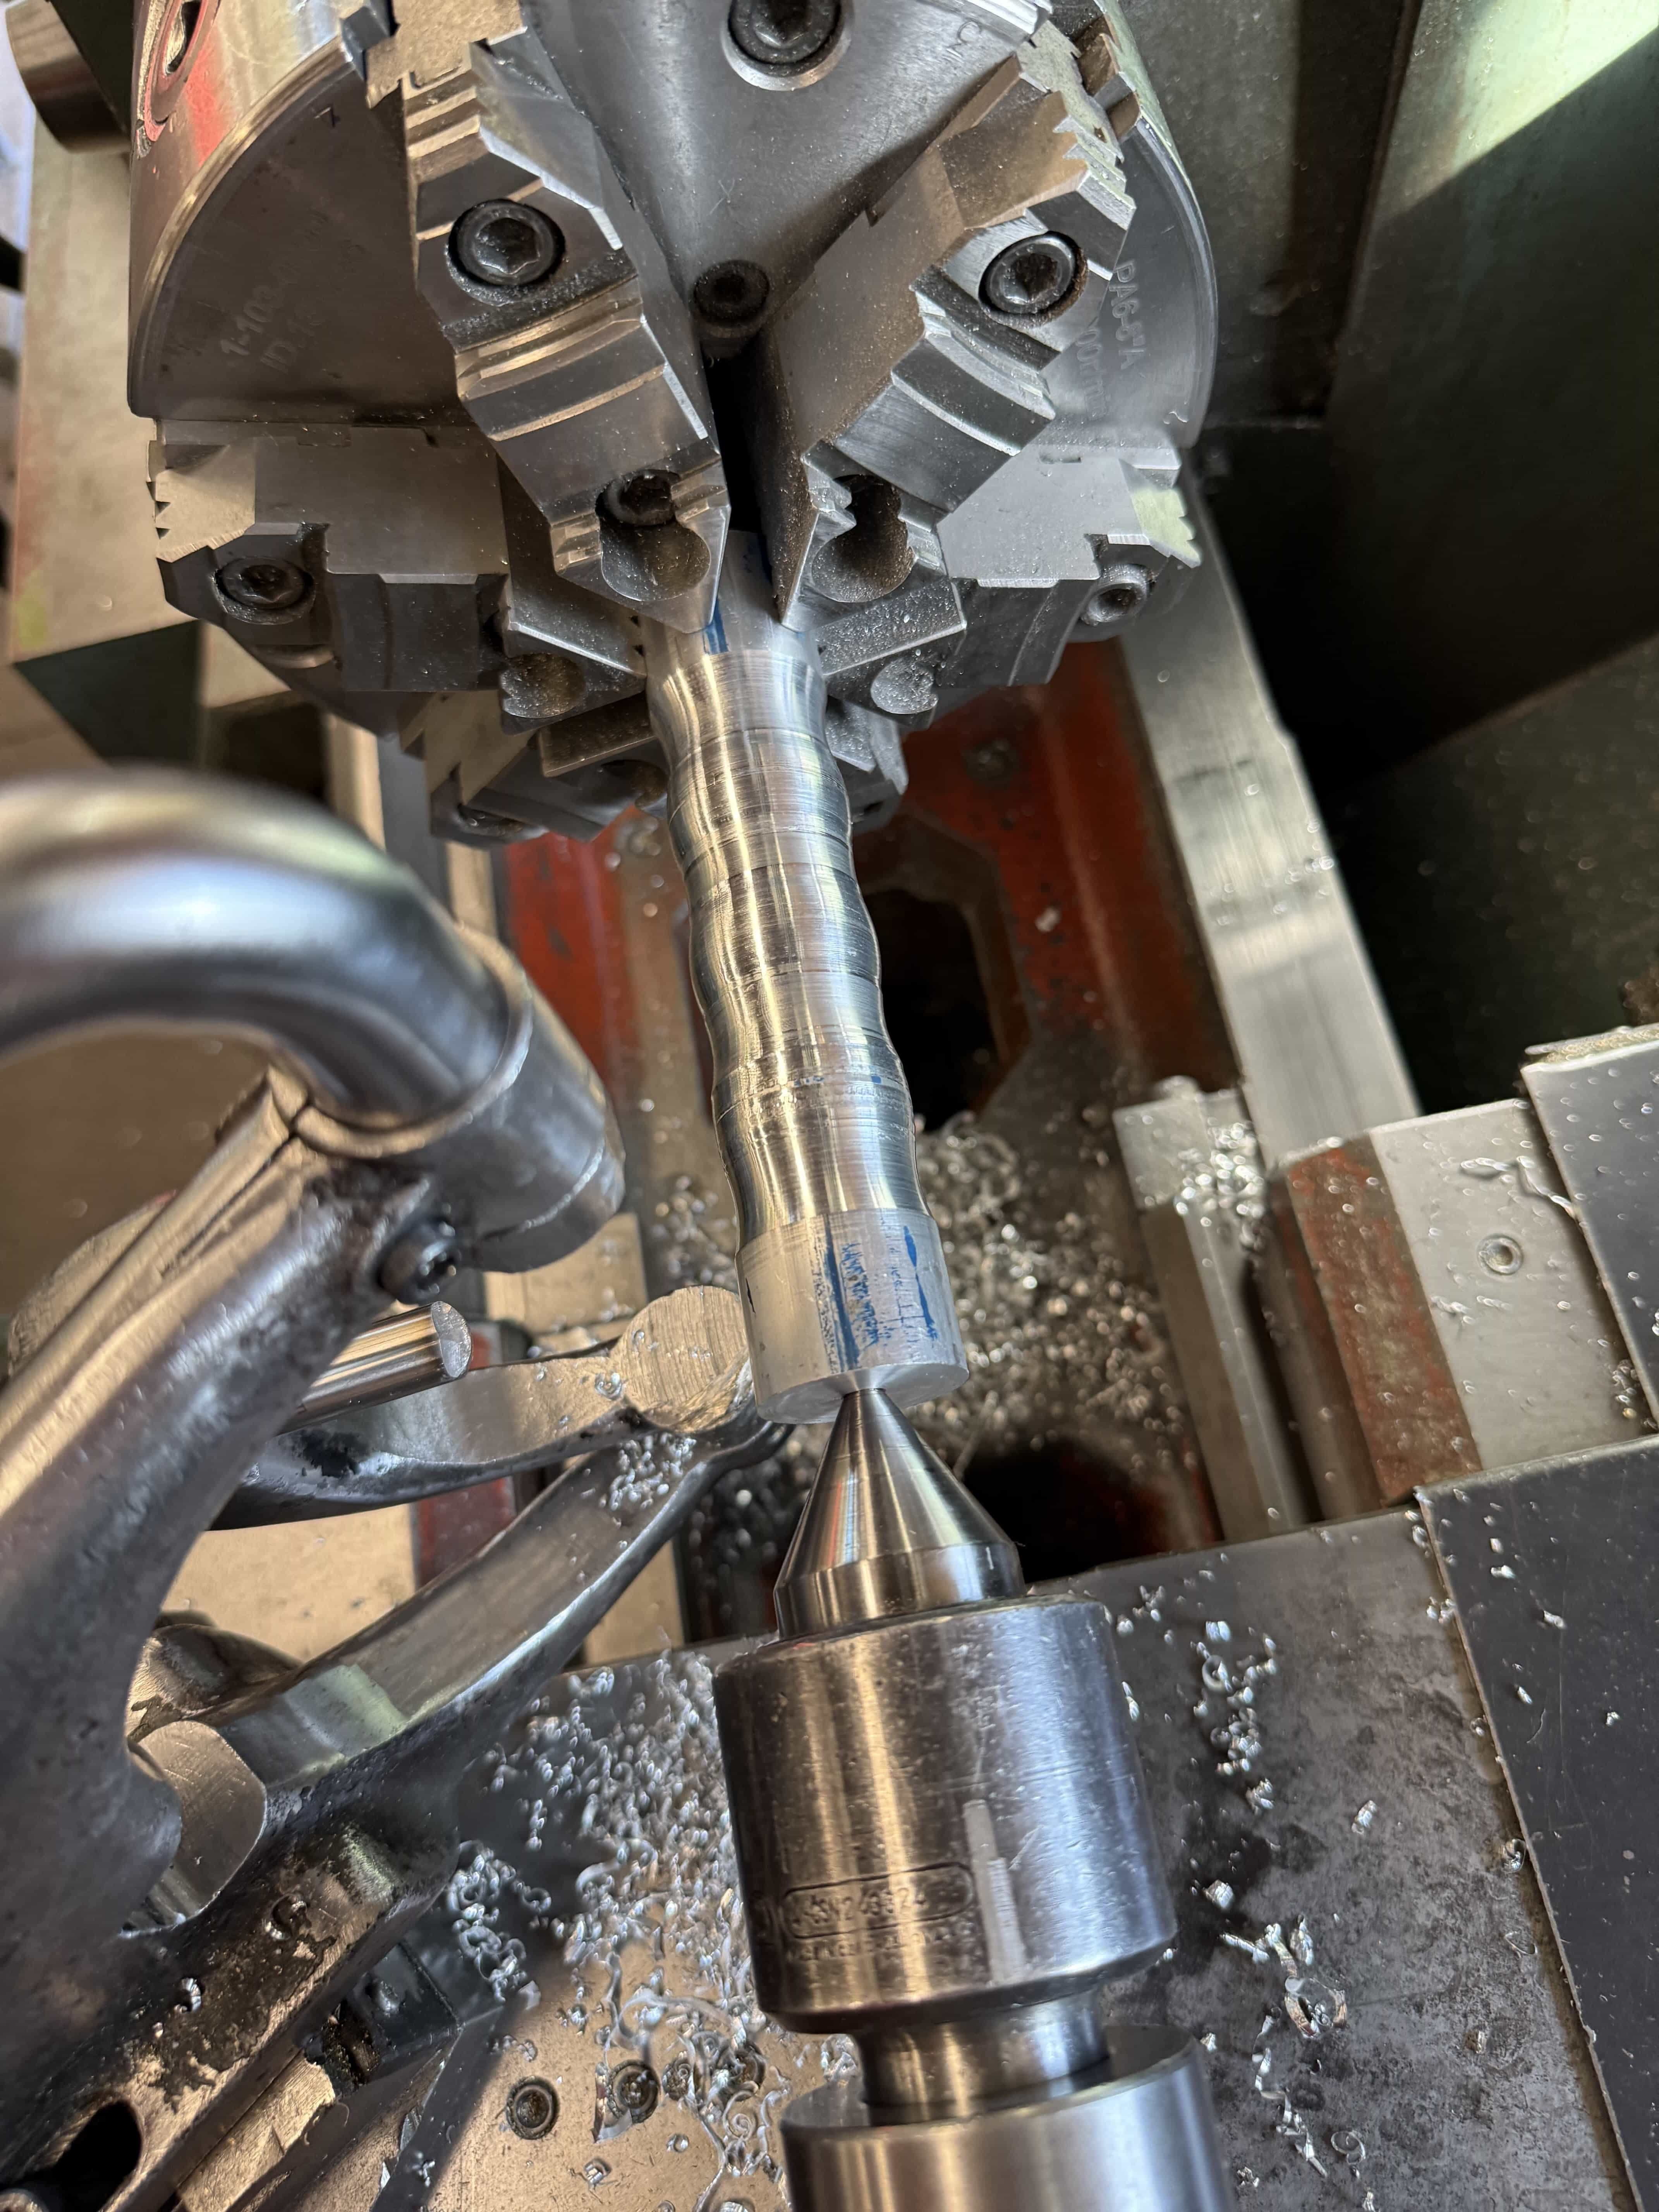
And here it is doing a convex cut. As you can see, the concave and convex cuts did not line up very well.
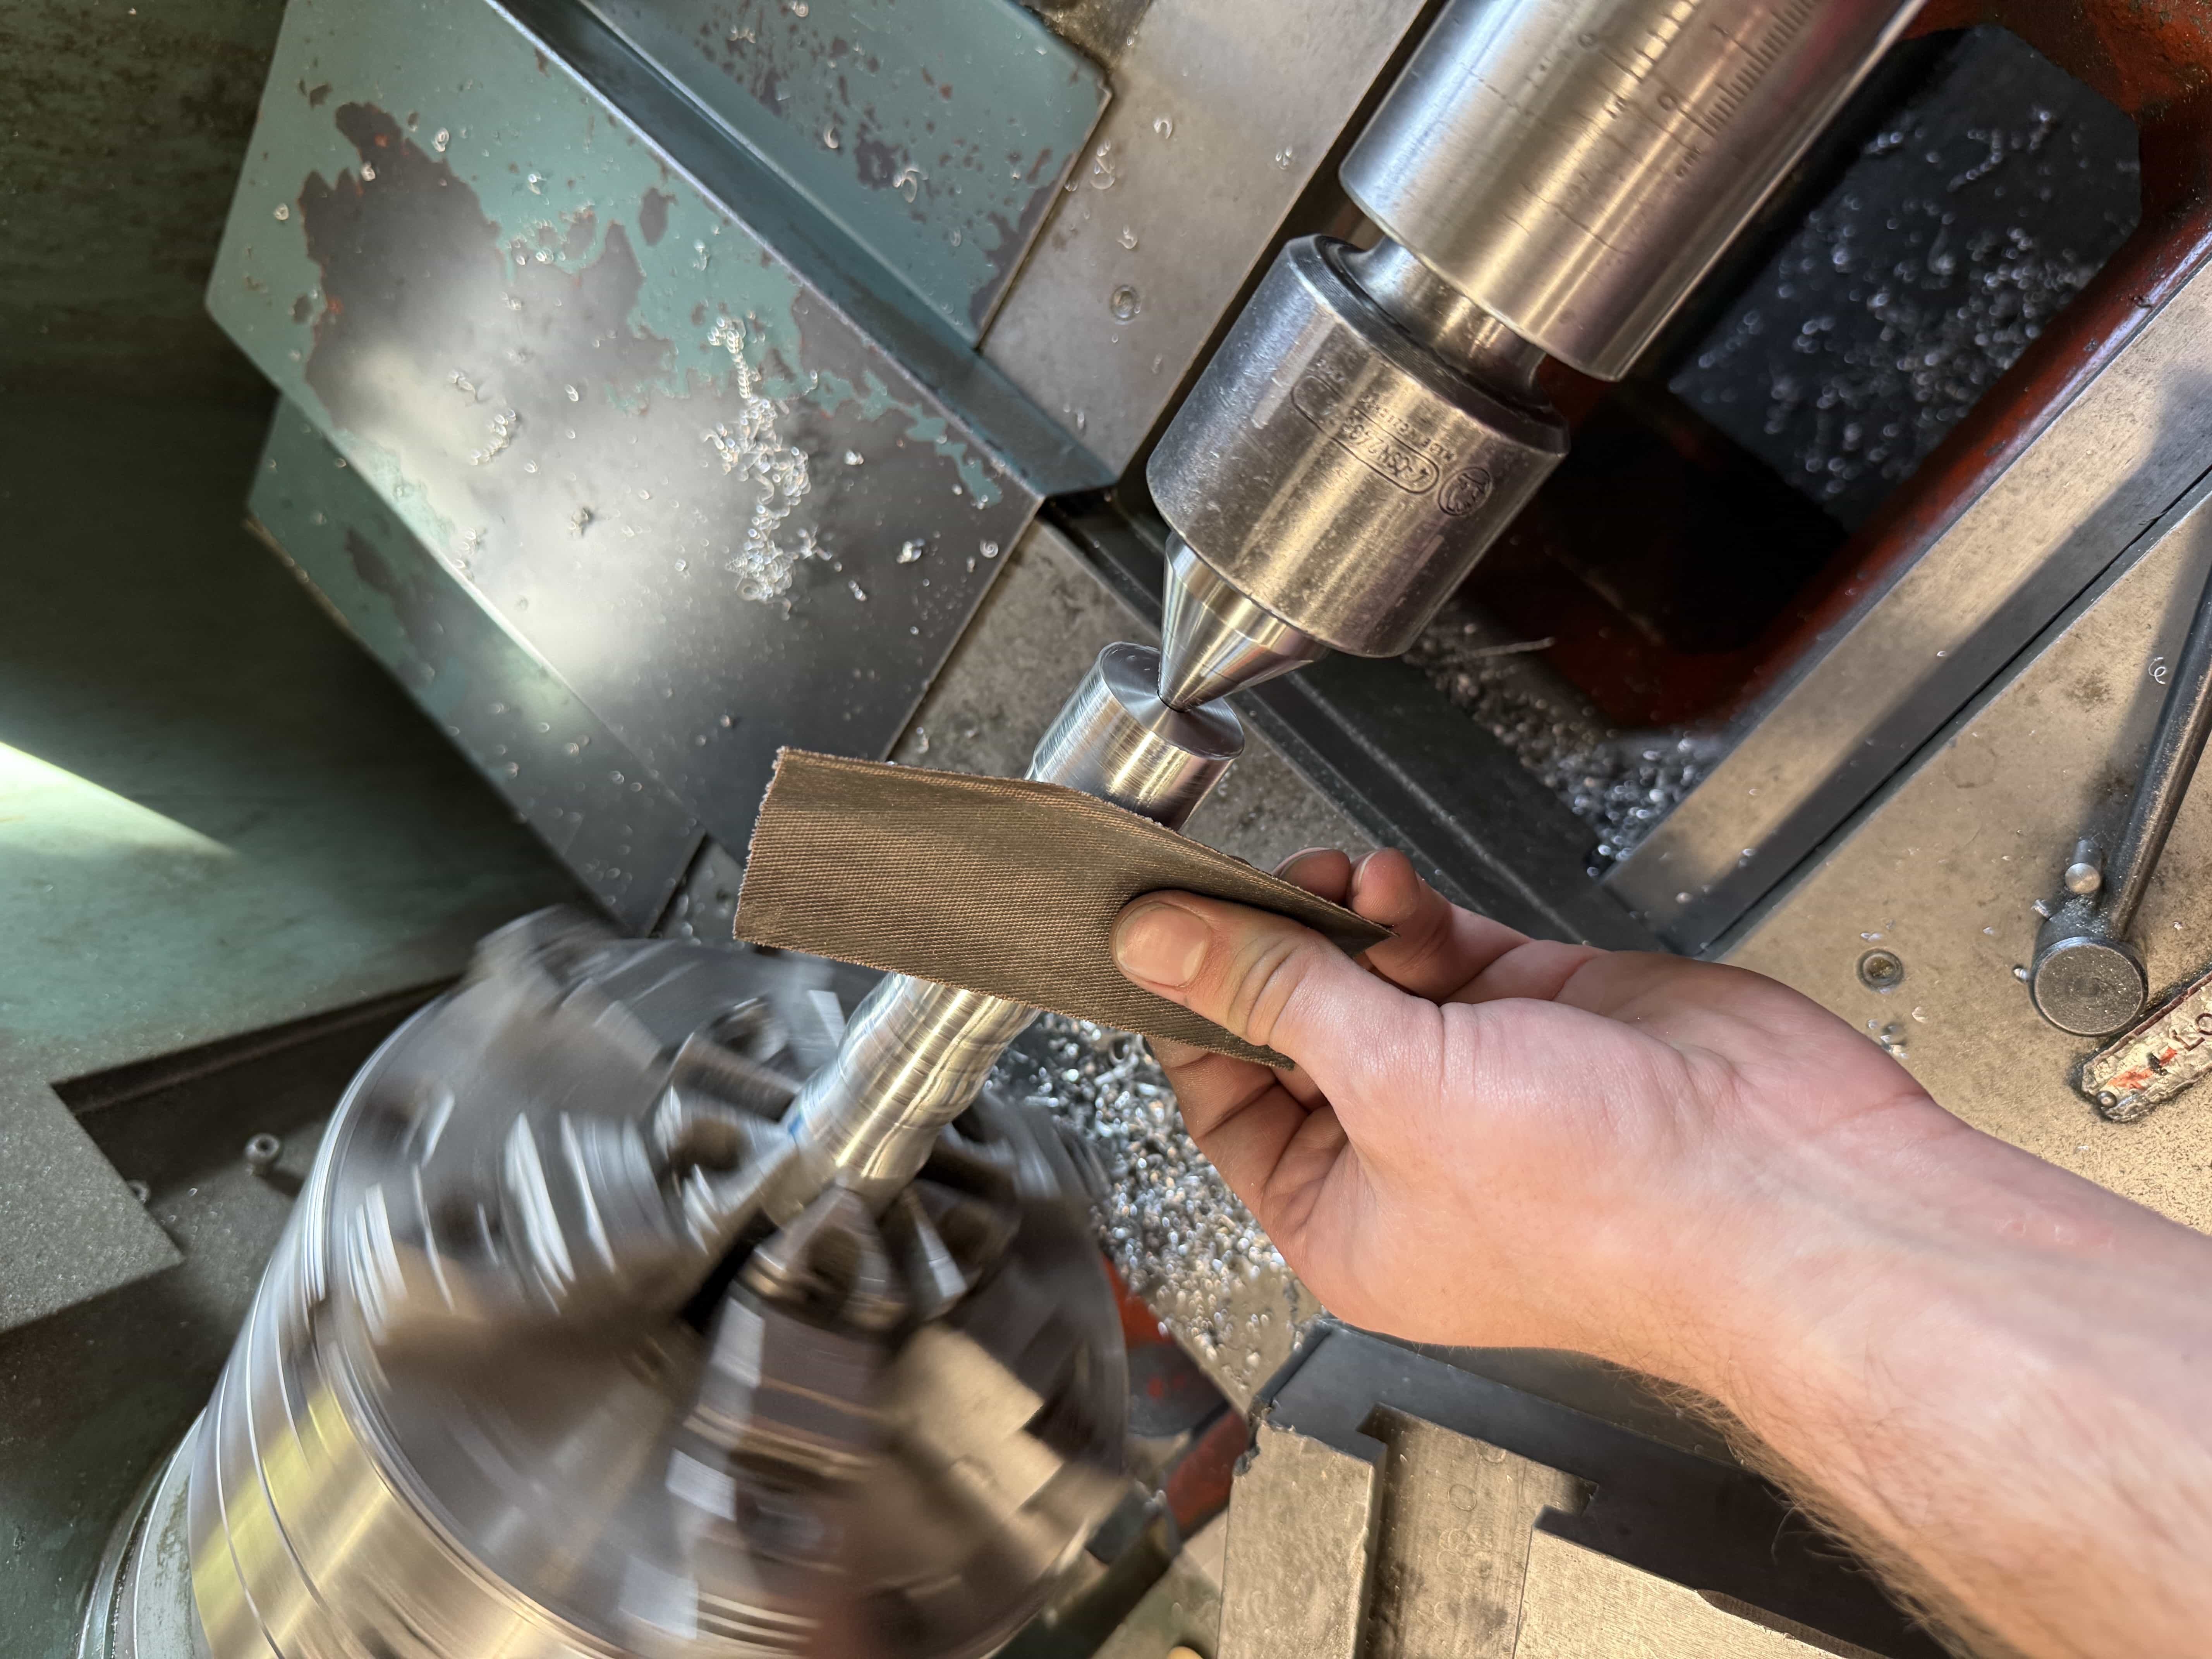
After a lot of sanding, I got the cuts to blend together decently well.
Handle Installation
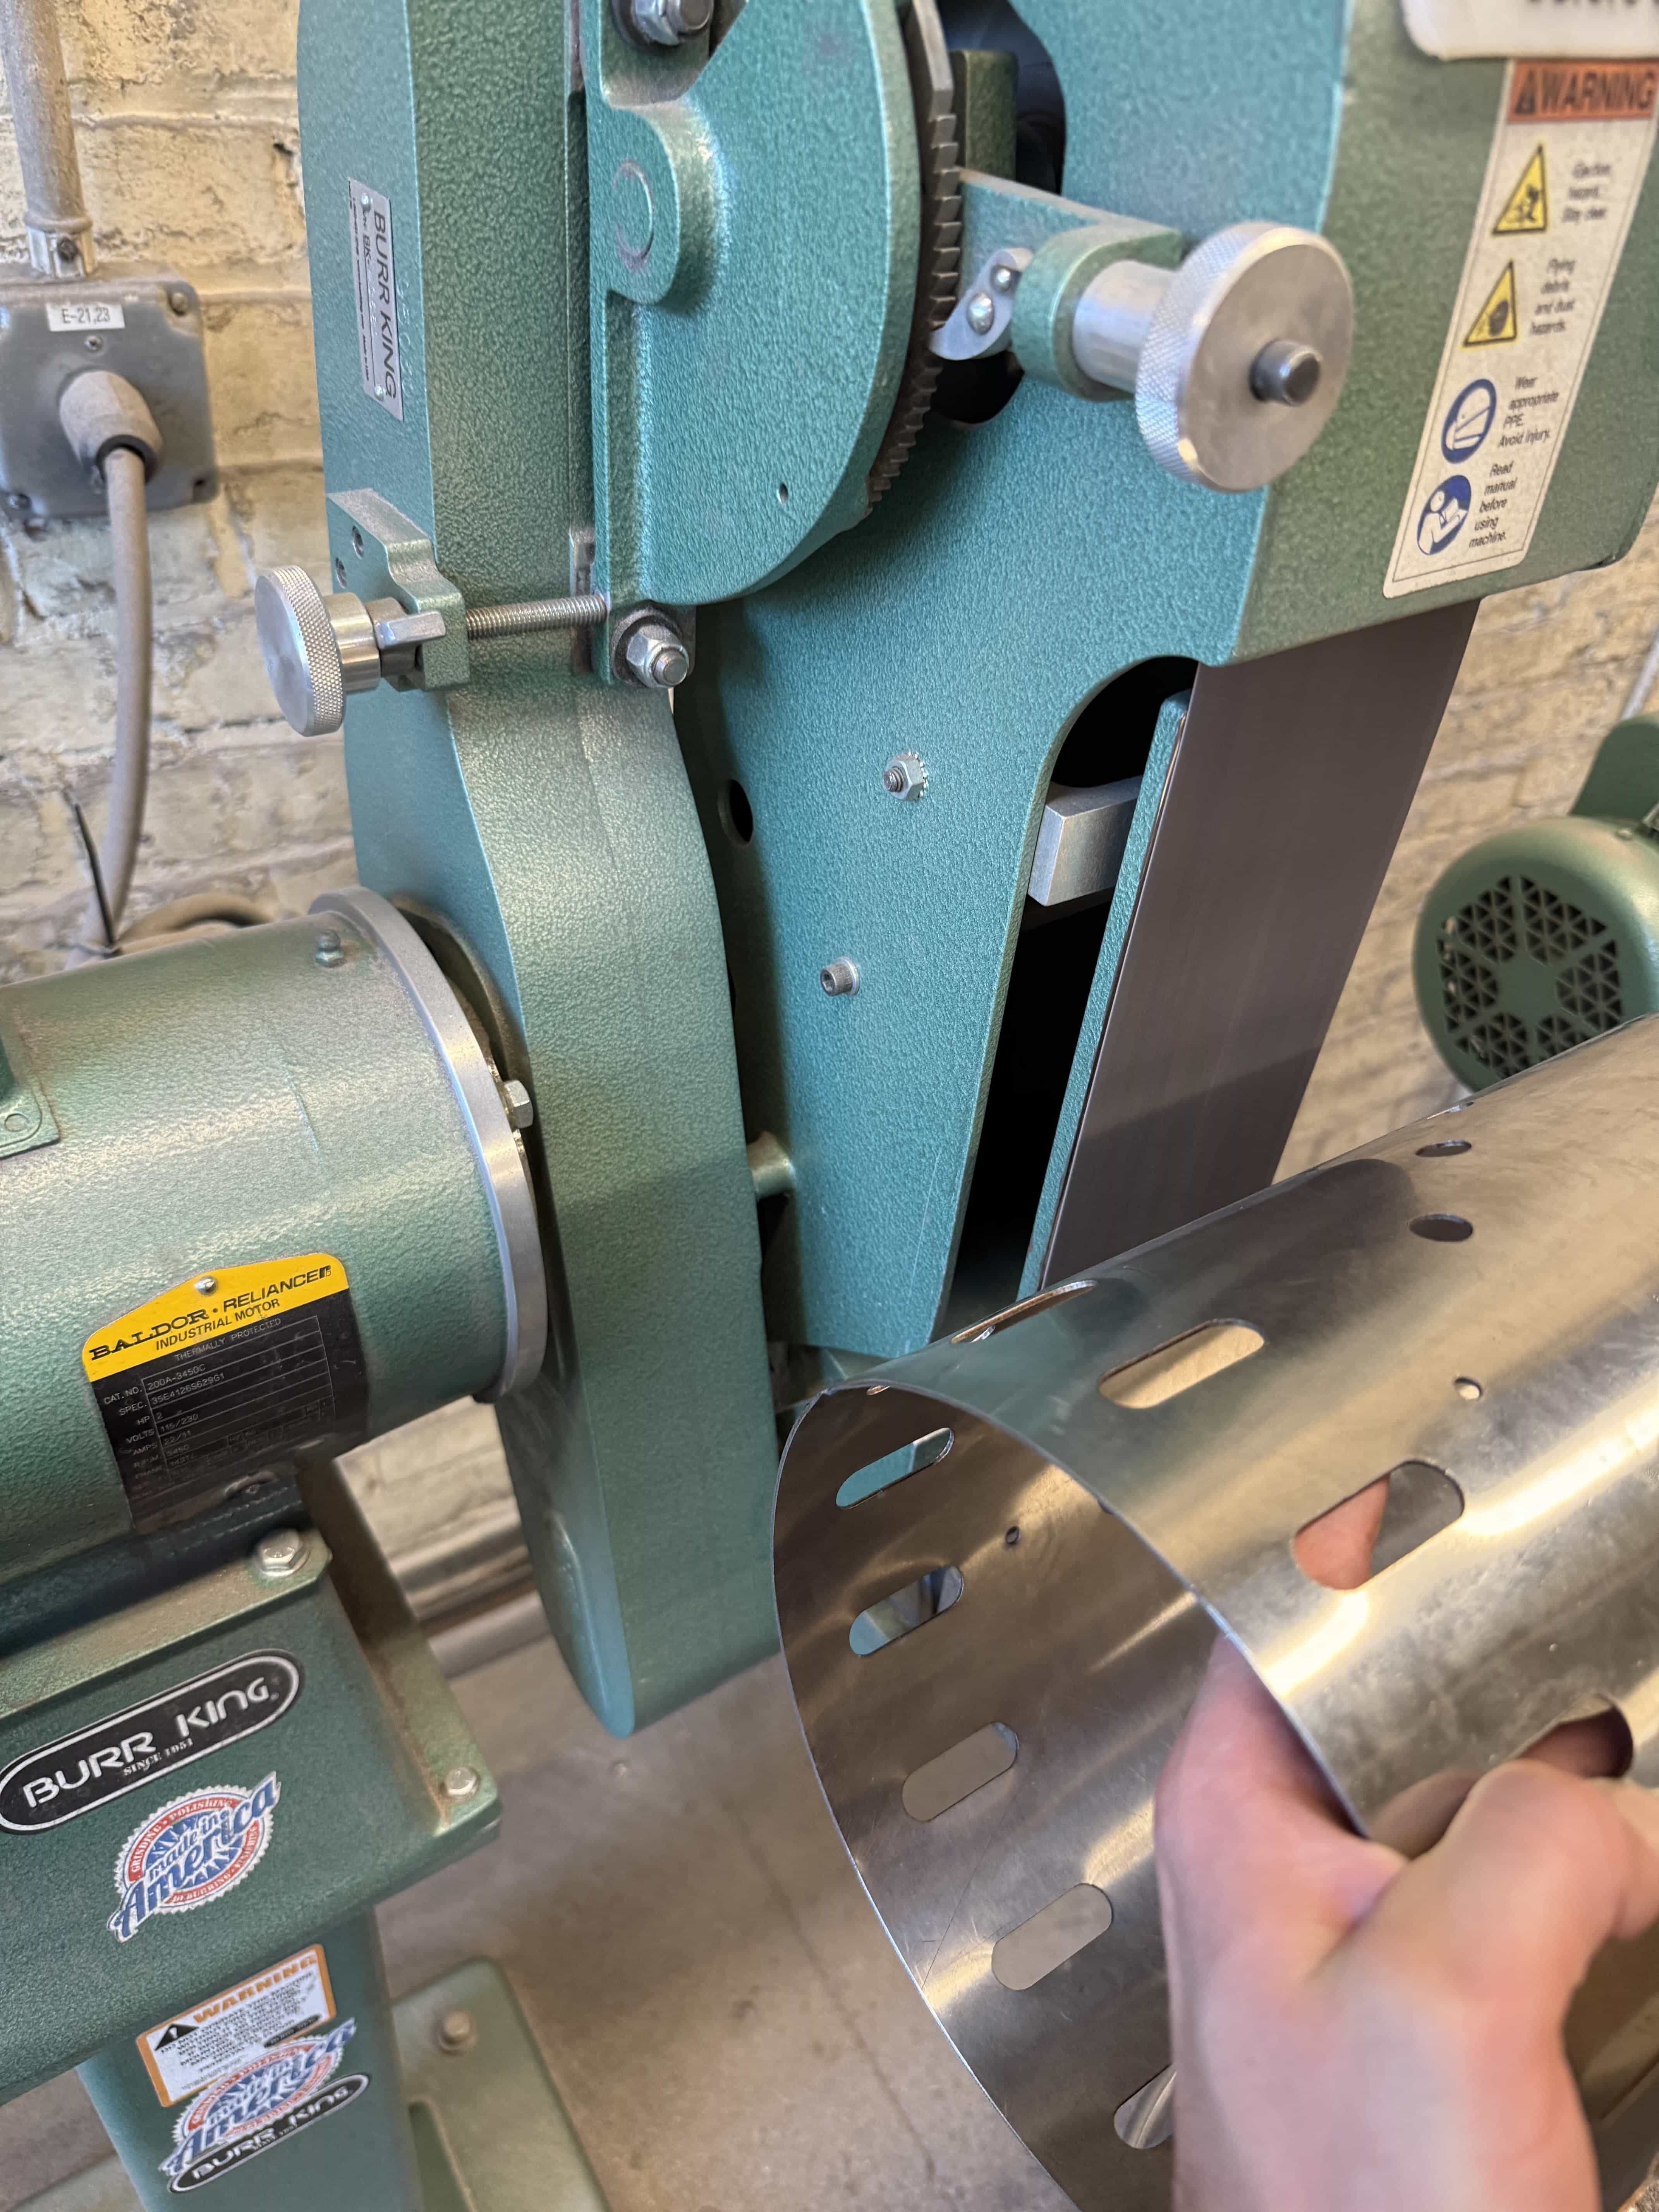
Before welding the handle to the surround, I wanted to clean up the weld. I took the weld to the belt sander, which actually worked pretty well.
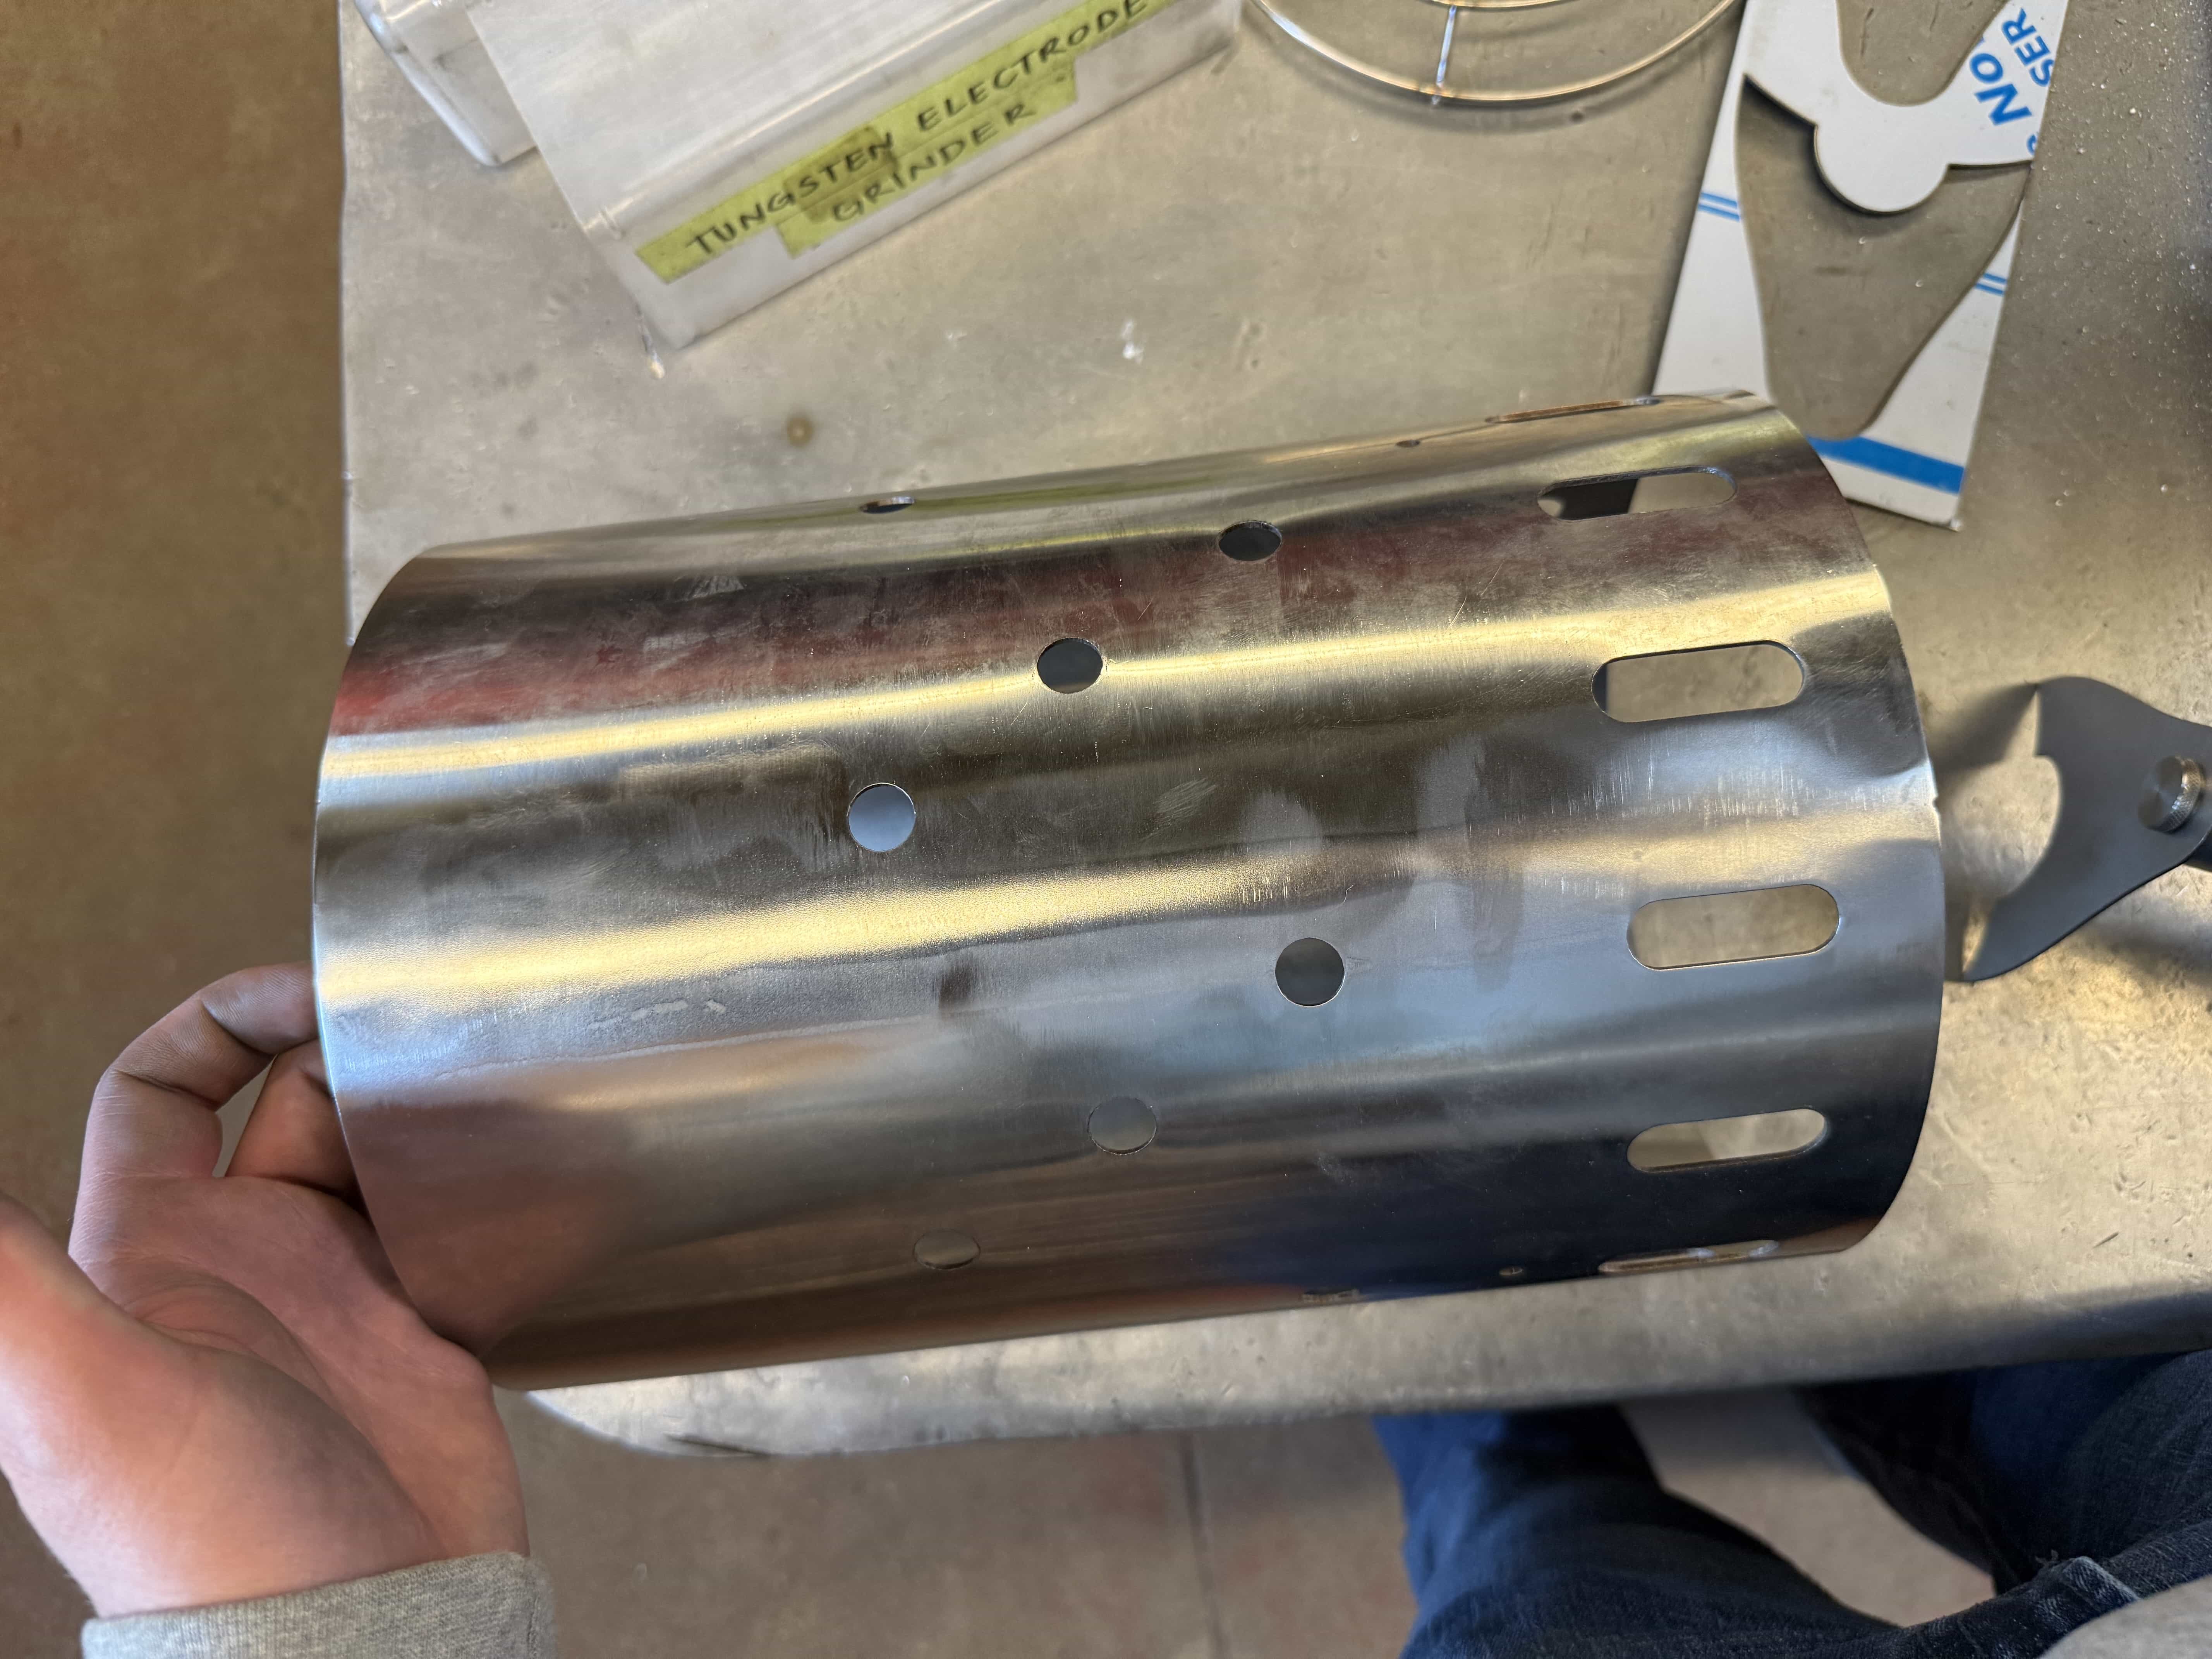
Here’s what it looked like after the belt sander. If you look closely, you can see where the weld was.
Handle Mount Alignment
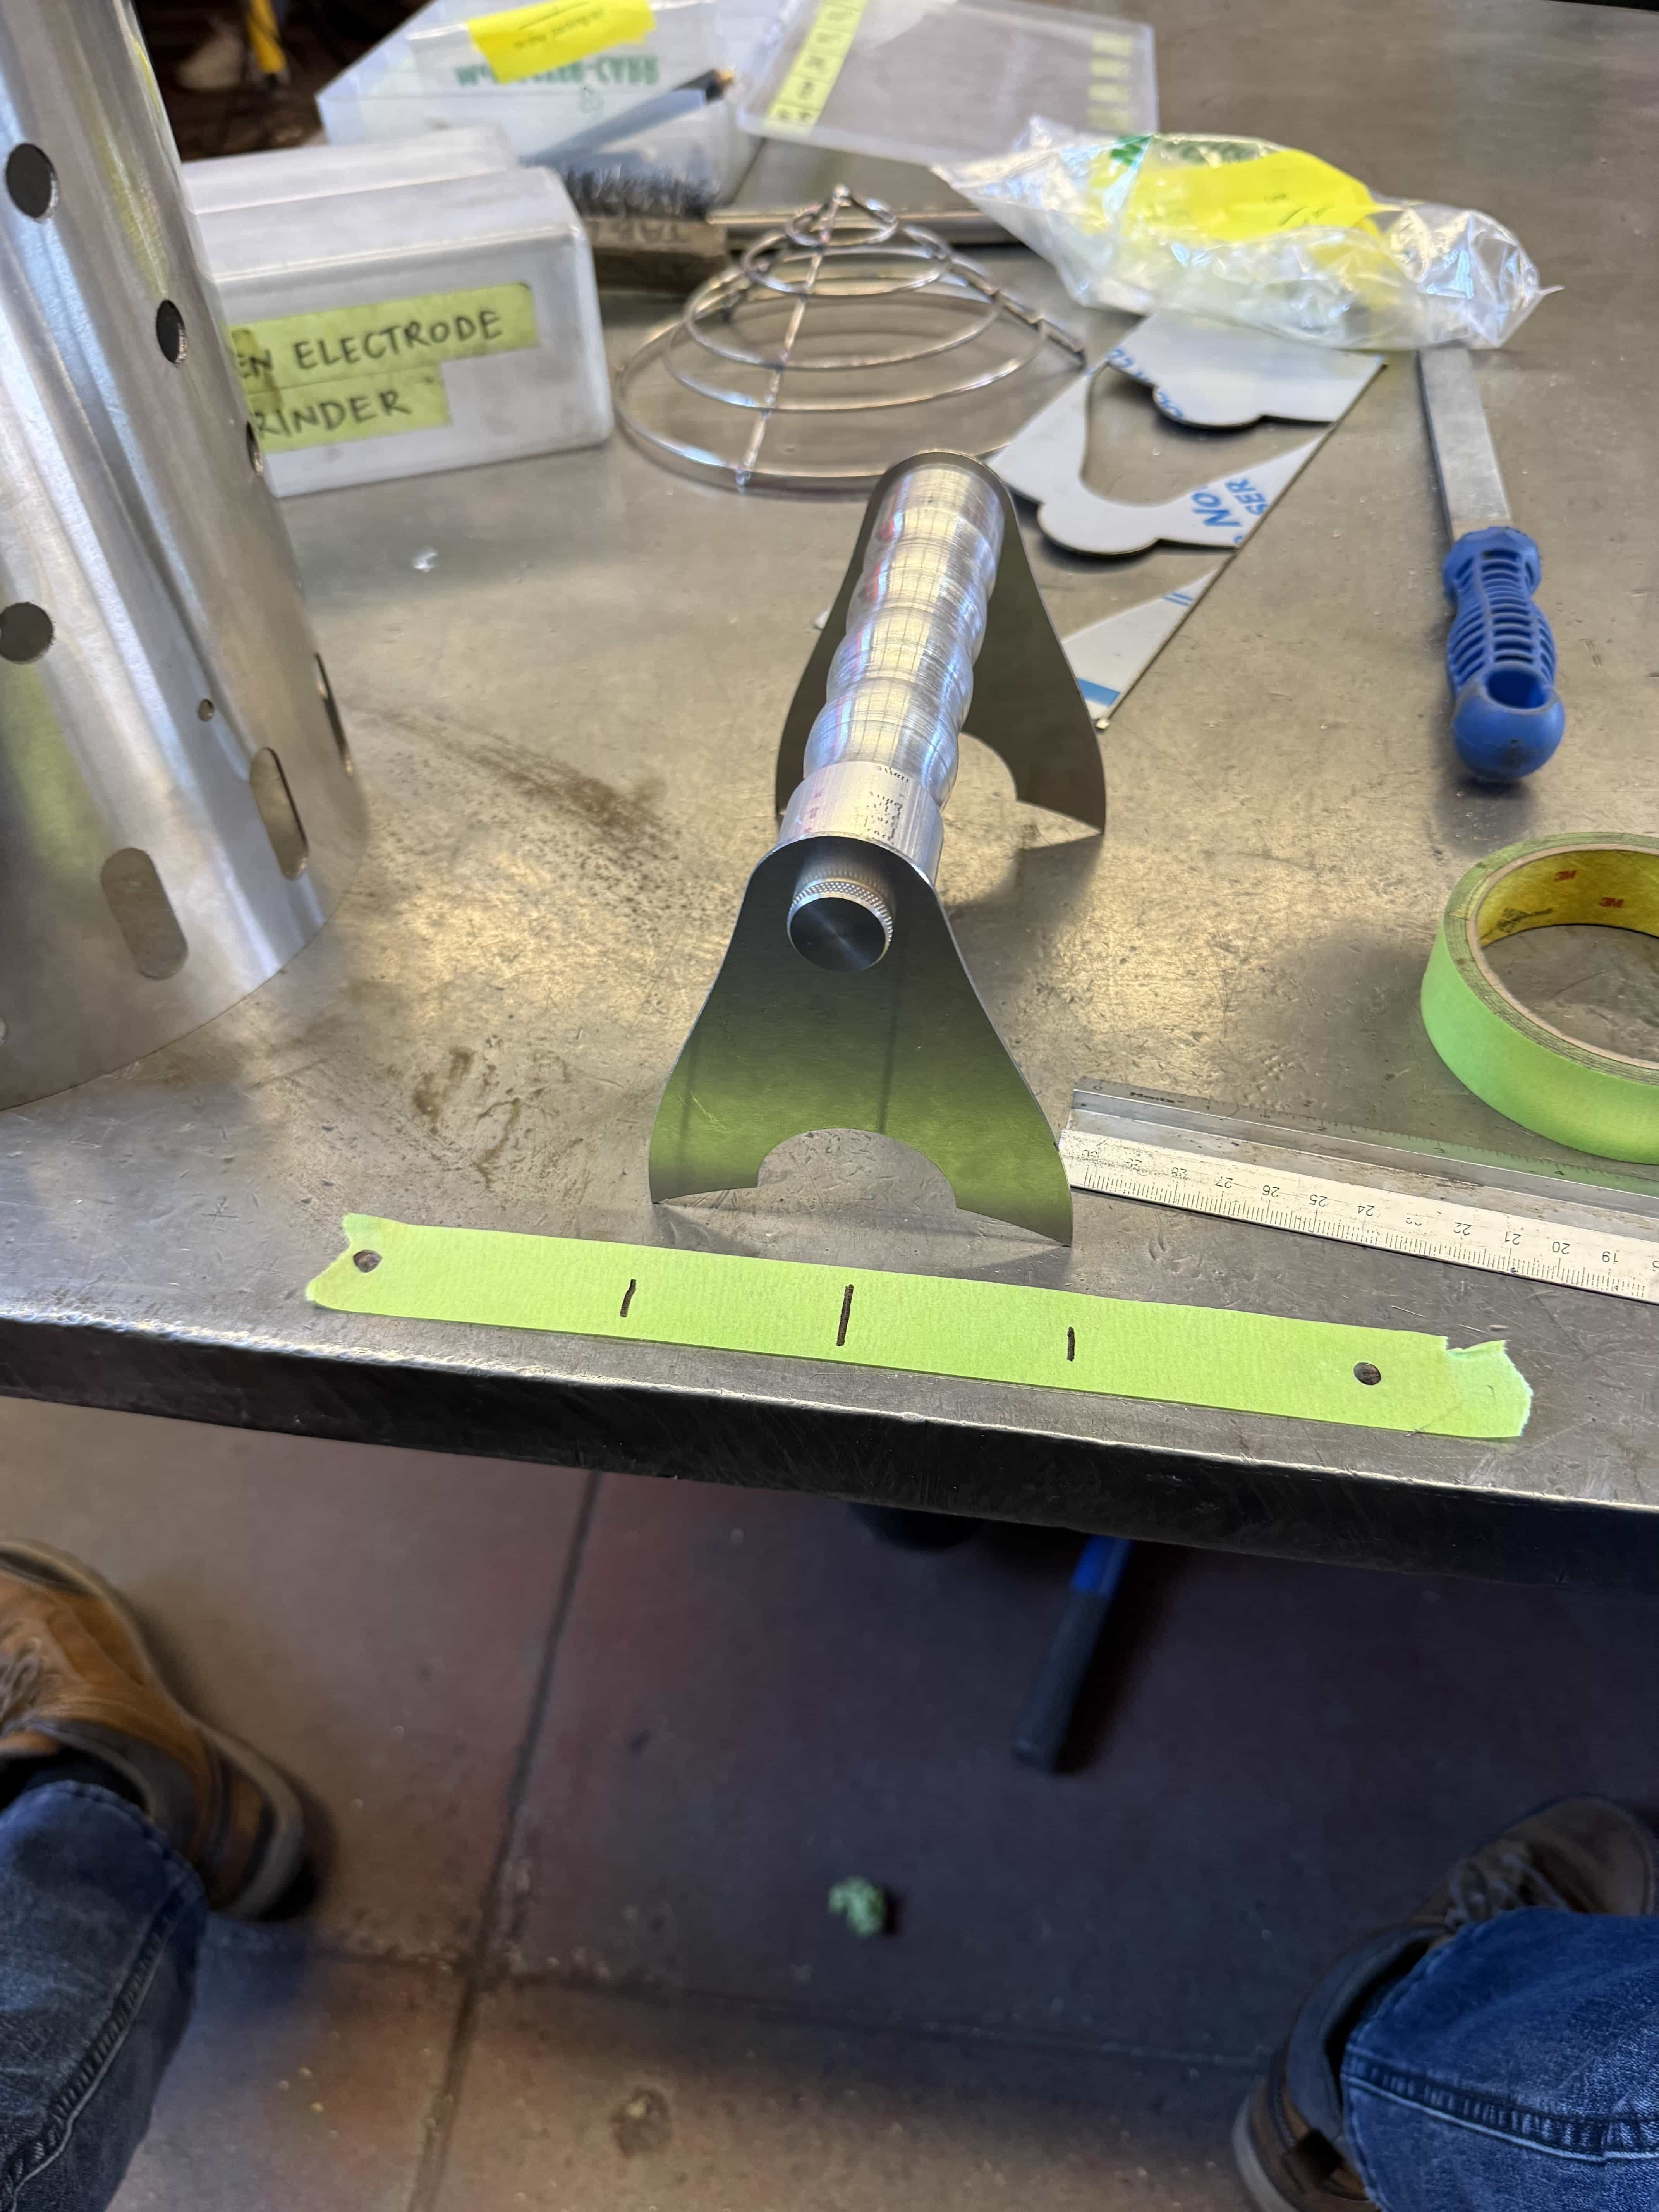
To install the handle on the surround, I created this tape template, and transferred the marks to the surround.
Initial Handle Fixture
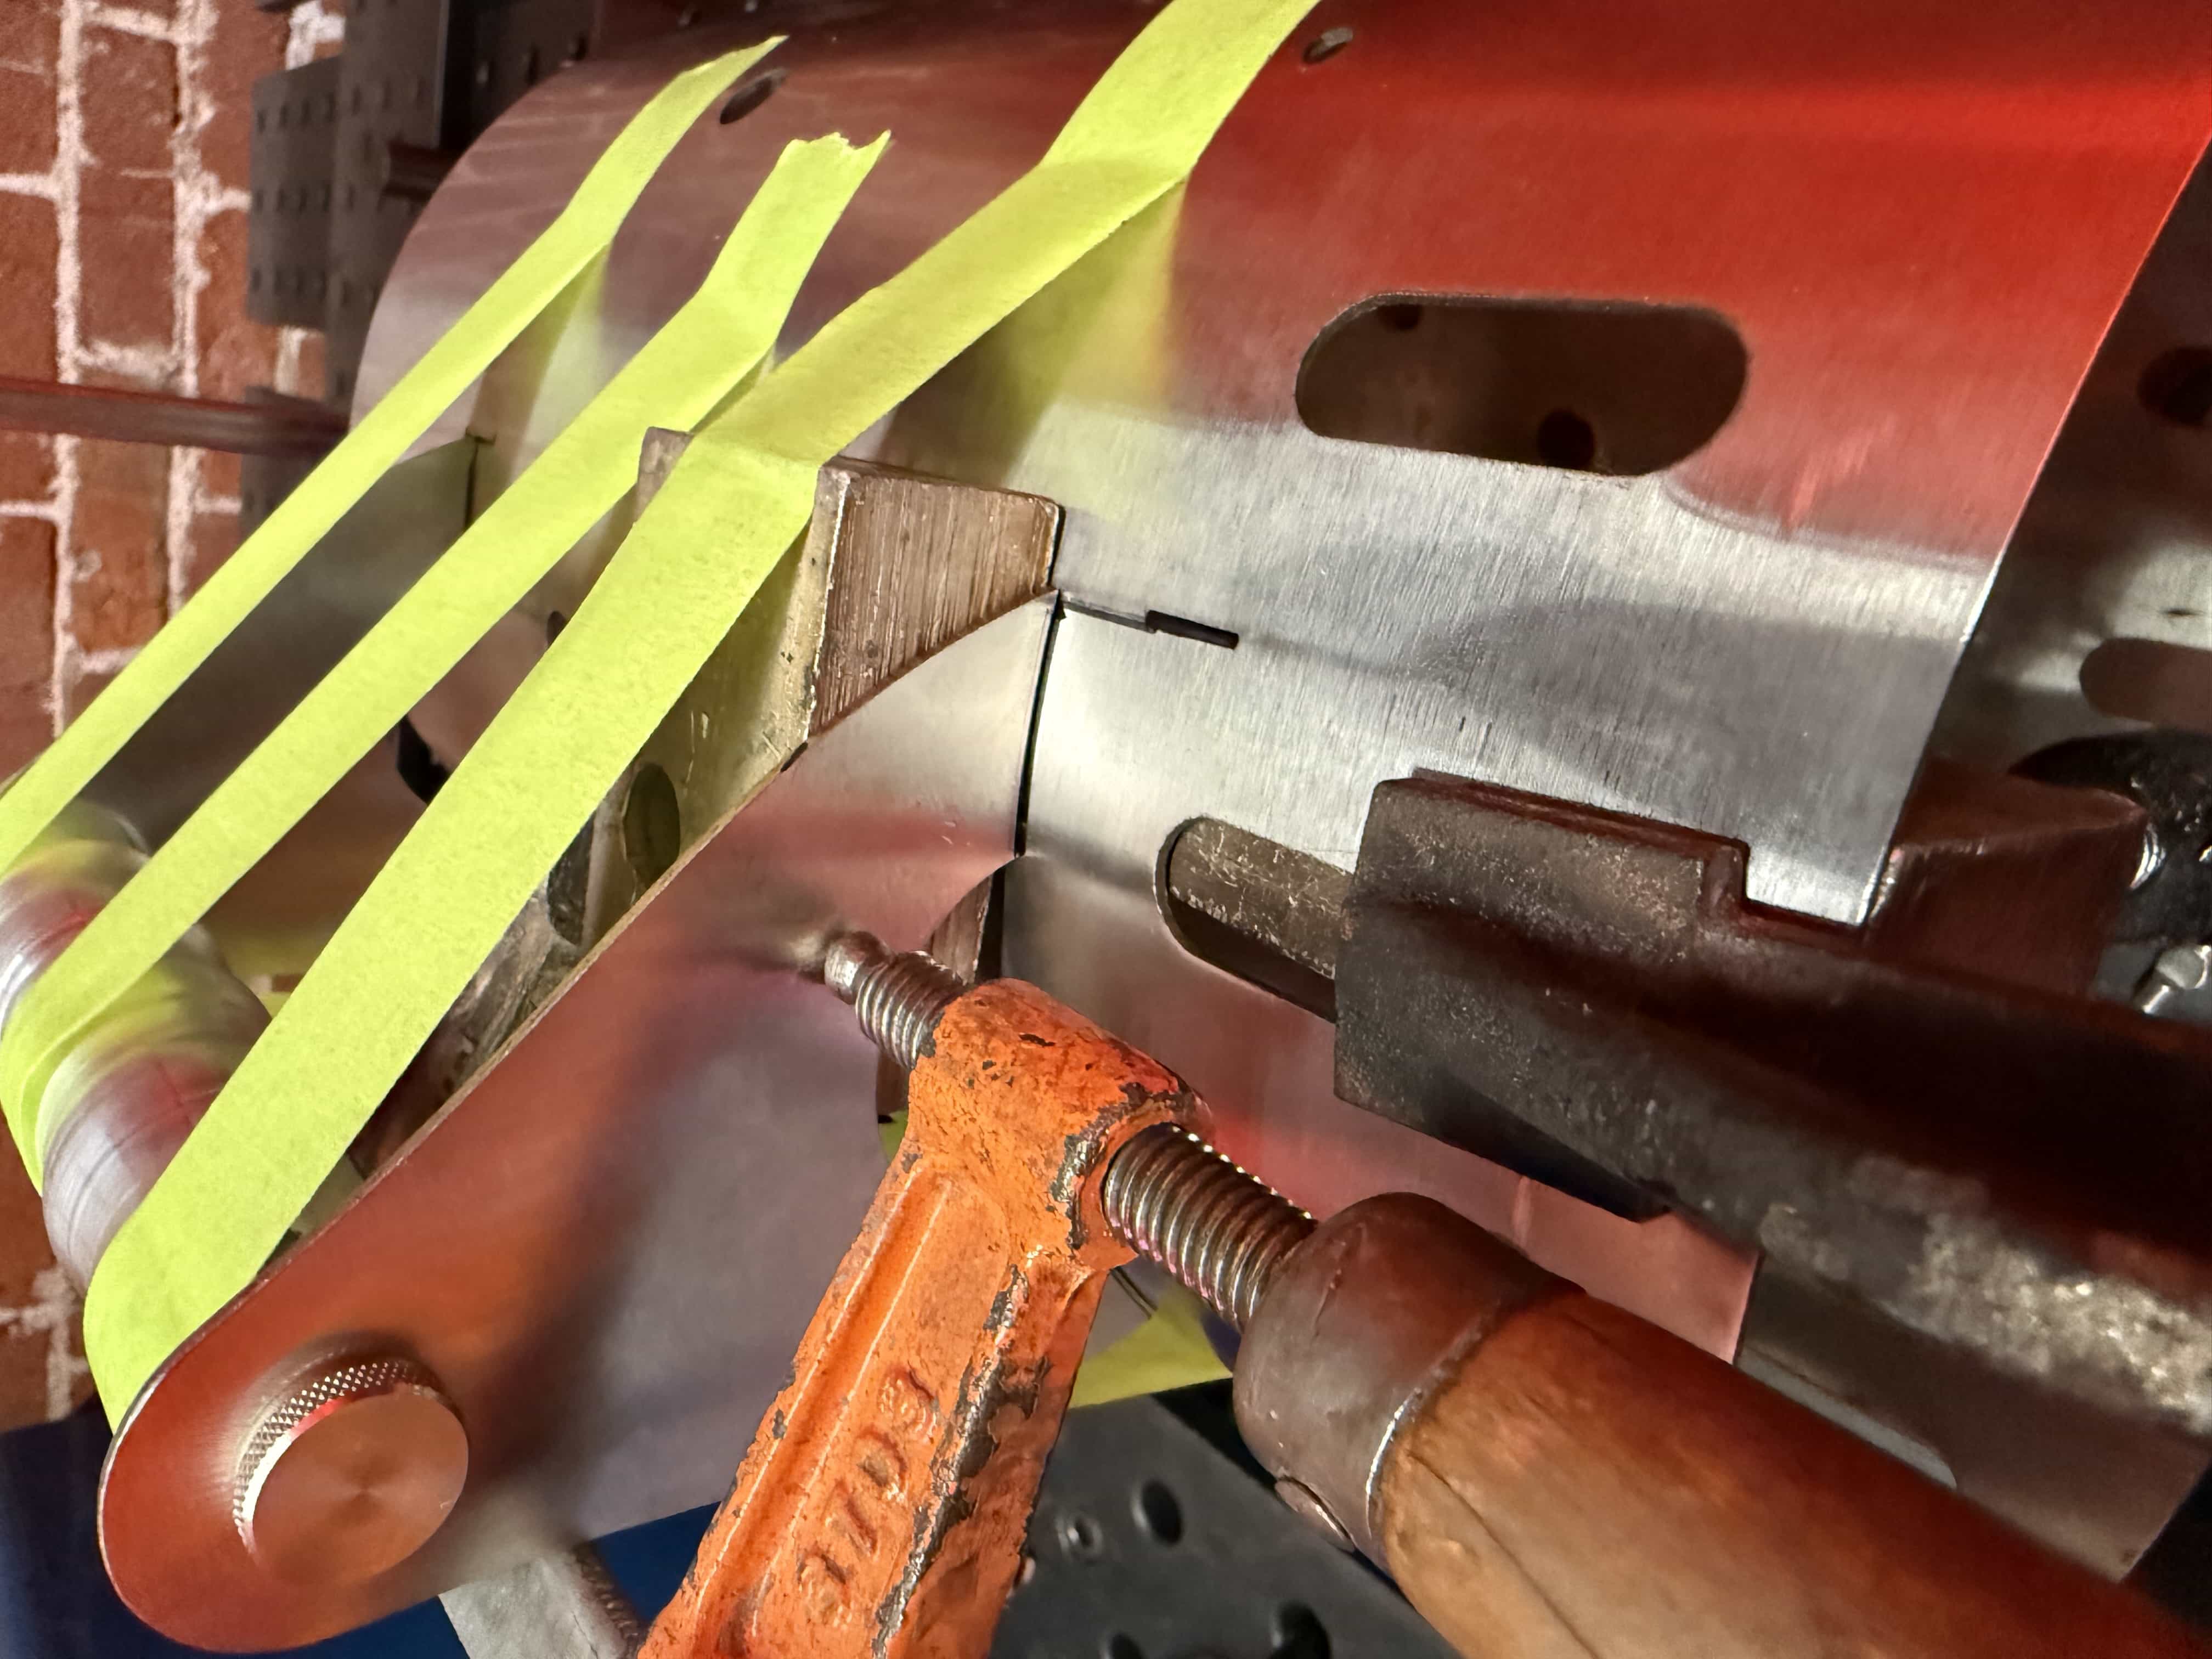
This is how I fixed the handle to the surround for the tack welds.
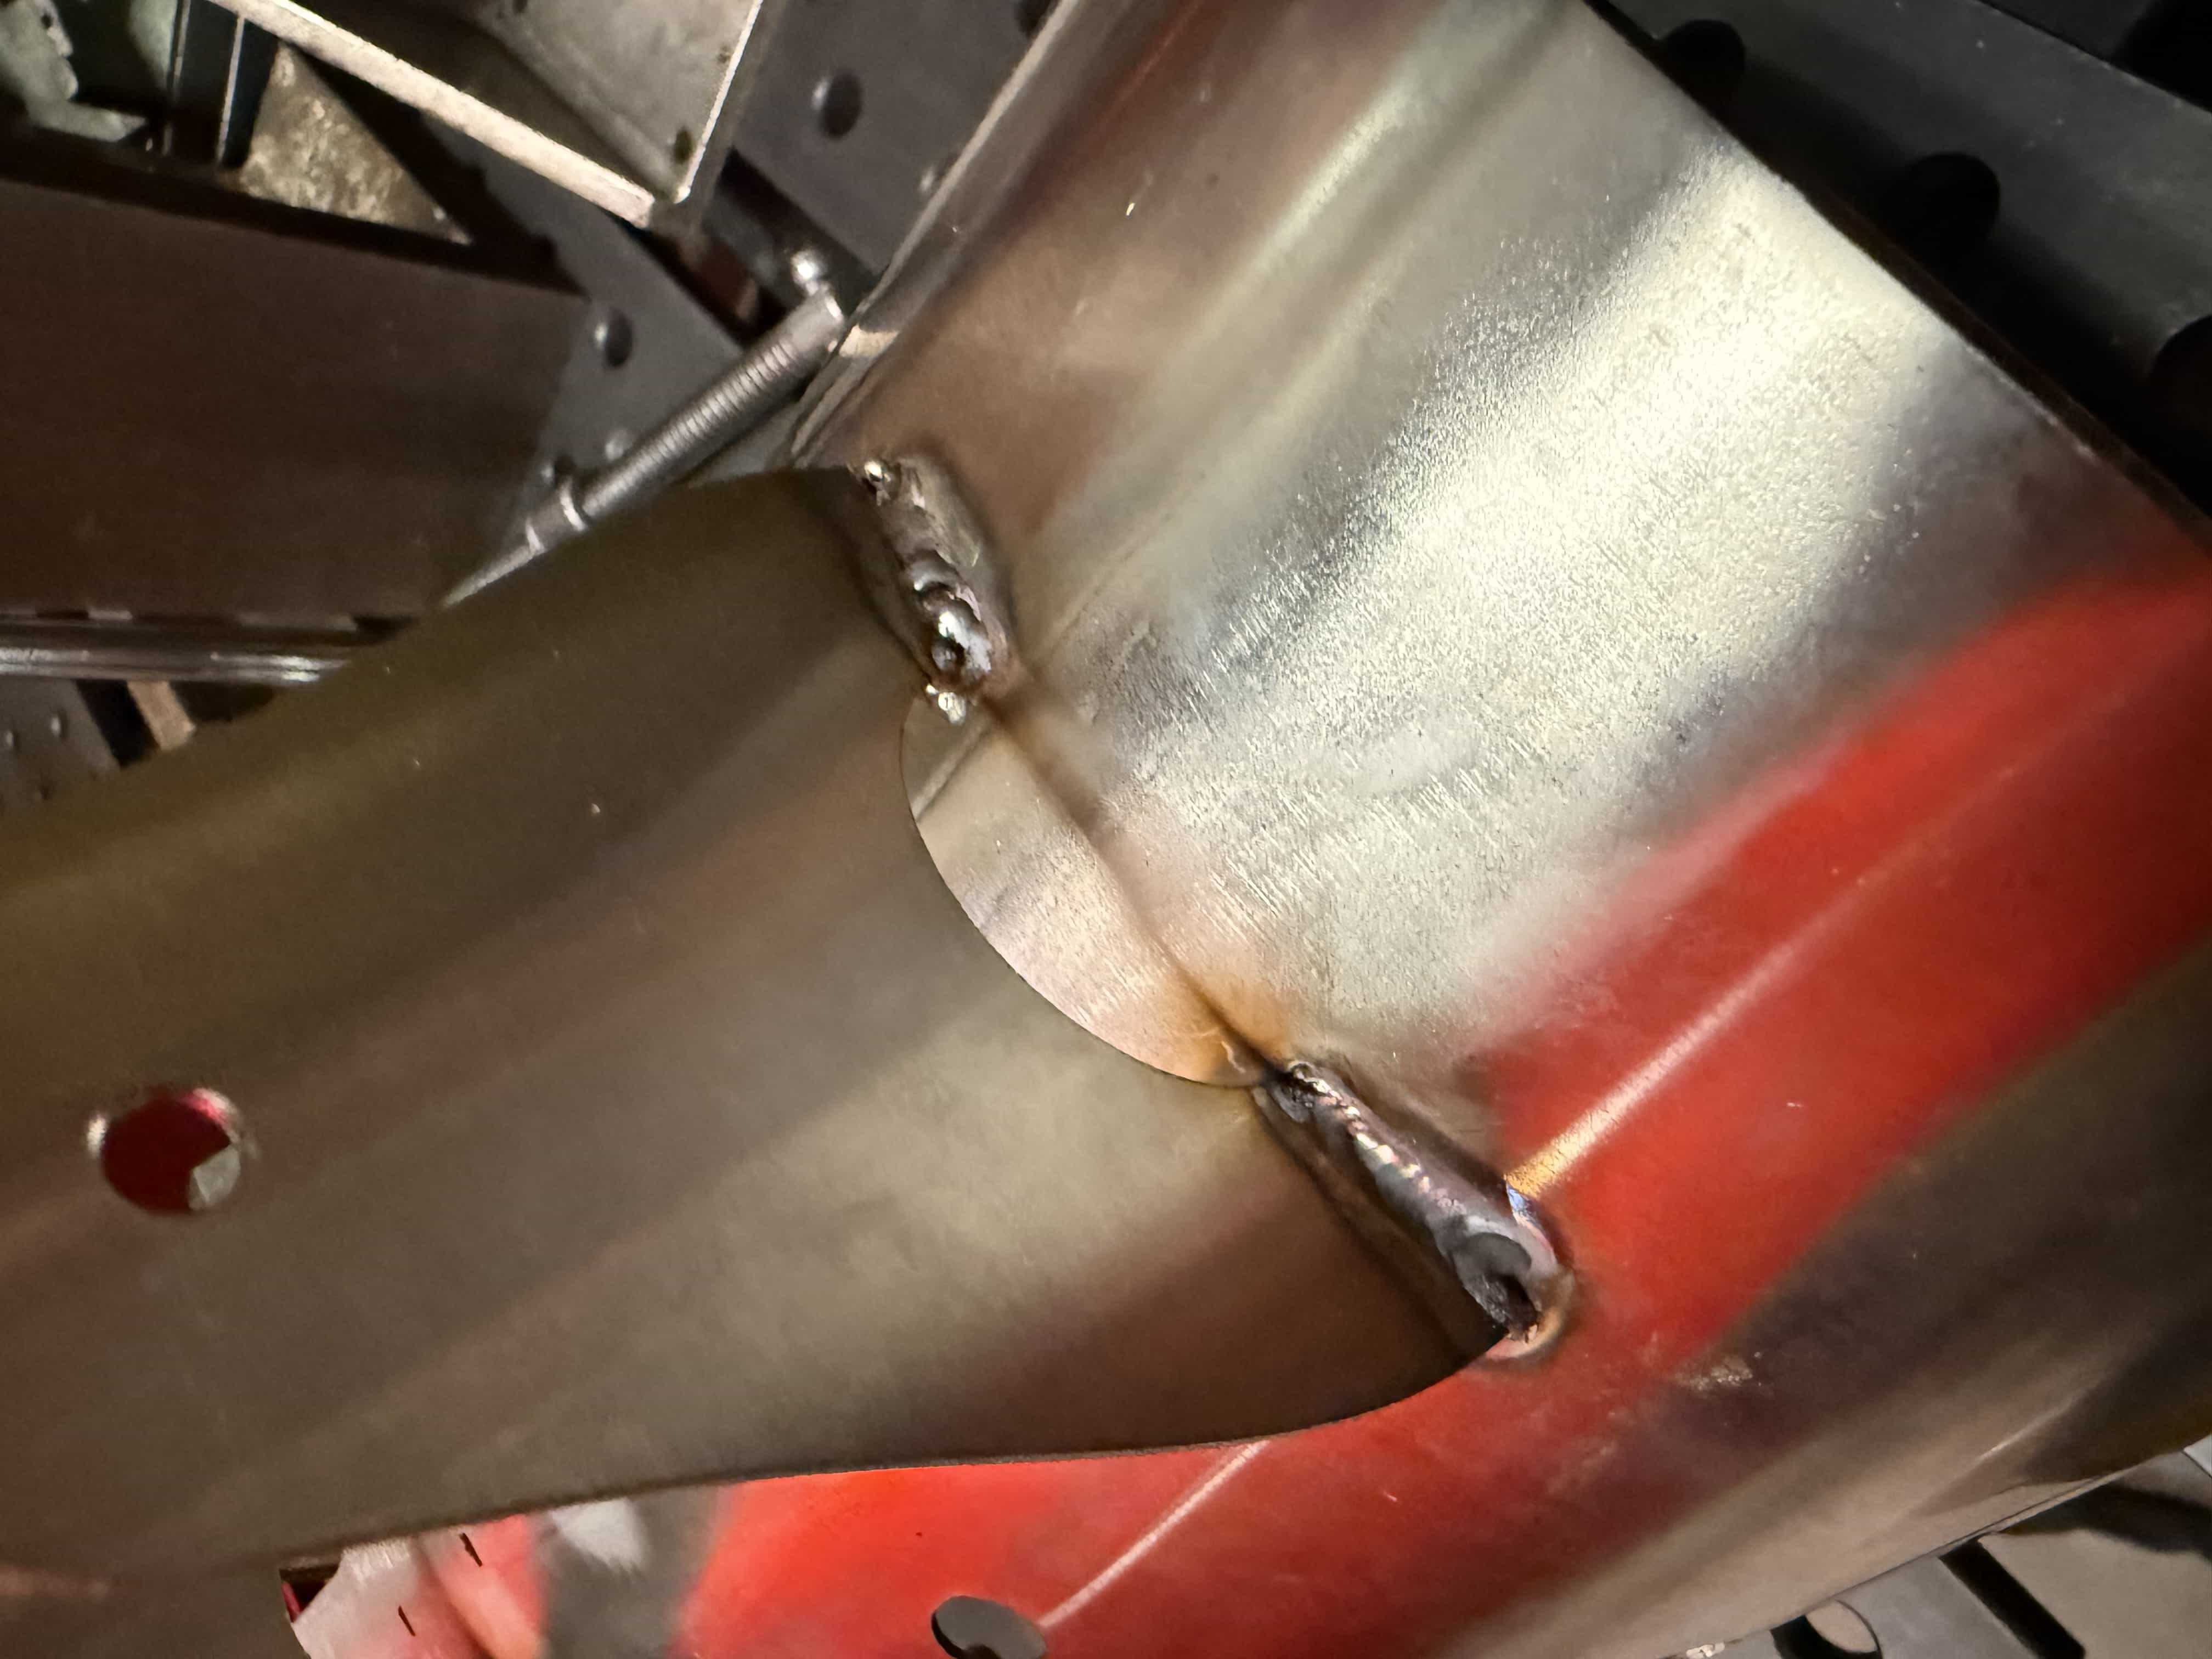
Some Ugly Welds
These were the most difficult welds of the project in my opinion. I was very well aware that a messed-up weld here could ruin the parts that I had spent the most time on. Doing a corner joint also made this tricky. This made for lots of cleanup later on.
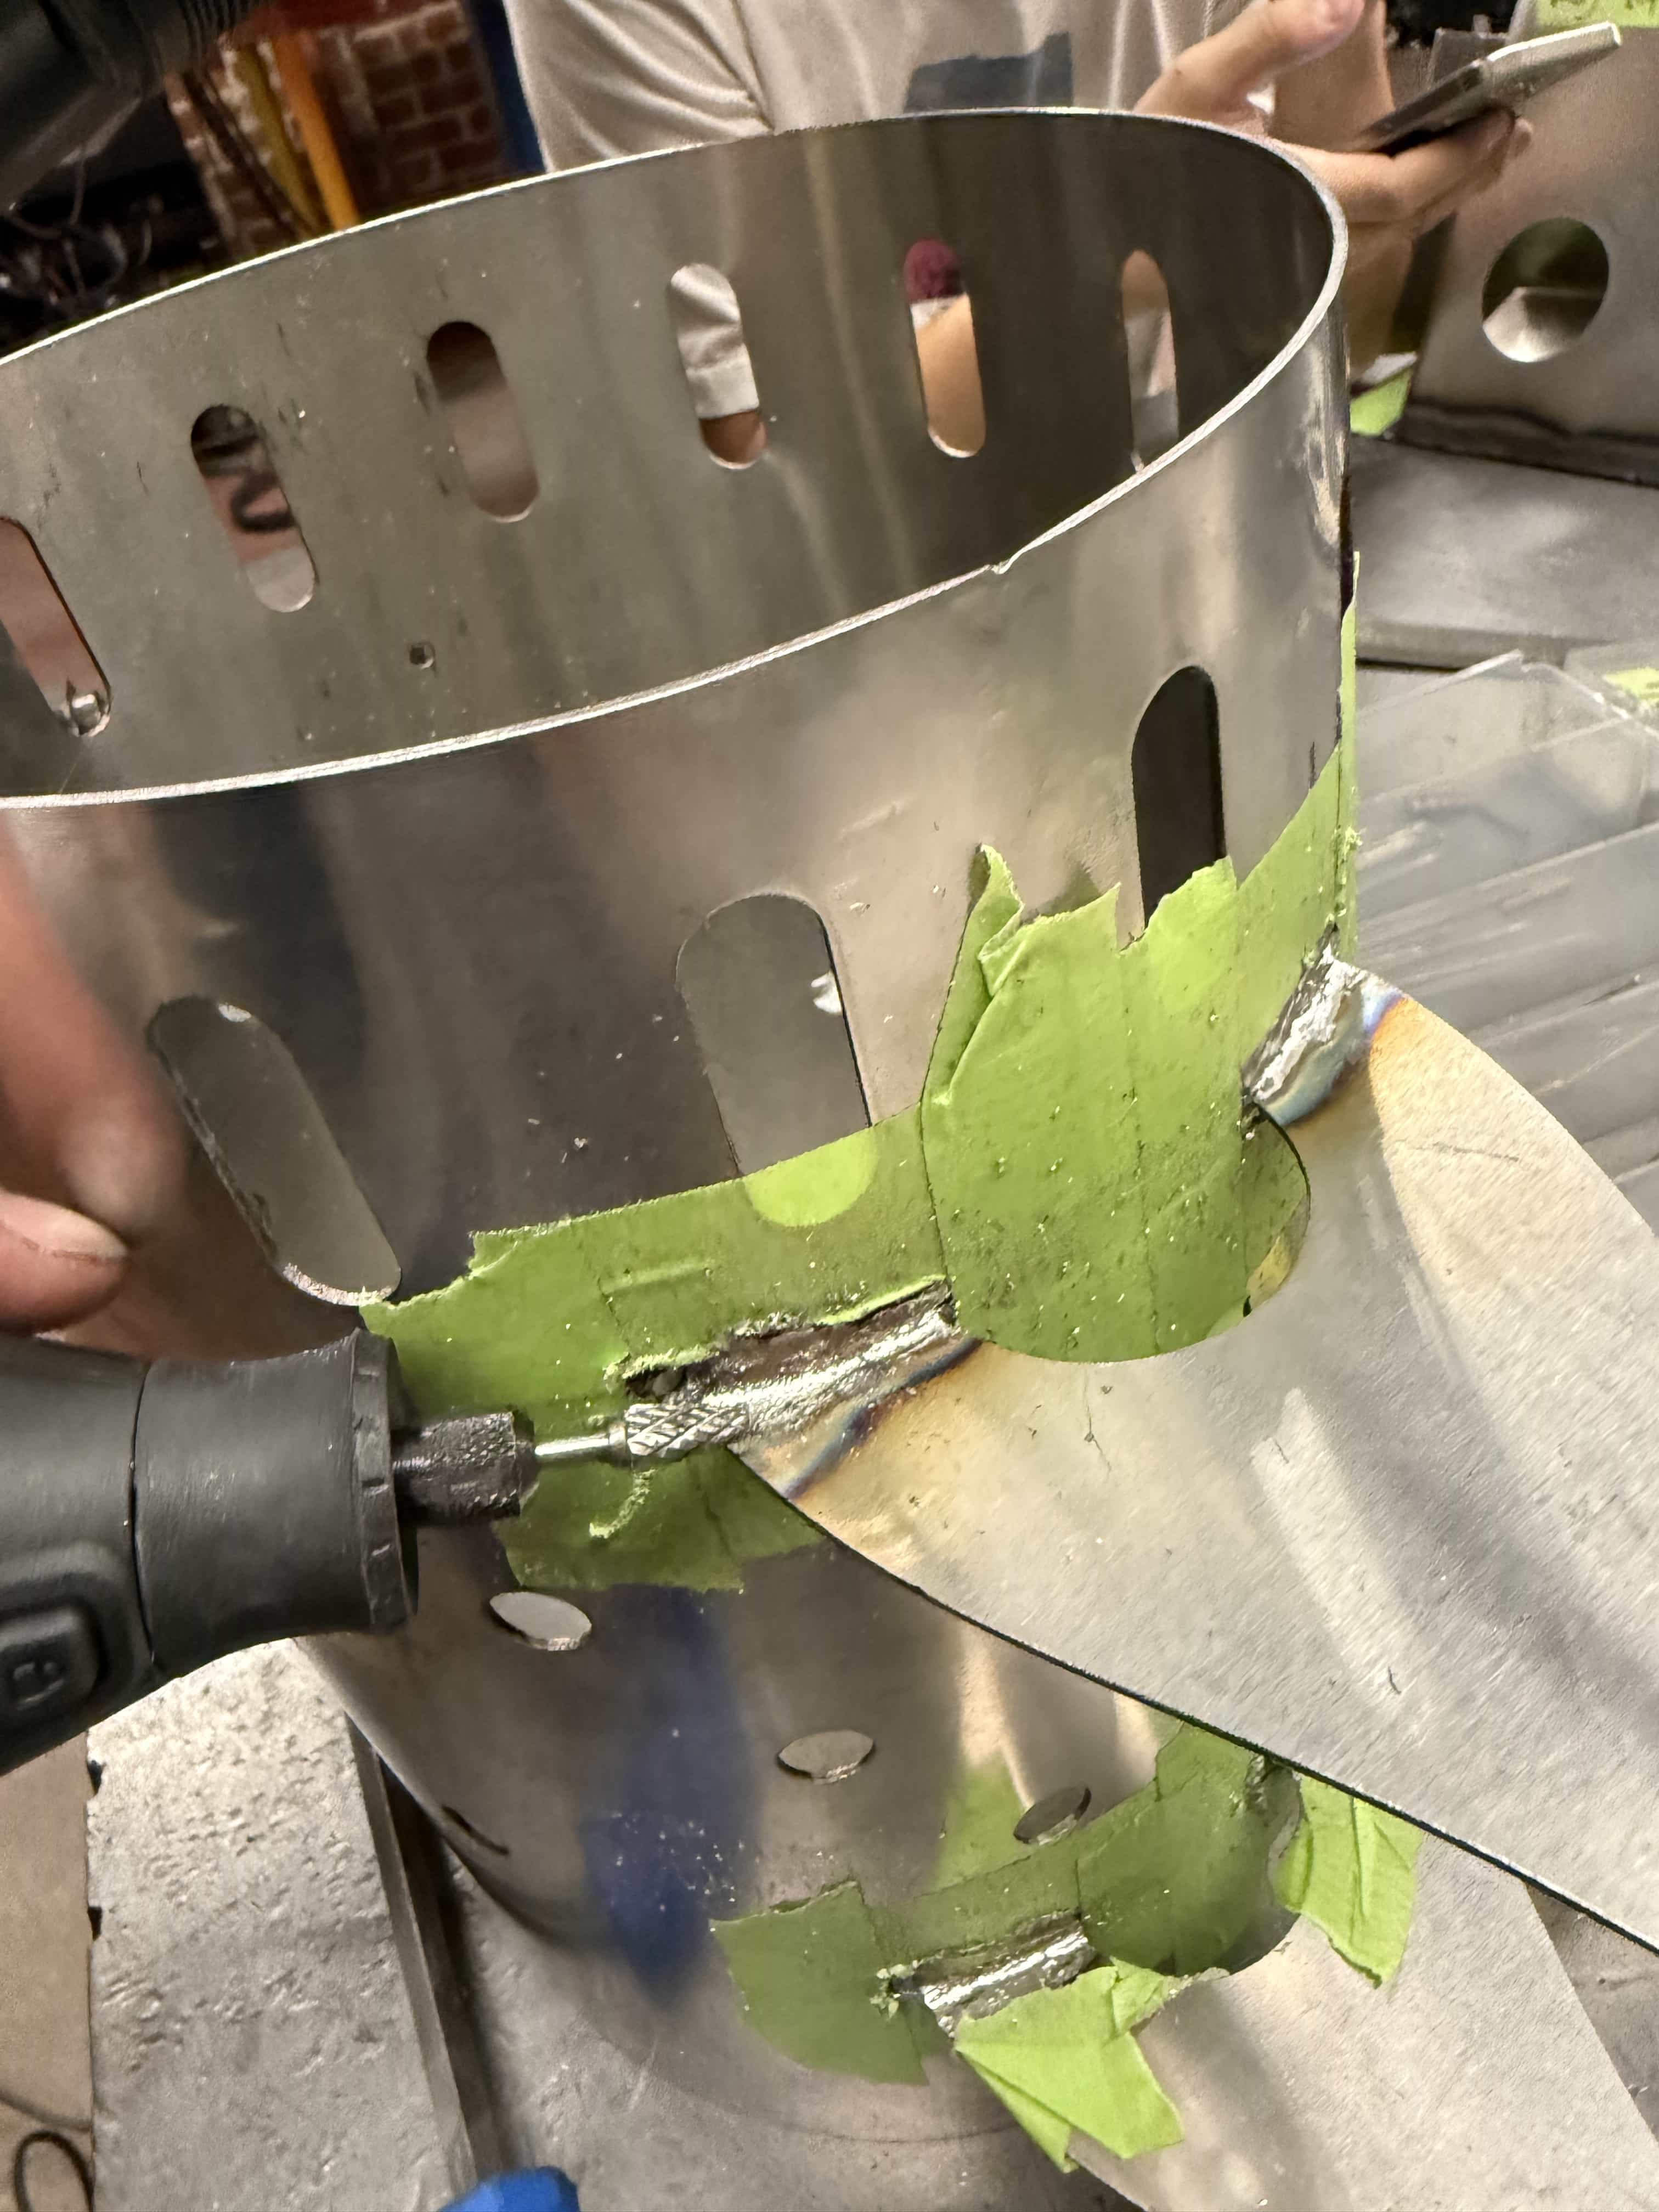
Weld Cleanup
This is how I cleaned up the majority of the welds. I first masked off the unaffected areas, then went crazy with the Dremel. I probably spent the most time on this project cleaning and polishing.
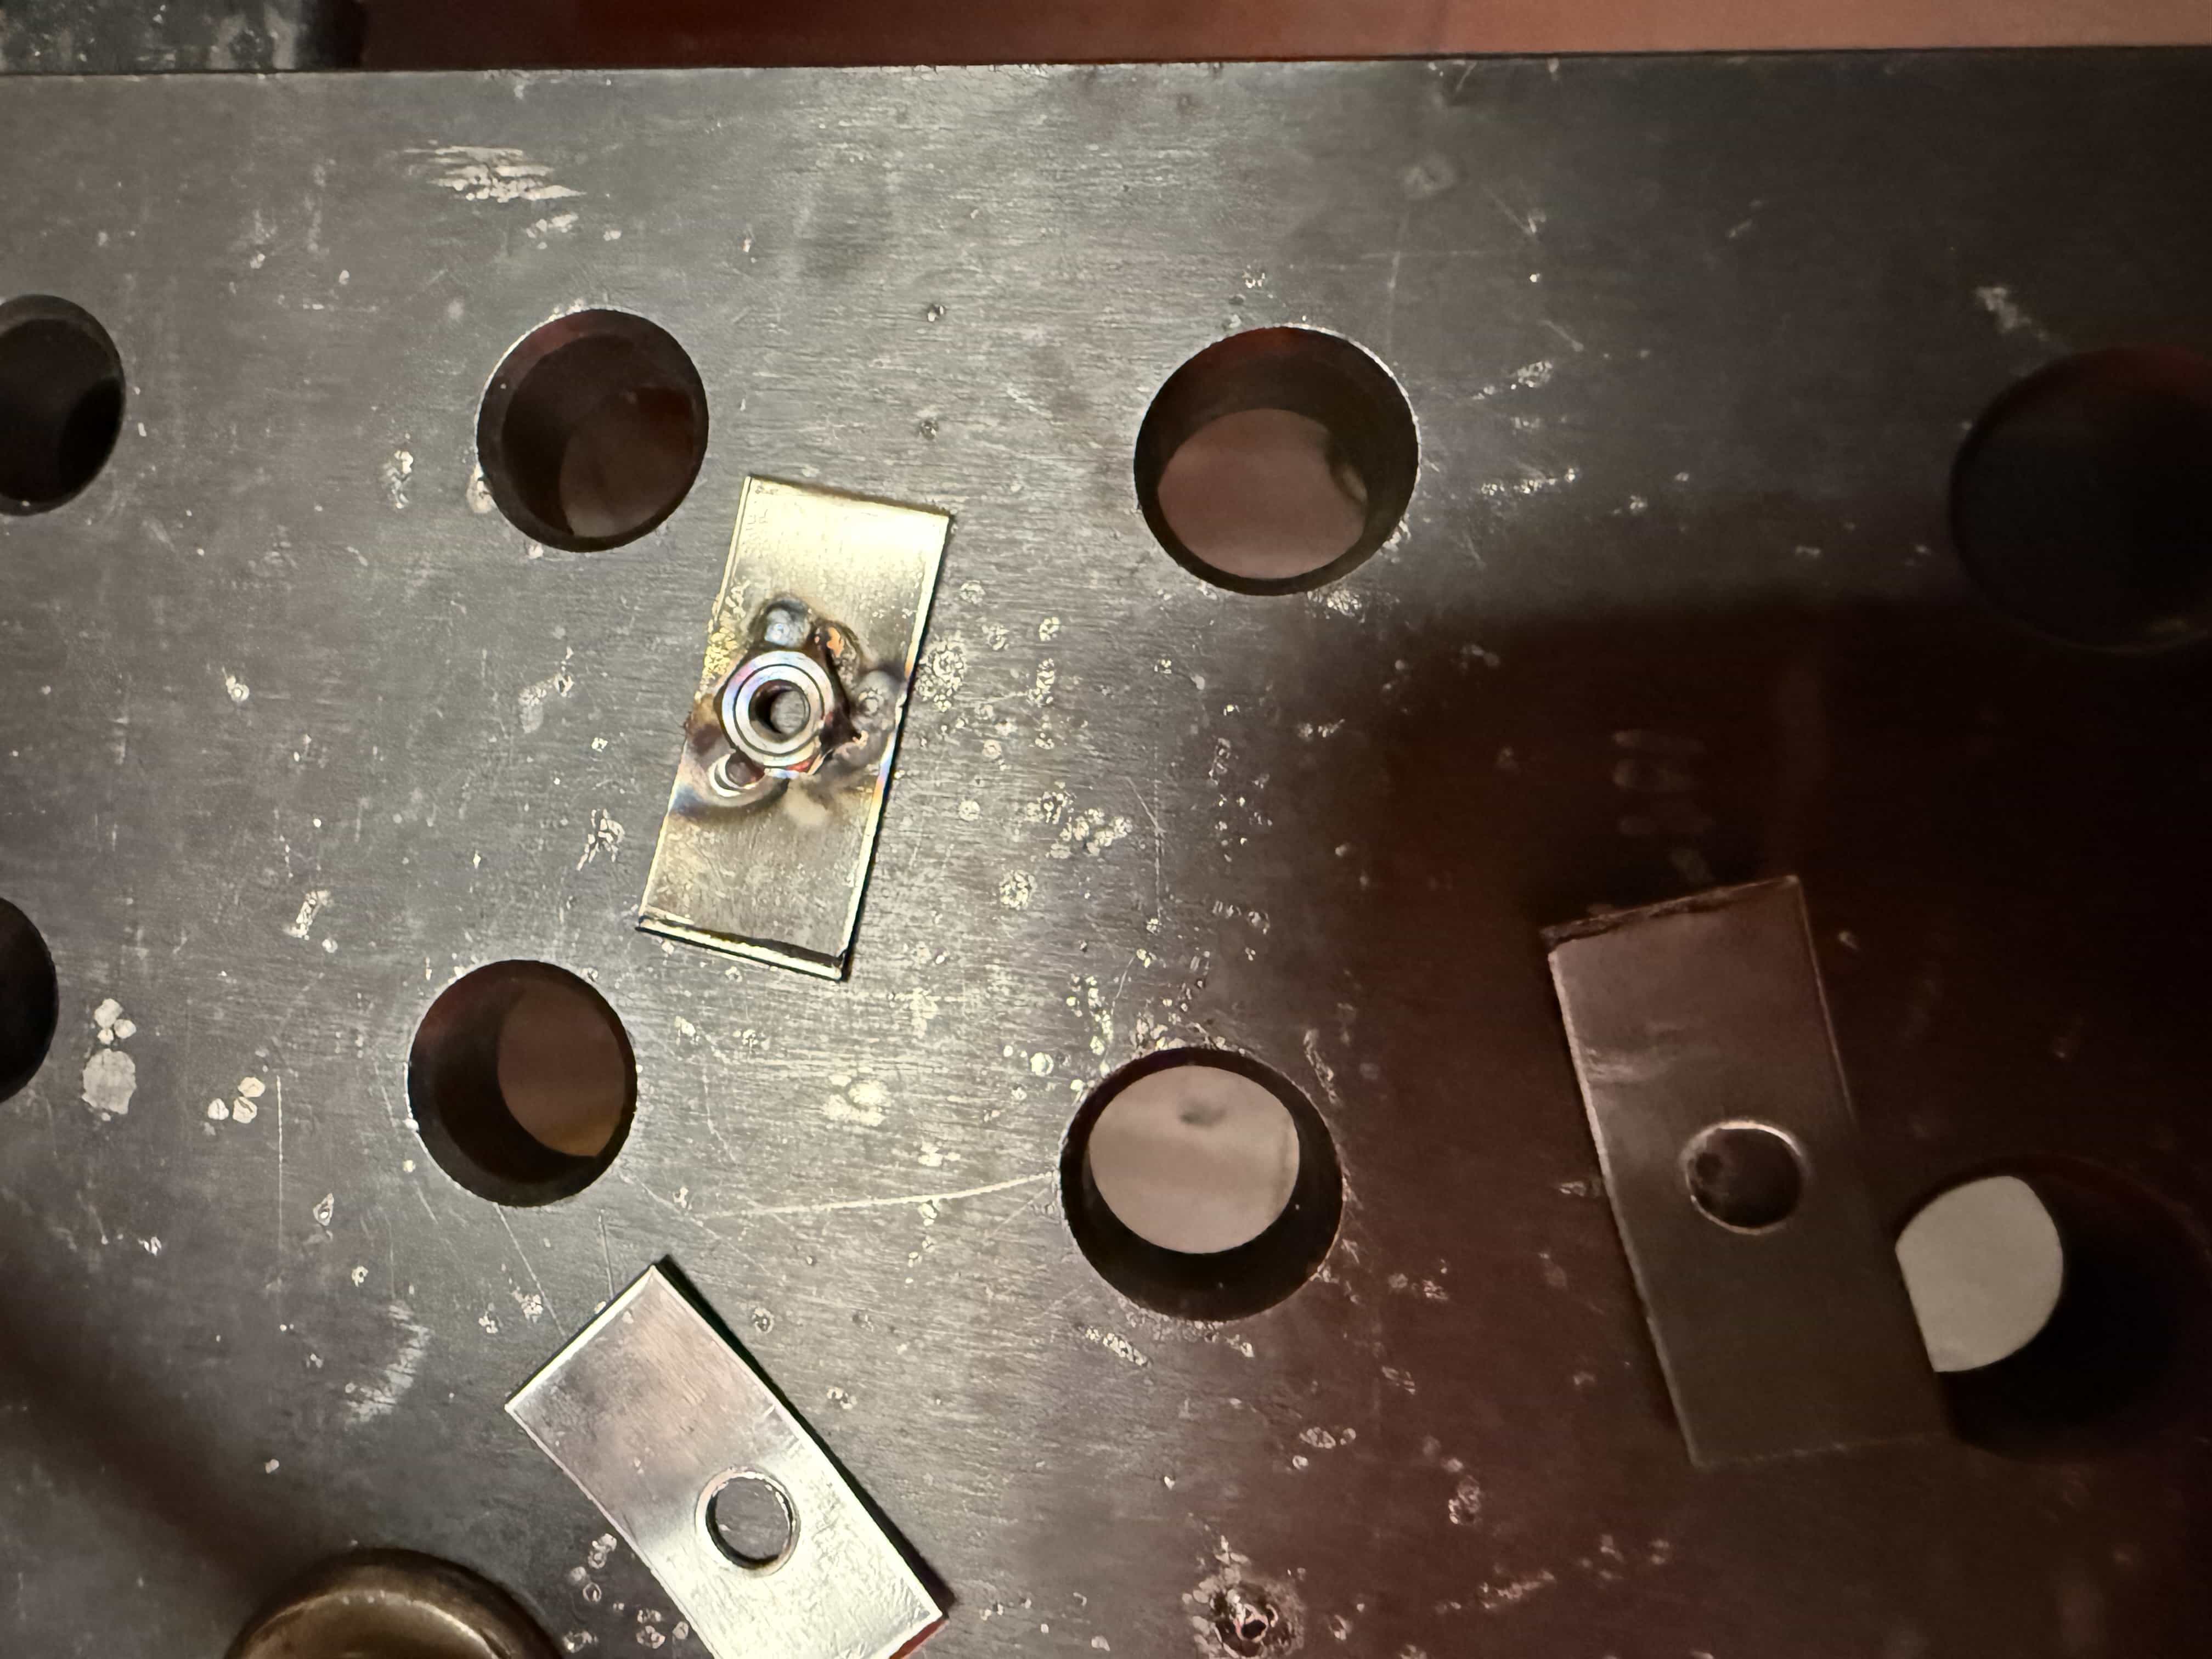
Basket Attachment
To attach the basket to the surround, I created these small tabs with weld nuts.
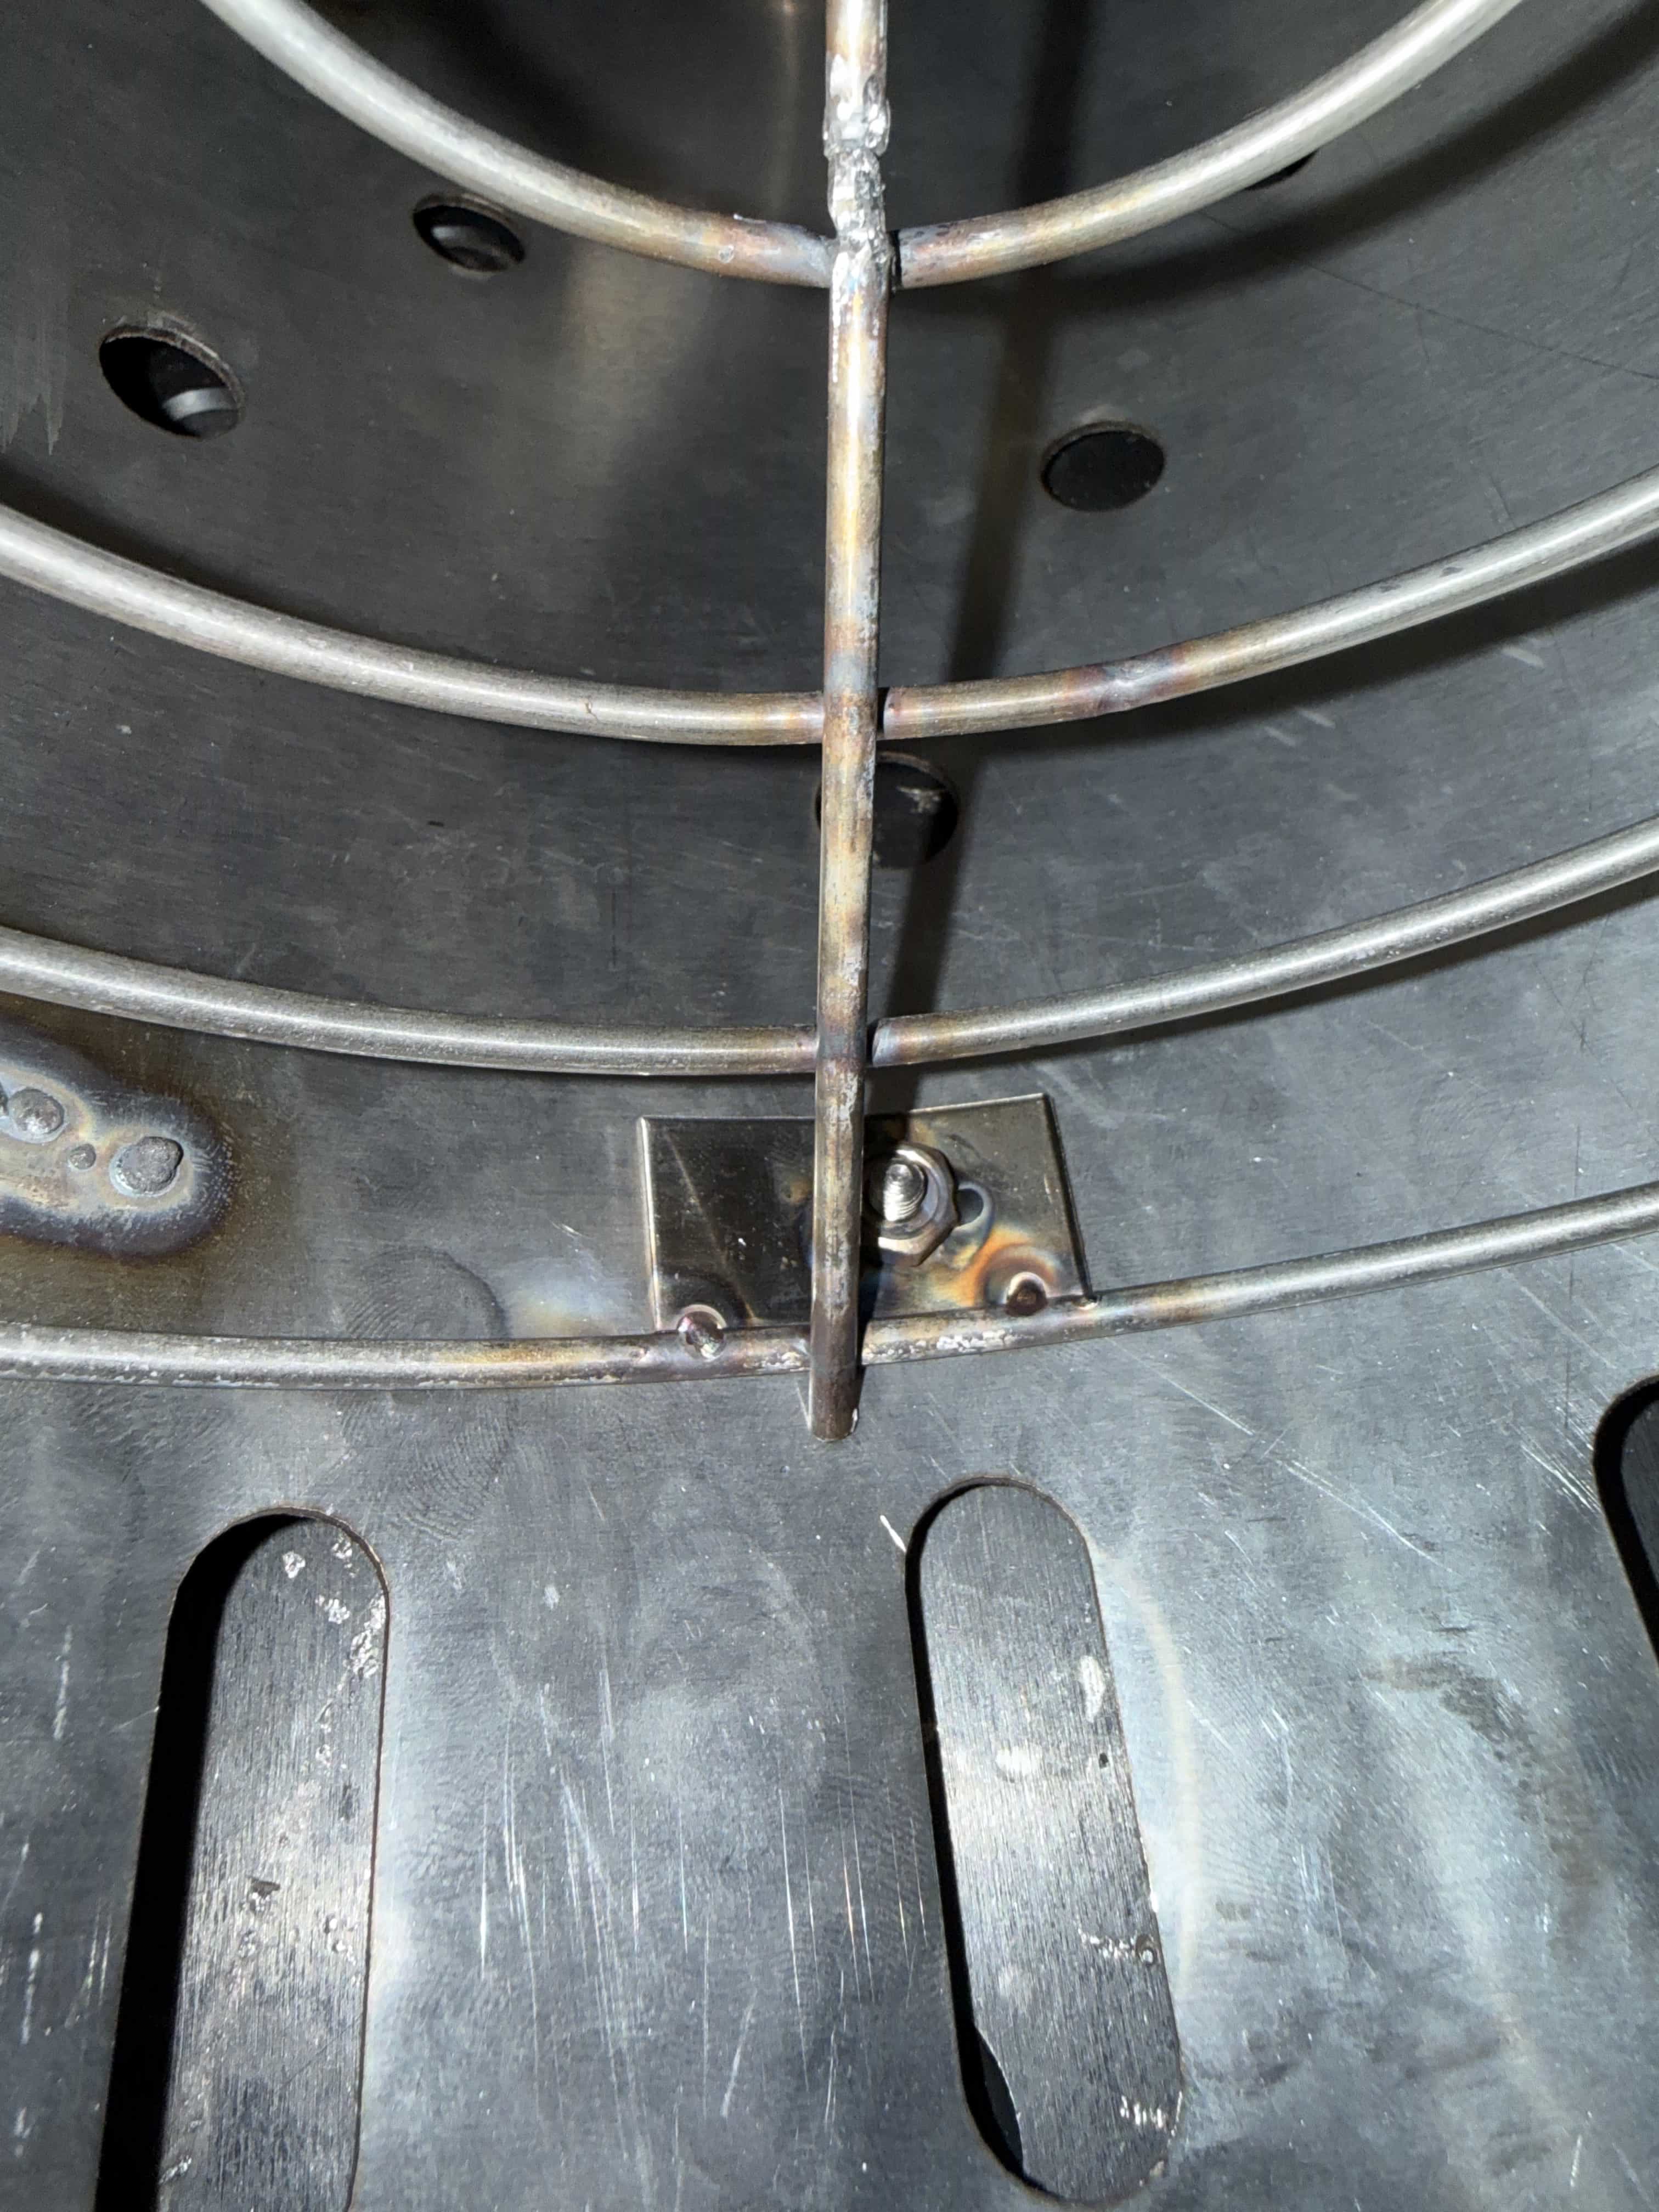
Here is the basket now attached.
Sandblasting
I sandblasted the basket to clean up the surface finish. There were a lot of welding defects, and sandblasting was very effective at creating a uniform finish.
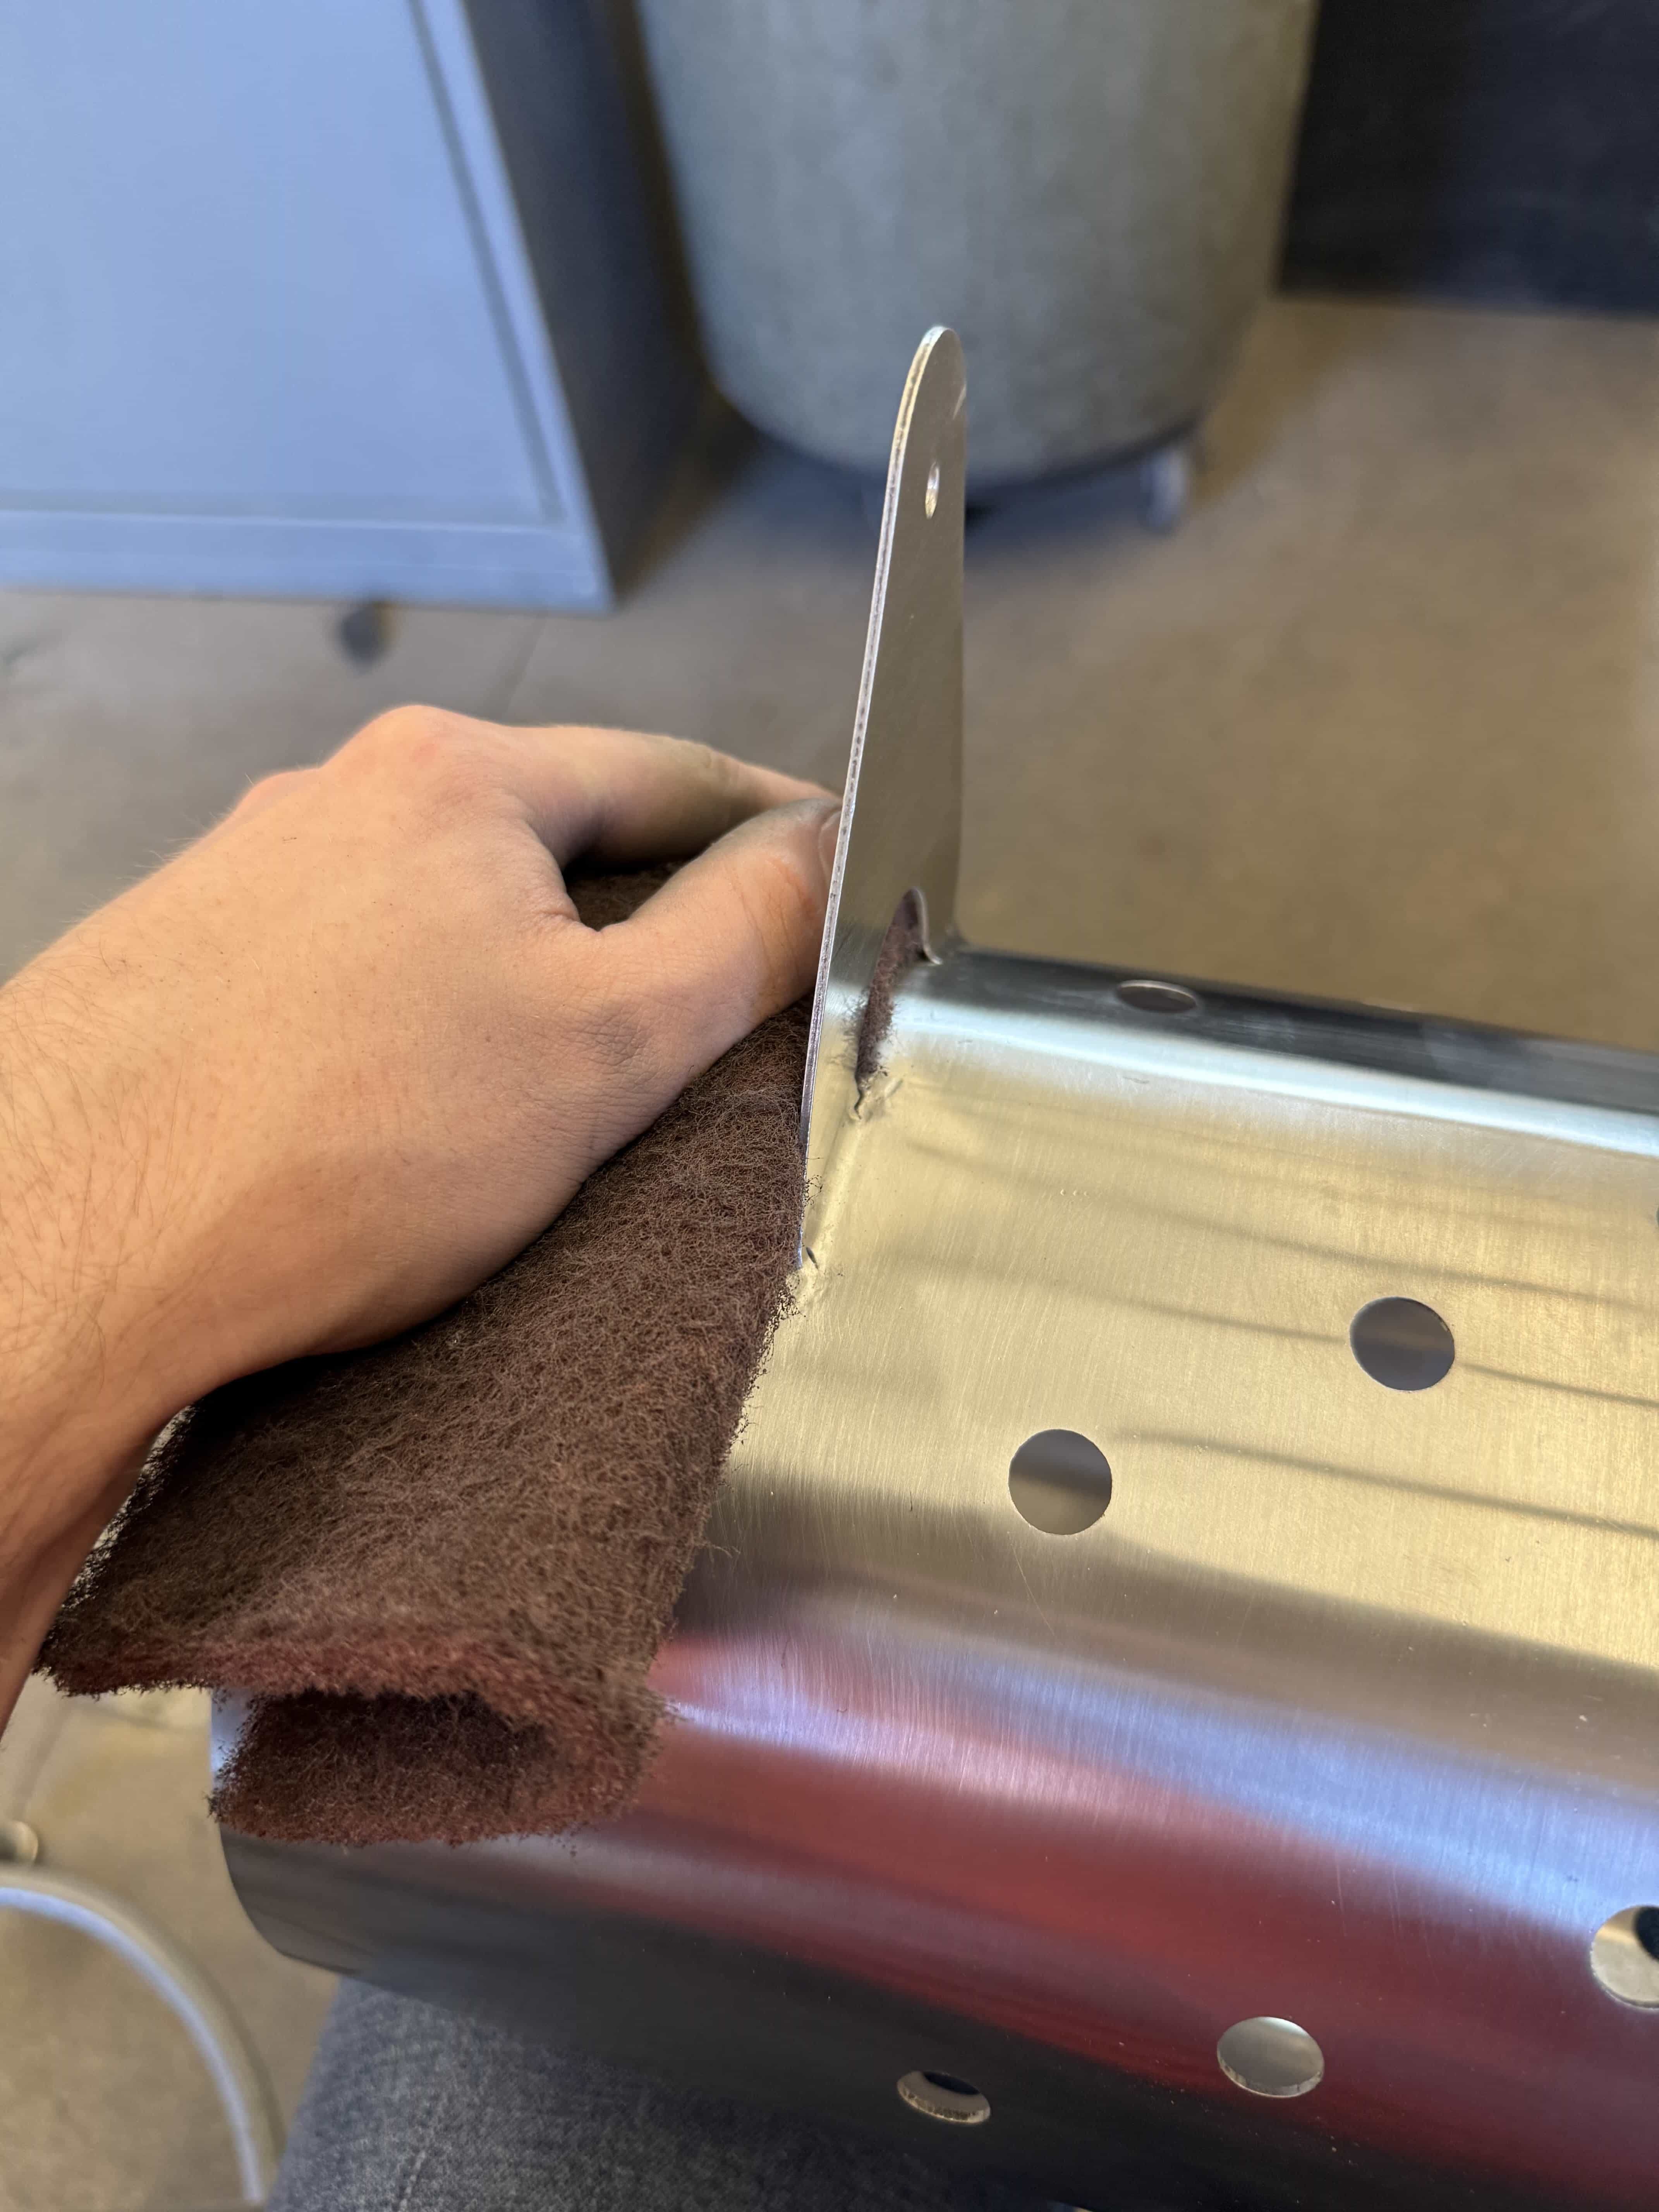
For the finishing touch, I used a Scotch-Brite pad and went back and forth. It turned out to be effective in masking the weld cleanup with the rest of the stainless surface finish.